
A 3D scan can be dimensionally accurate and still feel incomplete when the color looks uneven, flat, overly glossy, or disconnected from the surface. In real scanning work, that is often what separates a model that is simply usable from one that is genuinely valuable for presentation, documentation, visualization, preservation, or downstream design. If you want better color textures in 3D scanning, the biggest gains usually come from better capture strategy, better lighting control, and a clearer understanding of how surfaces behave during scanning.
What better color textures really mean
Better color texture is not just about stronger saturation or a larger texture map. It means the scanned model looks believable and consistent. Surface color should remain stable across the model, texture should sit cleanly on the geometry, and visual details such as labels, markings, wear, edges, and material transitions should remain clear. This matters in workflows such as digital archiving, product display, reverse engineering support, cultural heritage, healthcare, AR, VR, and CGI.
Good texture quality usually shows up through a few practical signs.
· Consistent color across the surface
· Less glare and fewer hot spots
· Clean alignment between texture and mesh
· Sharper surface details with less smearing
· Texture resolution that fits the final use
Why texture quality often breaks down
Most texture problems begin during capture, not at export. Color quality drops when lighting is too harsh, when the surface is too reflective or too dark, or when the scanner cannot see enough of the object from a single angle. Deep recesses, undercuts, layered forms, and overlapping geometry often create weak texture zones. If tracking becomes unstable during scanning, the texture may also end up stretched or mismatched, even if the mesh still looks mostly acceptable.
That is why texture should be treated as part of the scanning process itself rather than something to fix later. Once weak color data is captured, software can only improve it so much.
Start with stable scan data
Better texture usually starts with more stable geometry capture. If the scan path drifts, the object moves, or the scanner keeps changing distance, the color map has less chance of aligning cleanly. In most workflows, the first step is simply making sure the object is secured, the scanner moves smoothly, and the capture distance stays consistent. That creates a better foundation for both shape and color.

This becomes even more important on repetitive, low-feature, or detailed surfaces. When tracking is unstable, texture quality almost always drops with it.
Use more than one angle
One pass is rarely enough if color quality matters. A horizontal scan might capture the overall form, but it can still leave weak texture coverage in grooves, undercuts, deep holes, and blocked surfaces. Reorienting the scanner, or rotating the object, gives both the depth system and the color camera a better view into difficult areas.
This is especially useful on mechanical parts, sculptures, housings, filters, vents, handles, and organic shapes with folds or layered forms. In many cases, combining scan data from more than one orientation improves texture coverage more effectively than simply pushing texture resolution higher.
Control glare before post-processing
Glossy and semi-gloss surfaces are one of the most common reasons textured scans look unnatural. Reflections do not represent the true color of the object, and they tend to shift as the scanner moves. The result is often uneven highlights, washed-out zones, and distracting texture artifacts.
The best fix is usually setup, not software. Soft, diffused lighting tends to work better than strong direct light. Scanning at a slight angle instead of pointing straight into reflective surfaces also helps. In some workflows, temporary scanning spray is the simplest way to improve capture quality, especially when preserving exact surface finish is less important than getting complete data. Software-based glare reduction can help refine a scan, but it works best when the initial capture is already controlled.
Dark and shiny objects need a more deliberate process
Dark objects and shiny objects tend to fail for different reasons, but both can weaken texture quality quickly. Dark surfaces absorb light and reduce visible detail, while shiny ones scatter light and create glare, noise, and uneven texture projection. These objects usually need more careful handling than standard matte surfaces.
A better workflow usually starts with cleaning the object, adjusting exposure for the material, scanning from more than one viewpoint, and adding markers if the surface lacks enough features for stable tracking. If the object remains difficult, a temporary matte treatment often improves the result significantly. When realistic color matters, lighting control becomes even more important.
Useful adjustments often include:
· Cleaning off fingerprints, oil, and dust
· Adjusting exposure to suit the surface
· Rescanning problem areas from another angle
· Using markers when tracking becomes unstable
POP 4 for versatile color acquisition workflows
For users who need flexible textured scanning across different object types, the Revopoint POP 4 is a strong fit. It combines blue laser and infrared light, supports five scanning modes, and includes an advanced RGB camera for accurate color capture. Because it is designed for small-to-medium objects and supports different scanning conditions, it fits naturally into workflows where both geometry and color matter.
Its Full-Field HD Mode and Hybrid HD Mode help capture surfaces more efficiently, while the RGB camera supports color scanning for artwork, prototypes, and cultural artifacts. It also supports outdoor scanning in bright conditions, which gives it more flexibility than many standard indoor-only workflows. For users who want one scanner that can handle a broad range of texture-focused tasks, POP 4 is a practical option.
Click the link to see how to create 1:1 gaussian models with POP 4: https://youtu.be/tntC-FF9FQ8
POP 4 highlights for texture-rich 3D capture
· Advanced RGB camera for accurate color scans
· Five scanning modes for flexible workflows
· Full-Field HD and Hybrid HD capture options
· Outdoor scanning support in bright conditions
· AI object segmentation to streamline cleanup
MetroY Ultra for precision-driven surface data capture
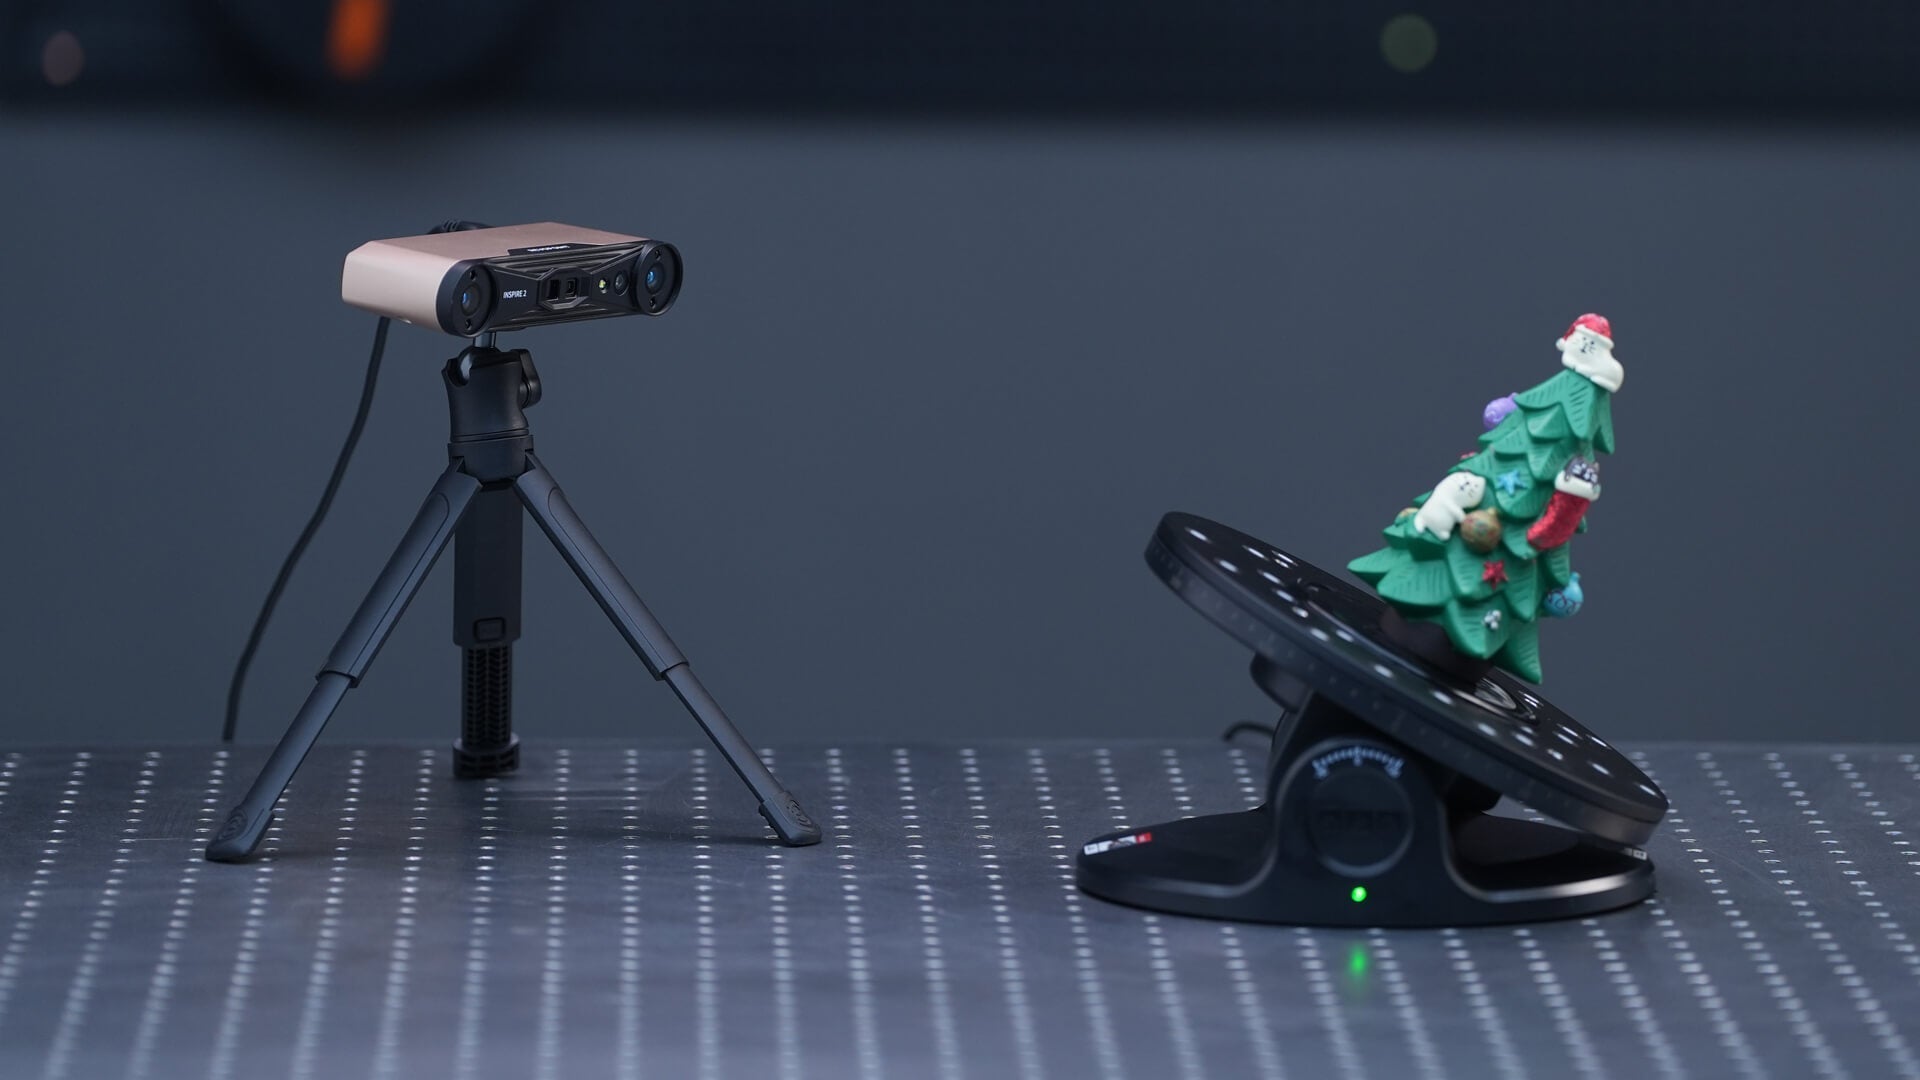
The Revopoint MetroY Ultra is built more for precision-focused workflows, but it still matters in texture-related work when users need clear surface appearance together with high-detail geometry. It is designed for small-to-medium workpieces and combines multiple blue light scanning modes with fast scanning and strong volumetric accuracy.

It is particularly useful for capturing fine edges, complex surfaces, deep holes, grills, and detailed industrial forms. MetroY Ultra also supports real color output in Auto Turntable Mode, which makes it relevant for workflows where readable visual surface information adds value to precise scan data. For industrial users who care about measurement first but still want useful color on the model, it fits well.
MetroY Ultra highlights for color-supported dimensional workflows
· Real color output in Auto Turntable Mode
· High-detail capture of edges, deep holes, and complex surfaces
· Five blue light scanning modes for different part geometries
· Structured light mode for rapid capture of feature-rich workpieces
· Strong volumetric accuracy for inspection and engineering use
MIRACO Plus for standalone textured digitization
For users who want a more self-contained workflow, the Revopoint MIRACO Plus is especially relevant. It is a standalone scanner with photogrammetric metrology capabilities, making it suitable for both detailed close-range scanning and larger-object capture. That flexibility makes it useful in projects where color texture needs to be captured efficiently without relying on a connected PC during scanning.
Its 48 MP RGB camera supports richer color capture, while near and far modes help users move between broad shape capture and more detailed areas in the same project. Because it is all-in-one, MIRACO Plus is well suited to mobile workflows, on-site scanning, and projects where convenience and flexibility matter as much as final model quality.
MIRACO Plus highlights for standalone textured scanning
· 48 MP RGB camera for richer color capture
· Standalone workflow with onboard processing
· Near and far modes for mixed-size scanning tasks
· Photogrammetric metrology support for larger objects
· Suitable for both detailed close capture and broader scene coverage
A simple workflow that improves texture quality
In most cases, better texture does not require a complicated process. It usually comes from following a cleaner sequence: inspect the object, control the lighting, stabilize the object, capture the first pass, rescan from new angles, and review weak areas before processing. That alone can reduce missing color, improve consistency, and lower the need for cleanup later.
A practical sequence usually includes:
· Inspect the surface for gloss, darkness, and hidden geometry
· Prepare lighting and secure the object
· Capture the first pass steadily
· Reorient and rescan recessed or hidden areas
· Review weak texture zones before export
Conclusion
If you want to capture better color textures in 3D scanning, the biggest improvements usually happen before post-processing. Stable geometry, better angle coverage, controlled lighting, and smarter handling of difficult surfaces all have a direct impact on the final color result. Texture quality is less about forcing bigger texture files and more about capturing cleaner, more complete visual data from the start.
With the right workflow and the right scanner for the job, whether that is the flexible POP 4, the precision-focused MetroY Ultra, or the standalone MIRACO Plus, it becomes much easier to create textured 3D models that look cleaner, more believable, and more useful in real scanning applications. For users building a practical, more reliable workflow, Revopoint offers a strong ecosystem that supports both color capture and professional 3D scanning results.
Leave a comment
This site is protected by hCaptcha and the hCaptcha Privacy Policy and Terms of Service apply.