







- Photos
- Videos
- Models


Marker-free Wireless
Optical Tracking
Outdoors
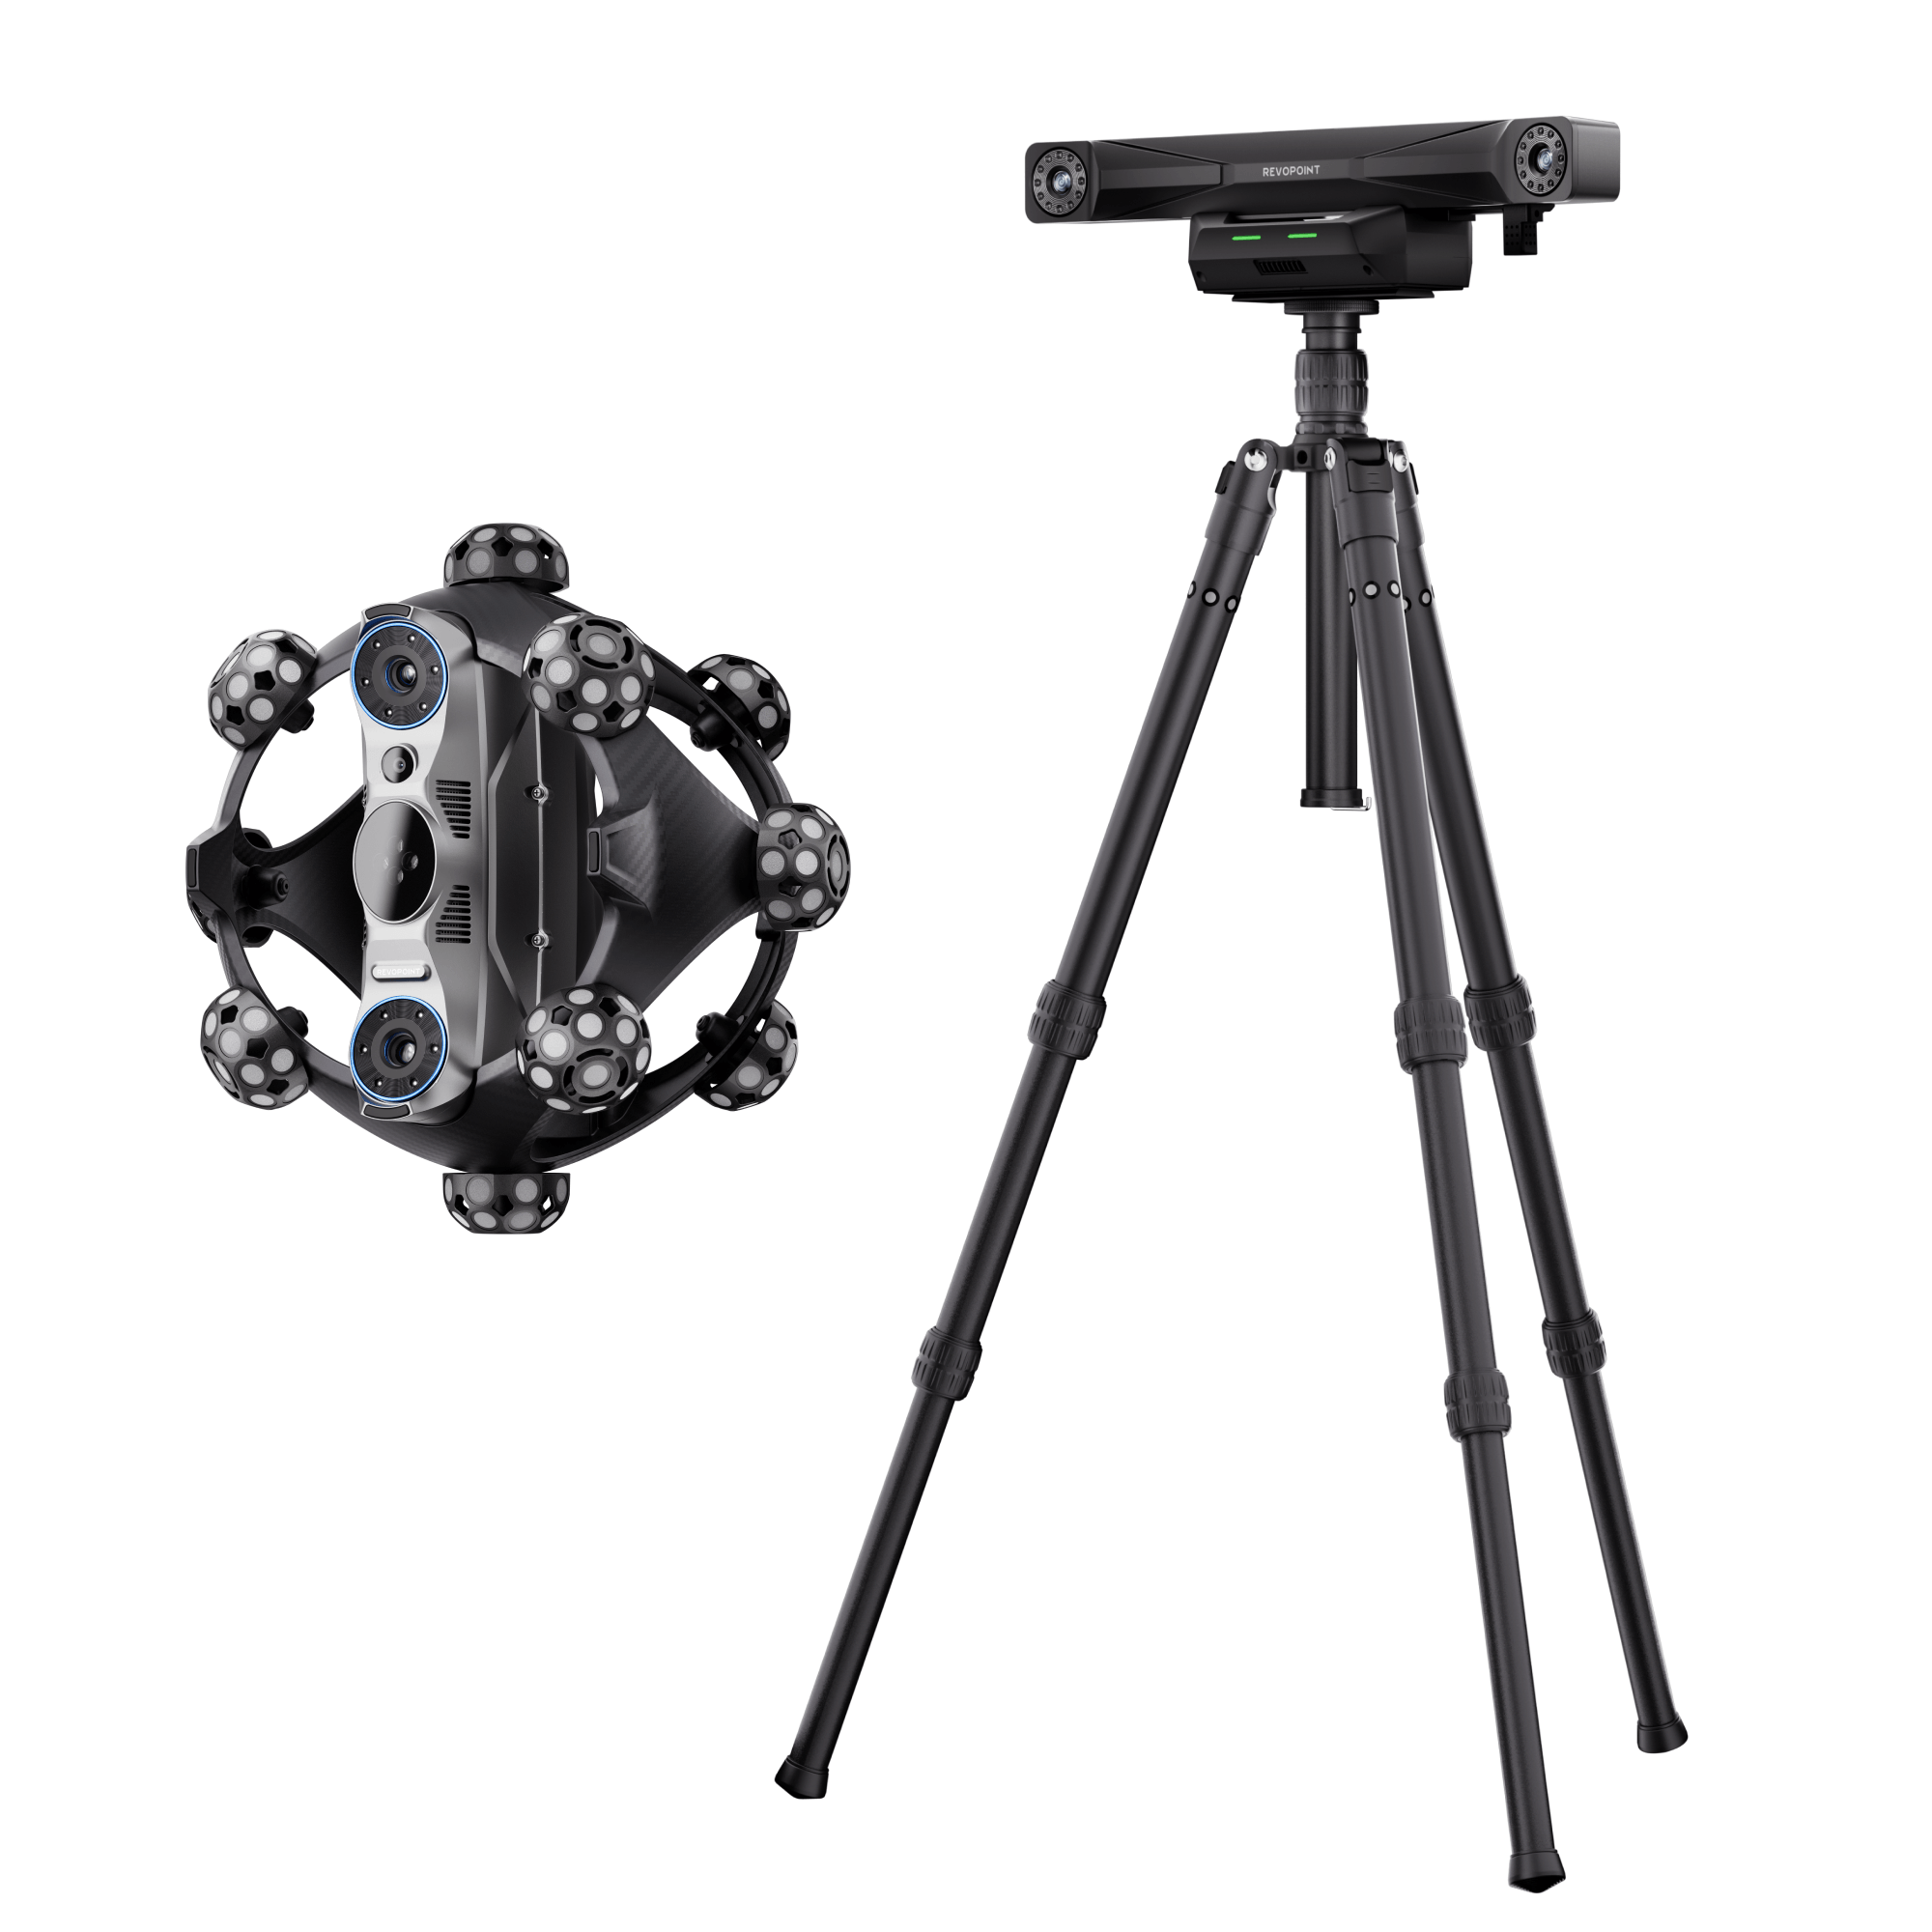
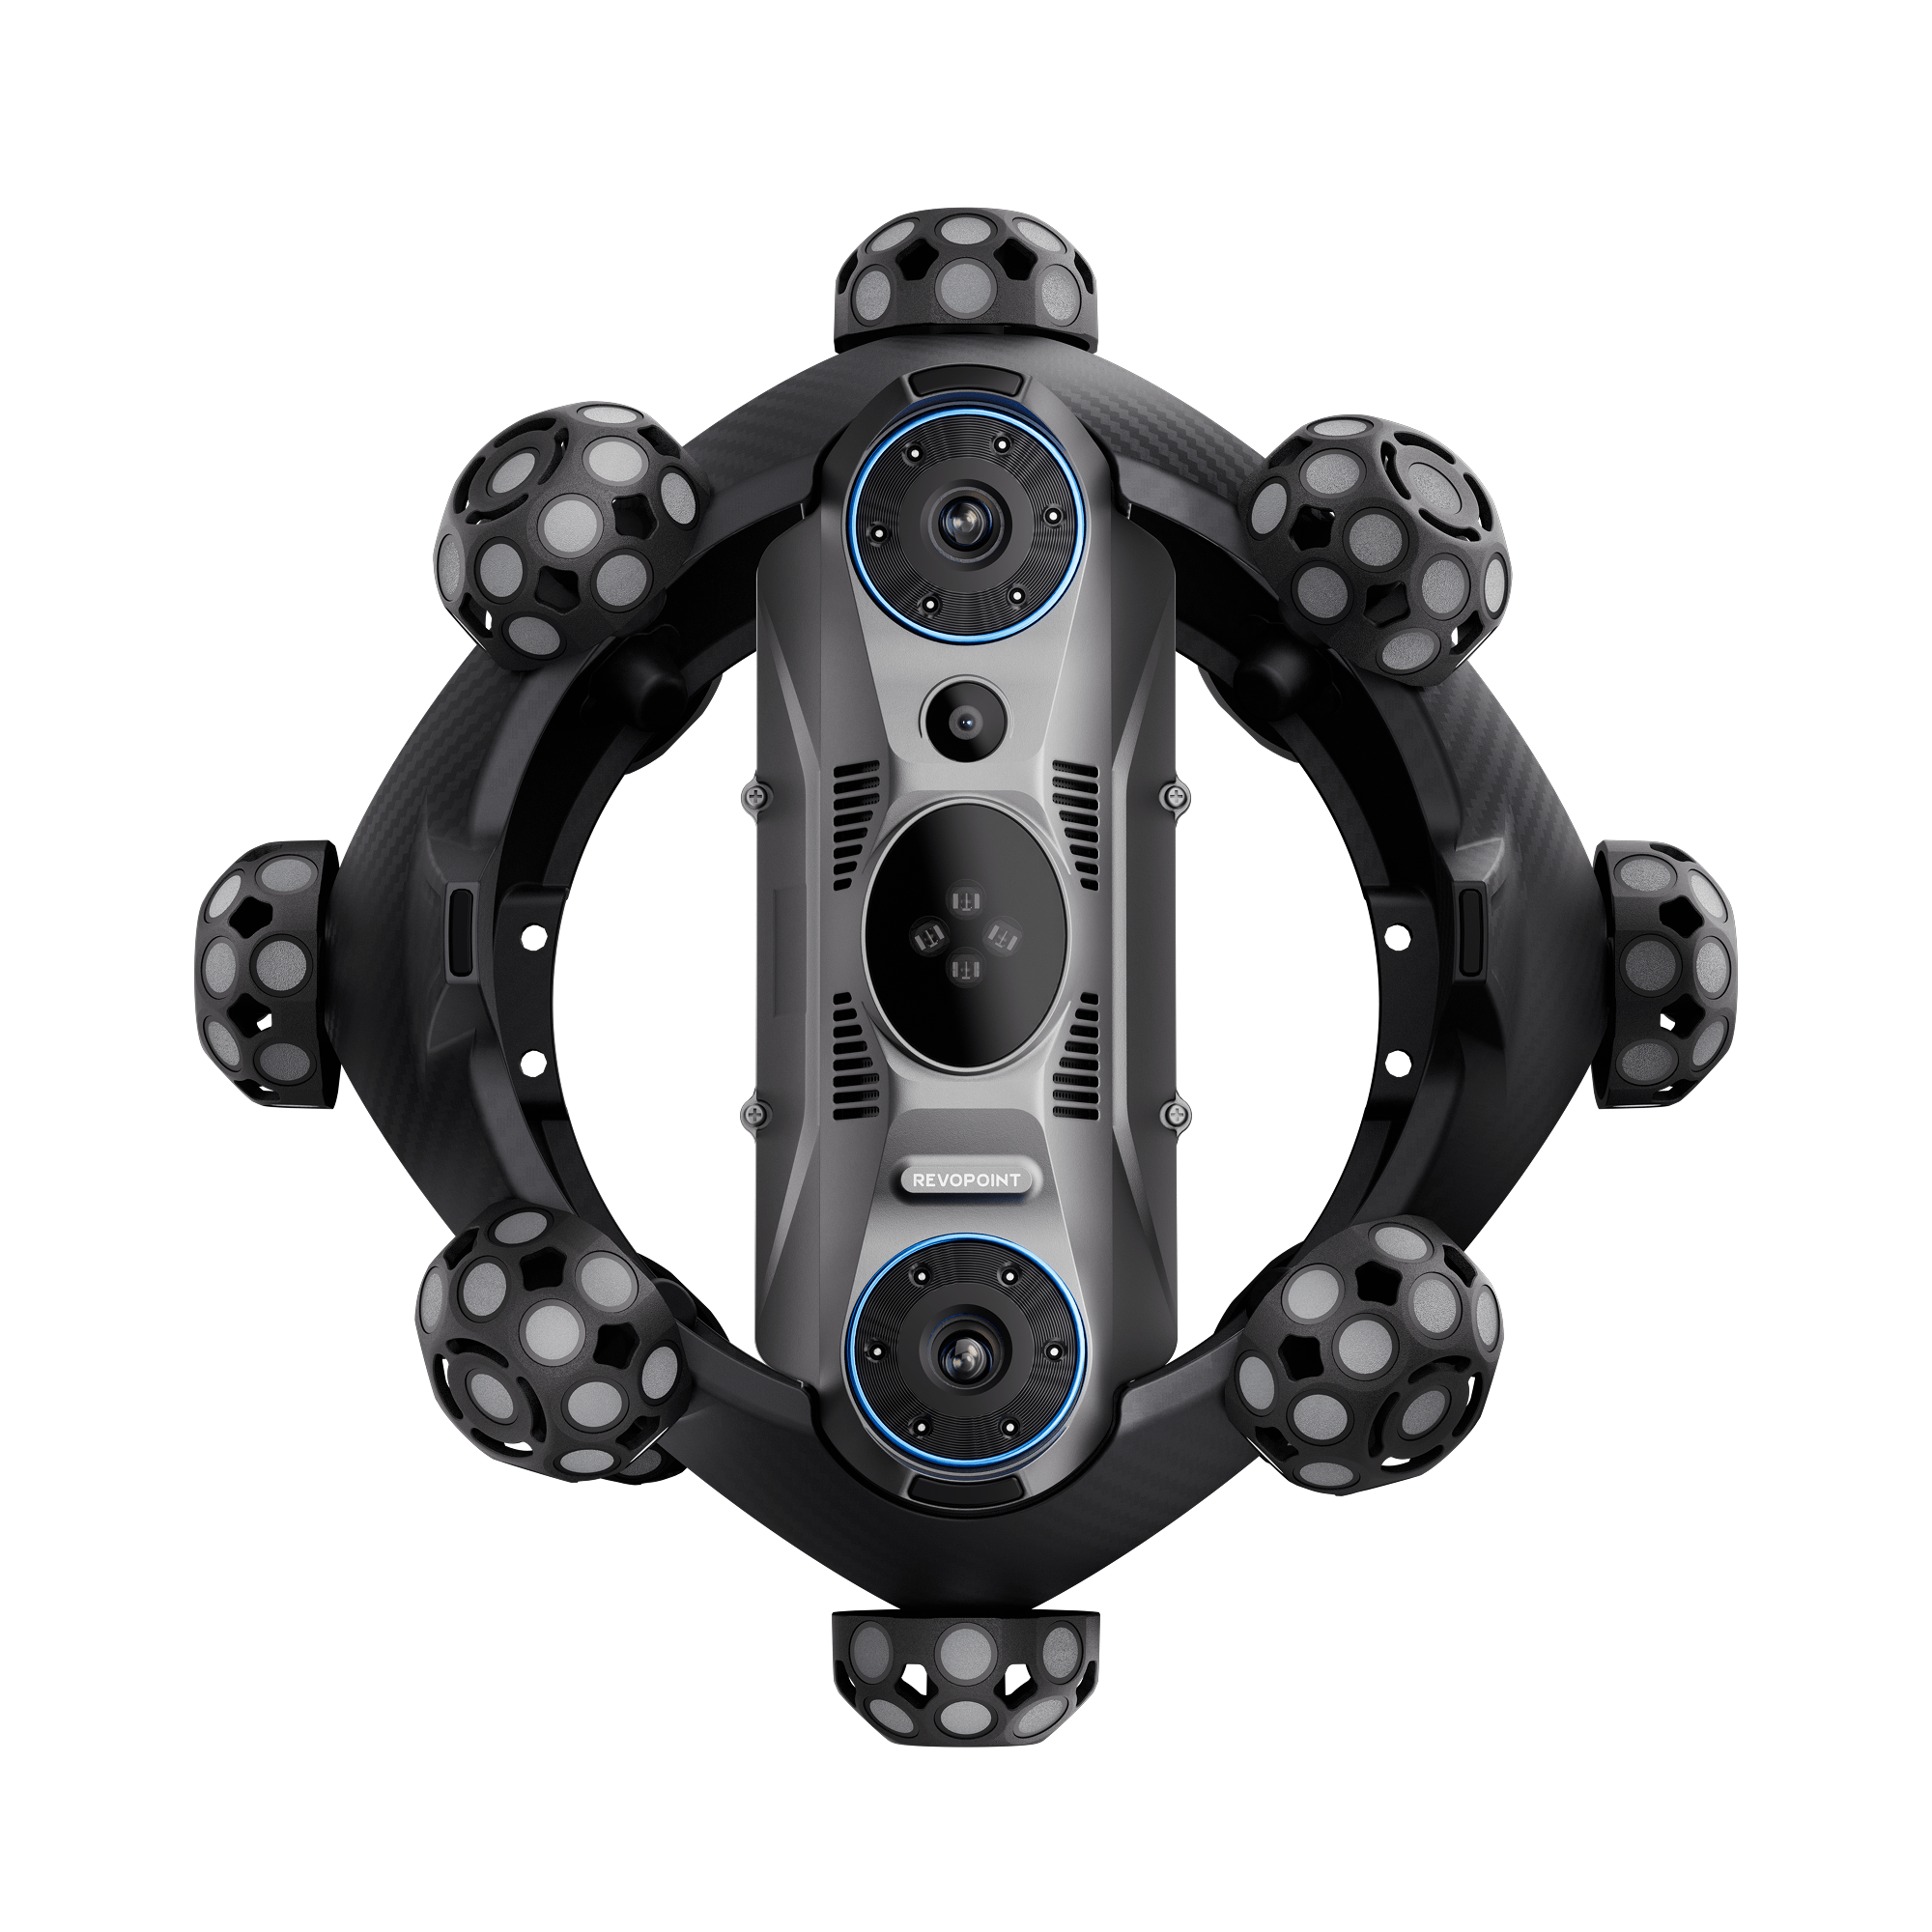
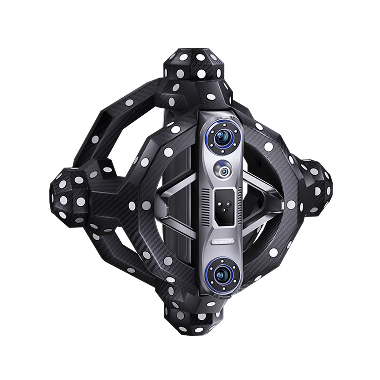
Revopoint Trackit SR: Wireless Optical Tracking 3D Scanner | Marker-free & Portable
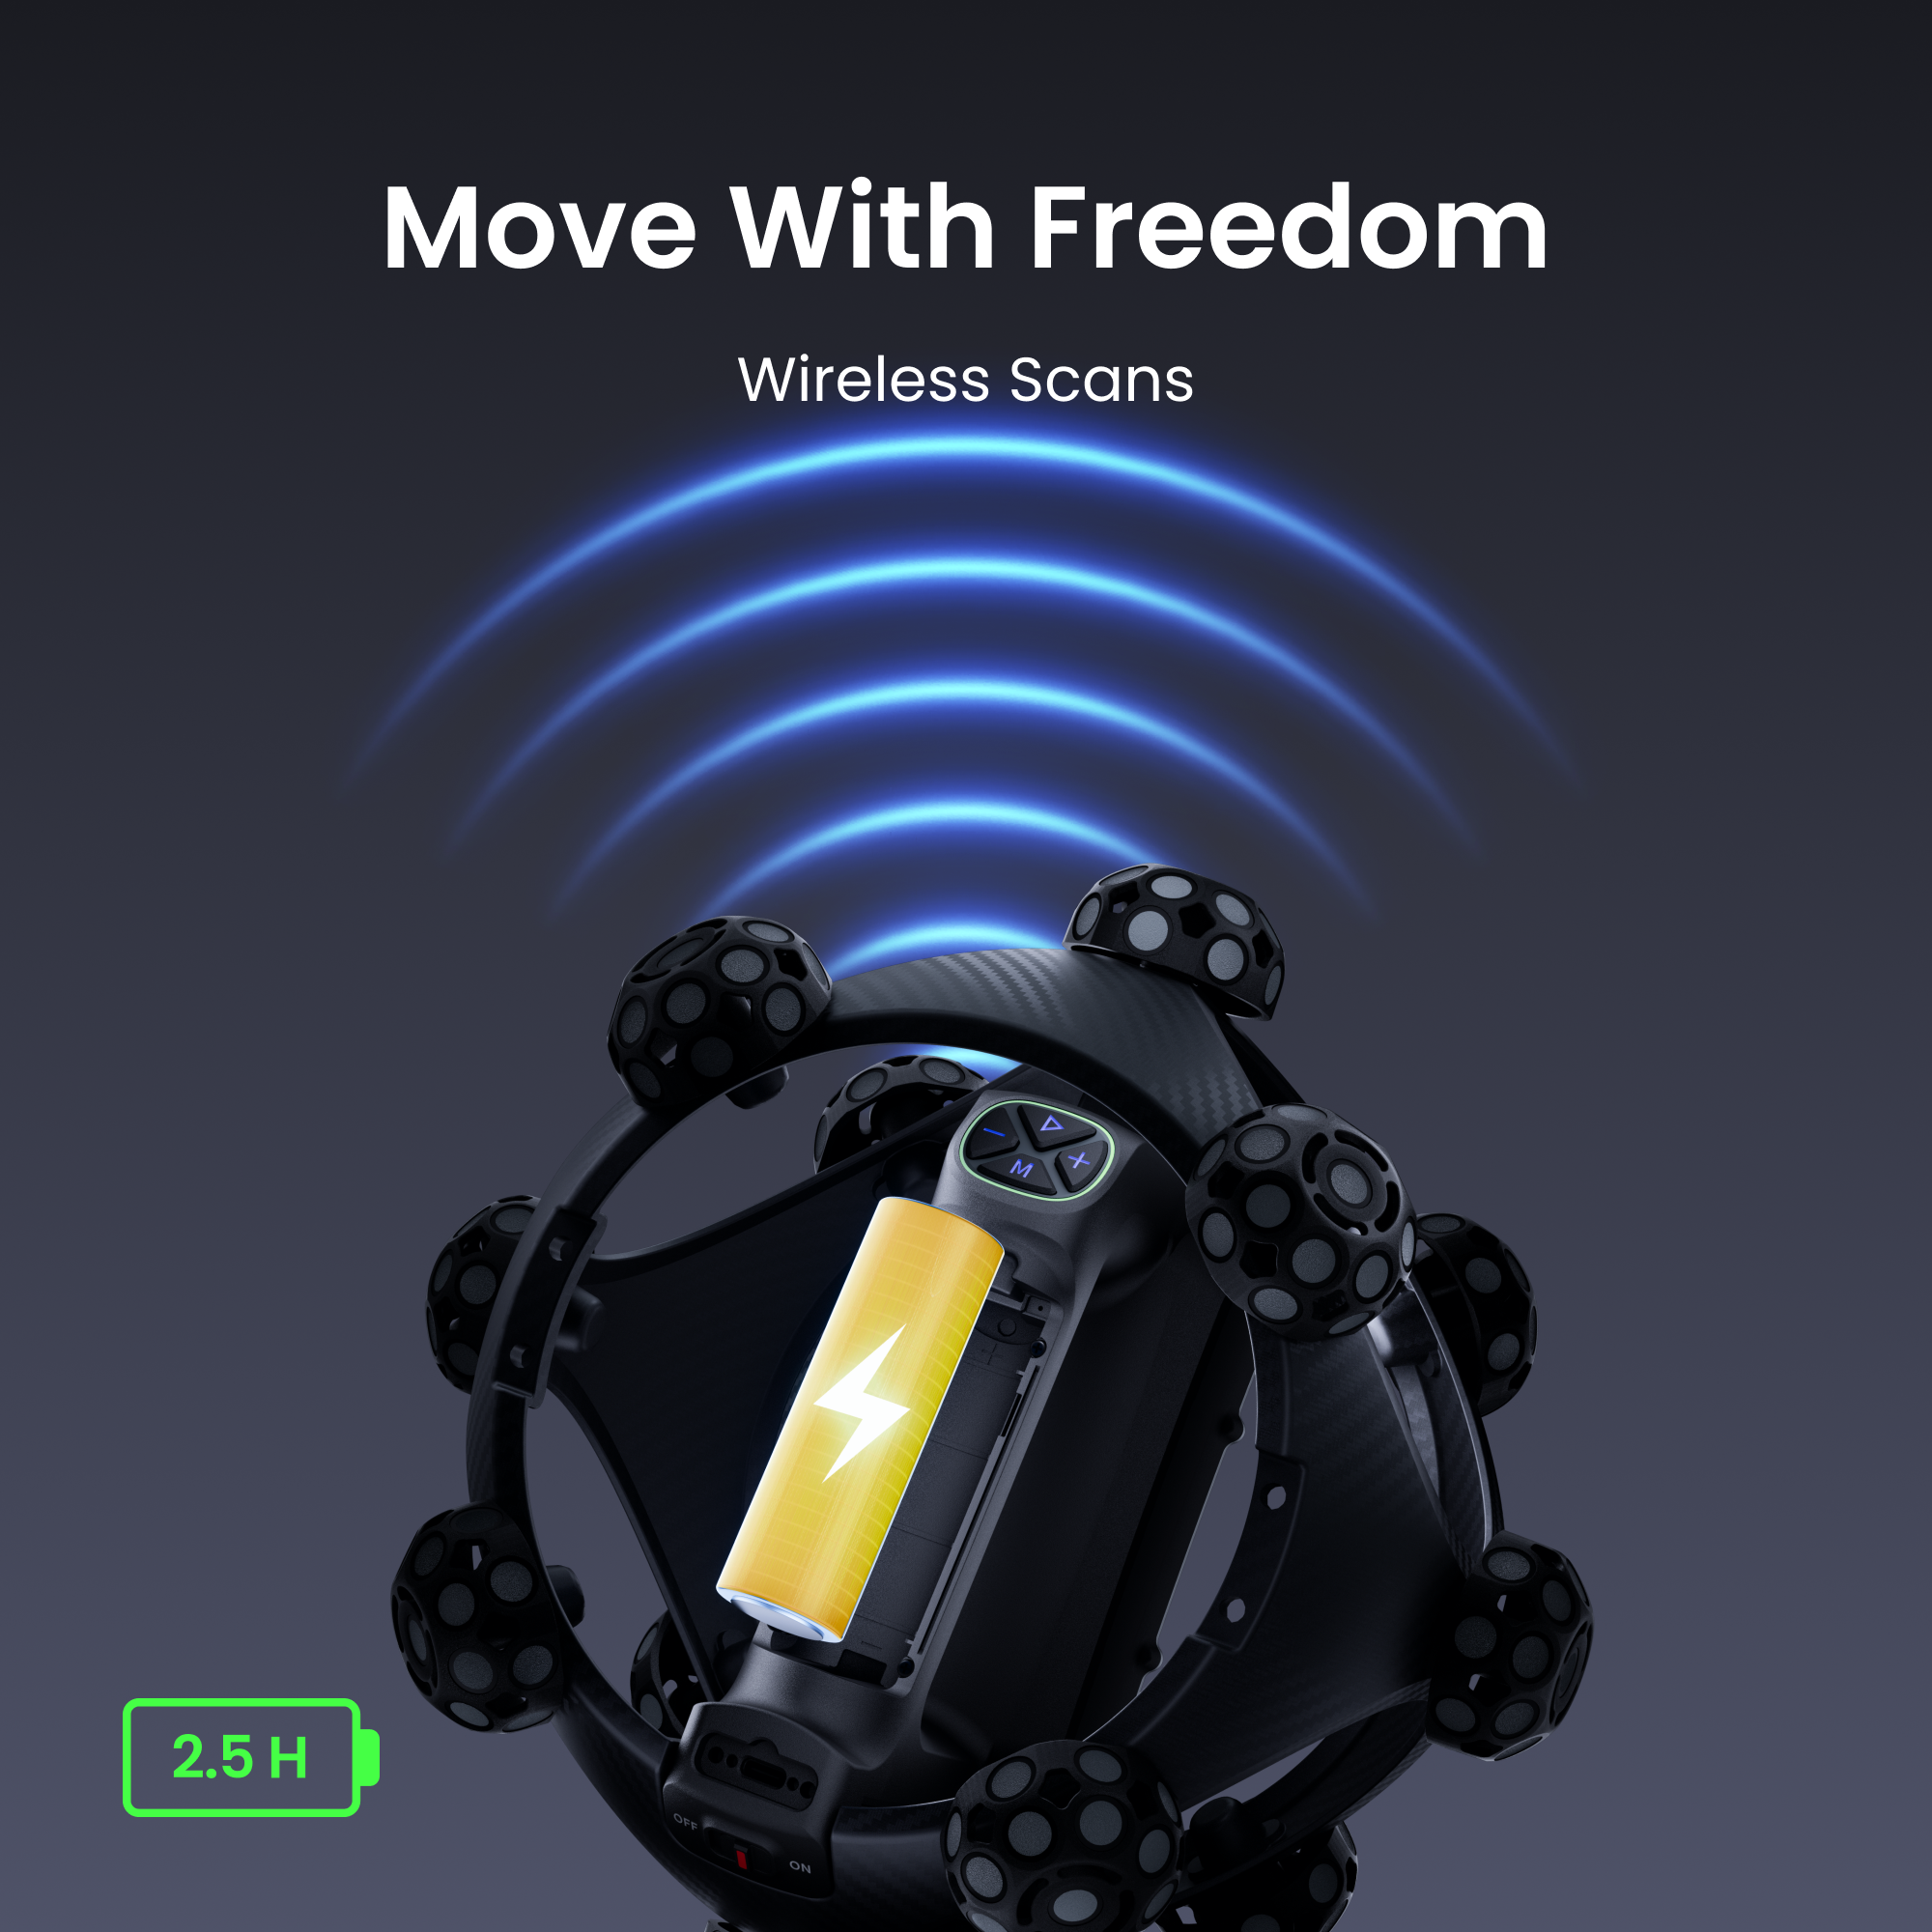
· Wireless Scans - Move With Freedom
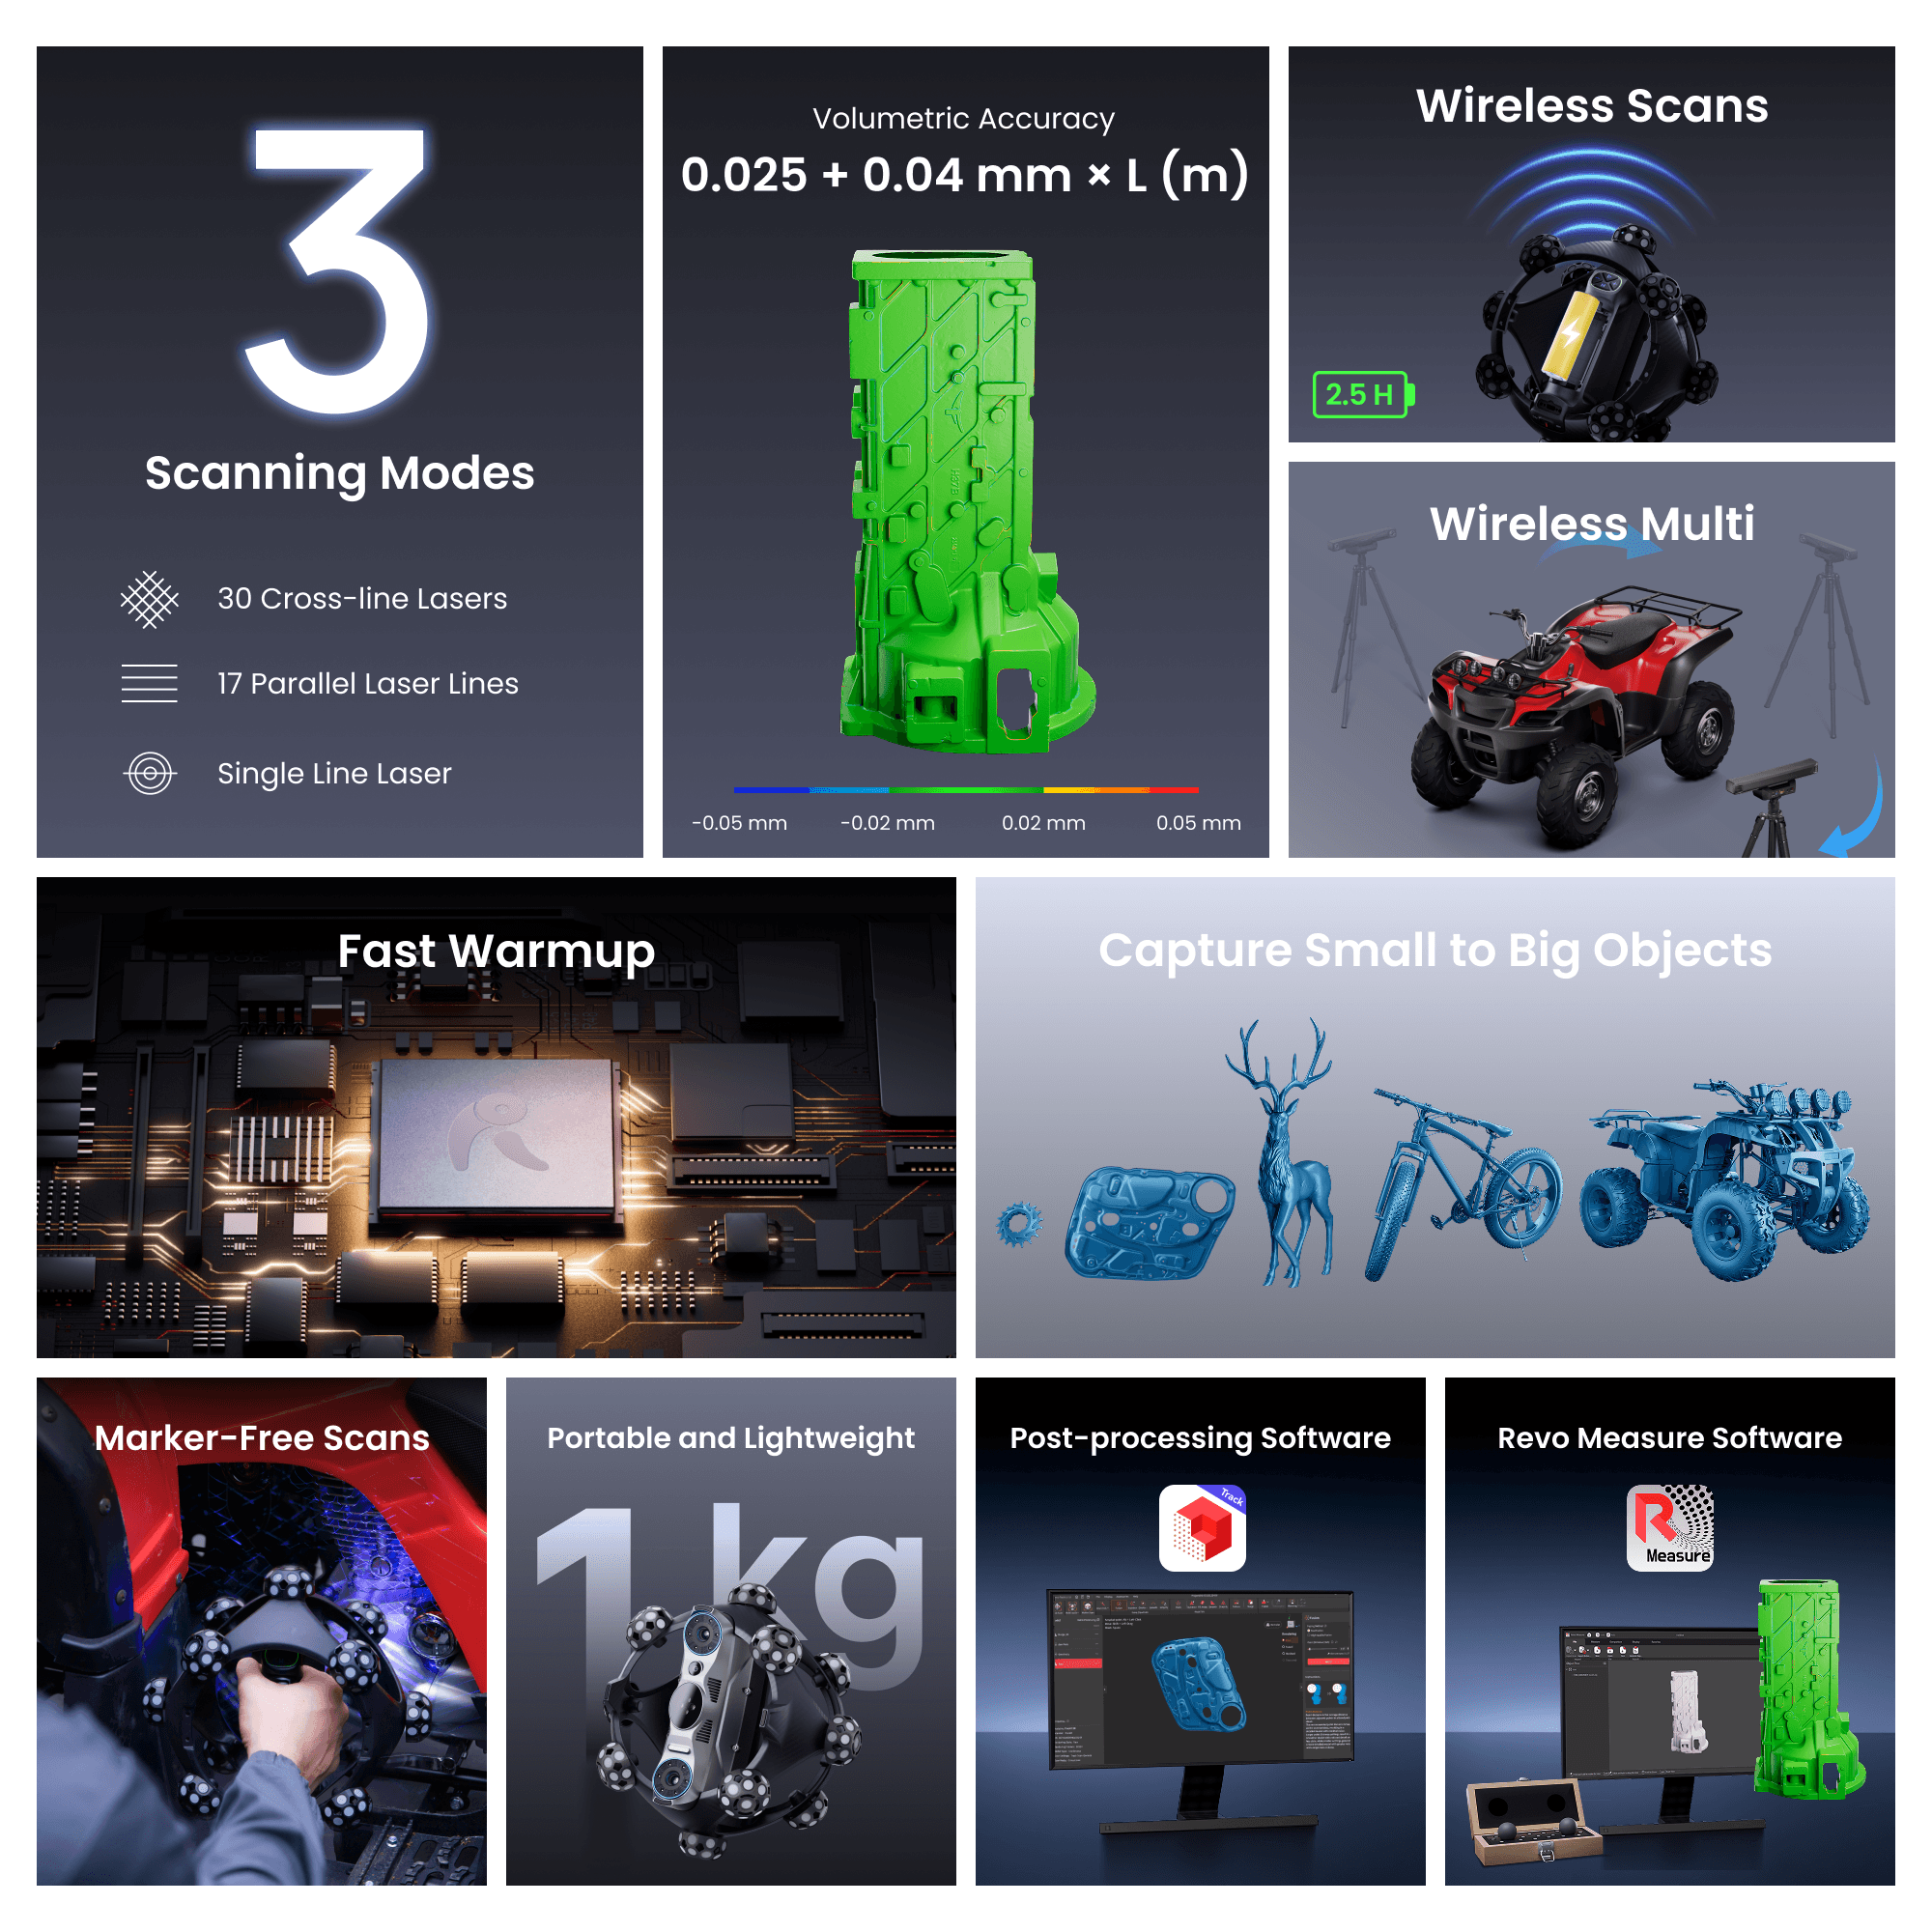
· 30 Cross-line Lasers
· 17 Parallel Laser Lines
· Single Line Laser
· Marker-free Scans
· Capture Objects from 10 mm to 4 m
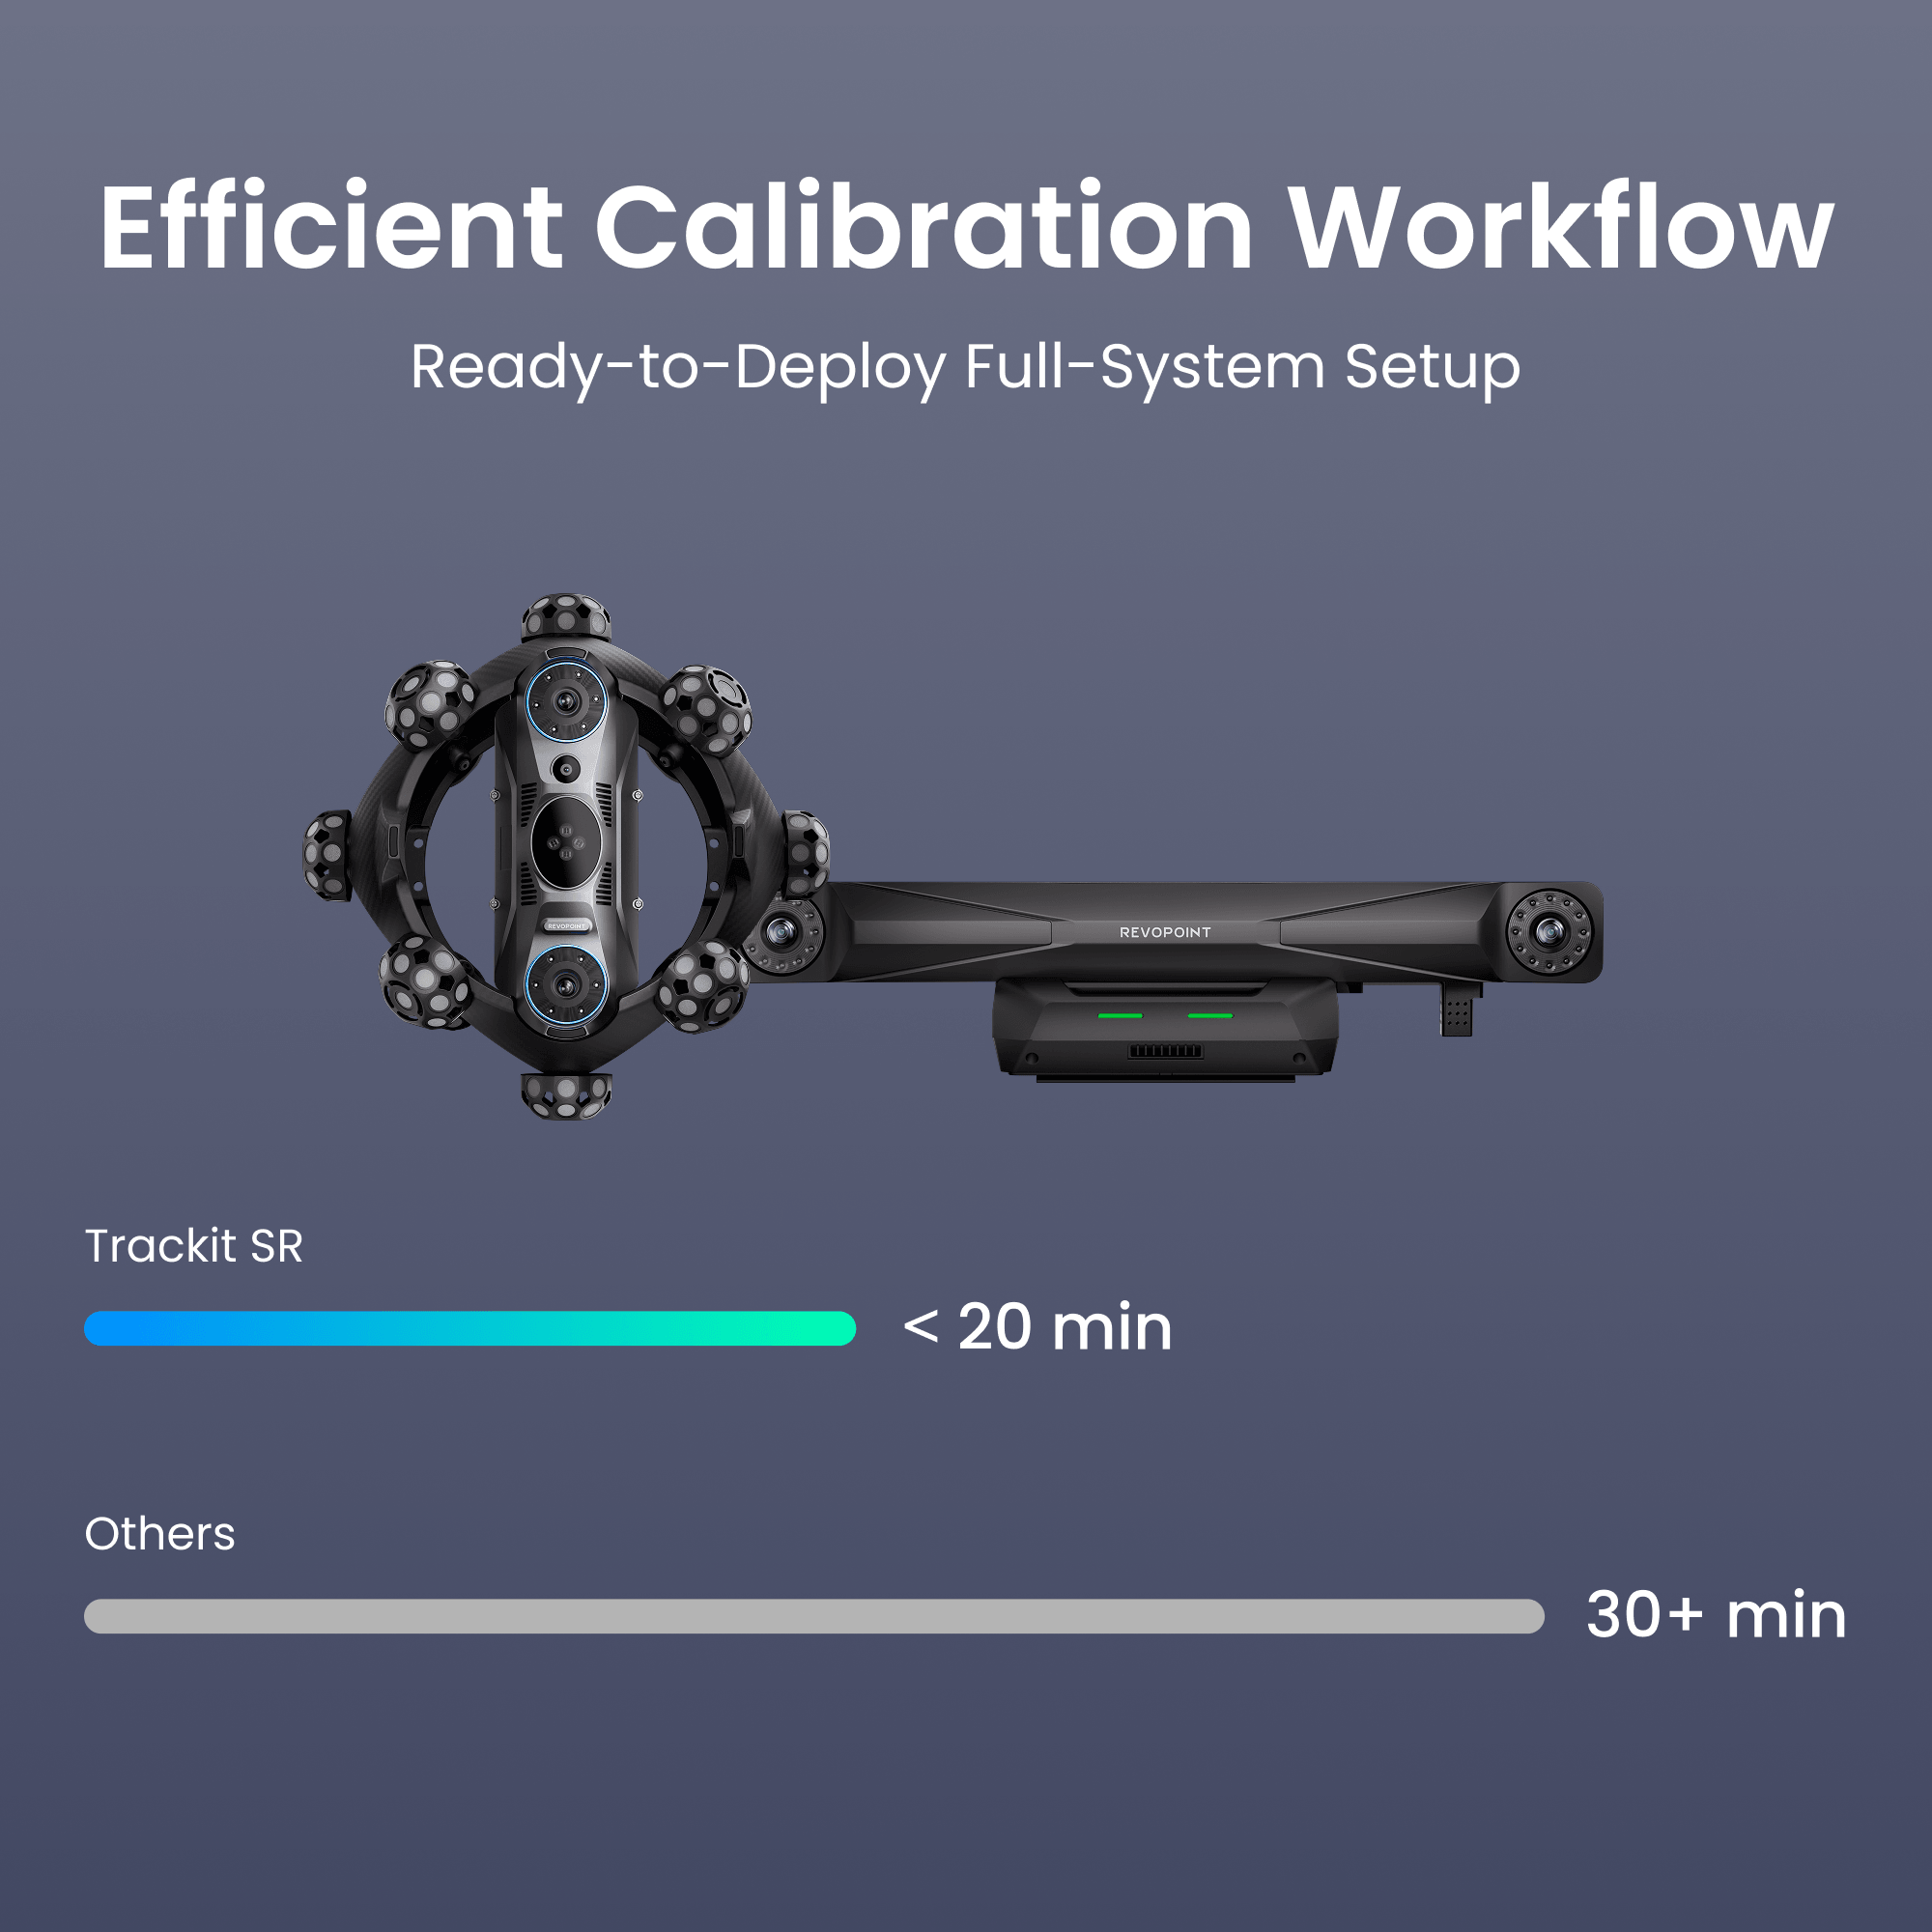
· Efficient Calibration Workflow
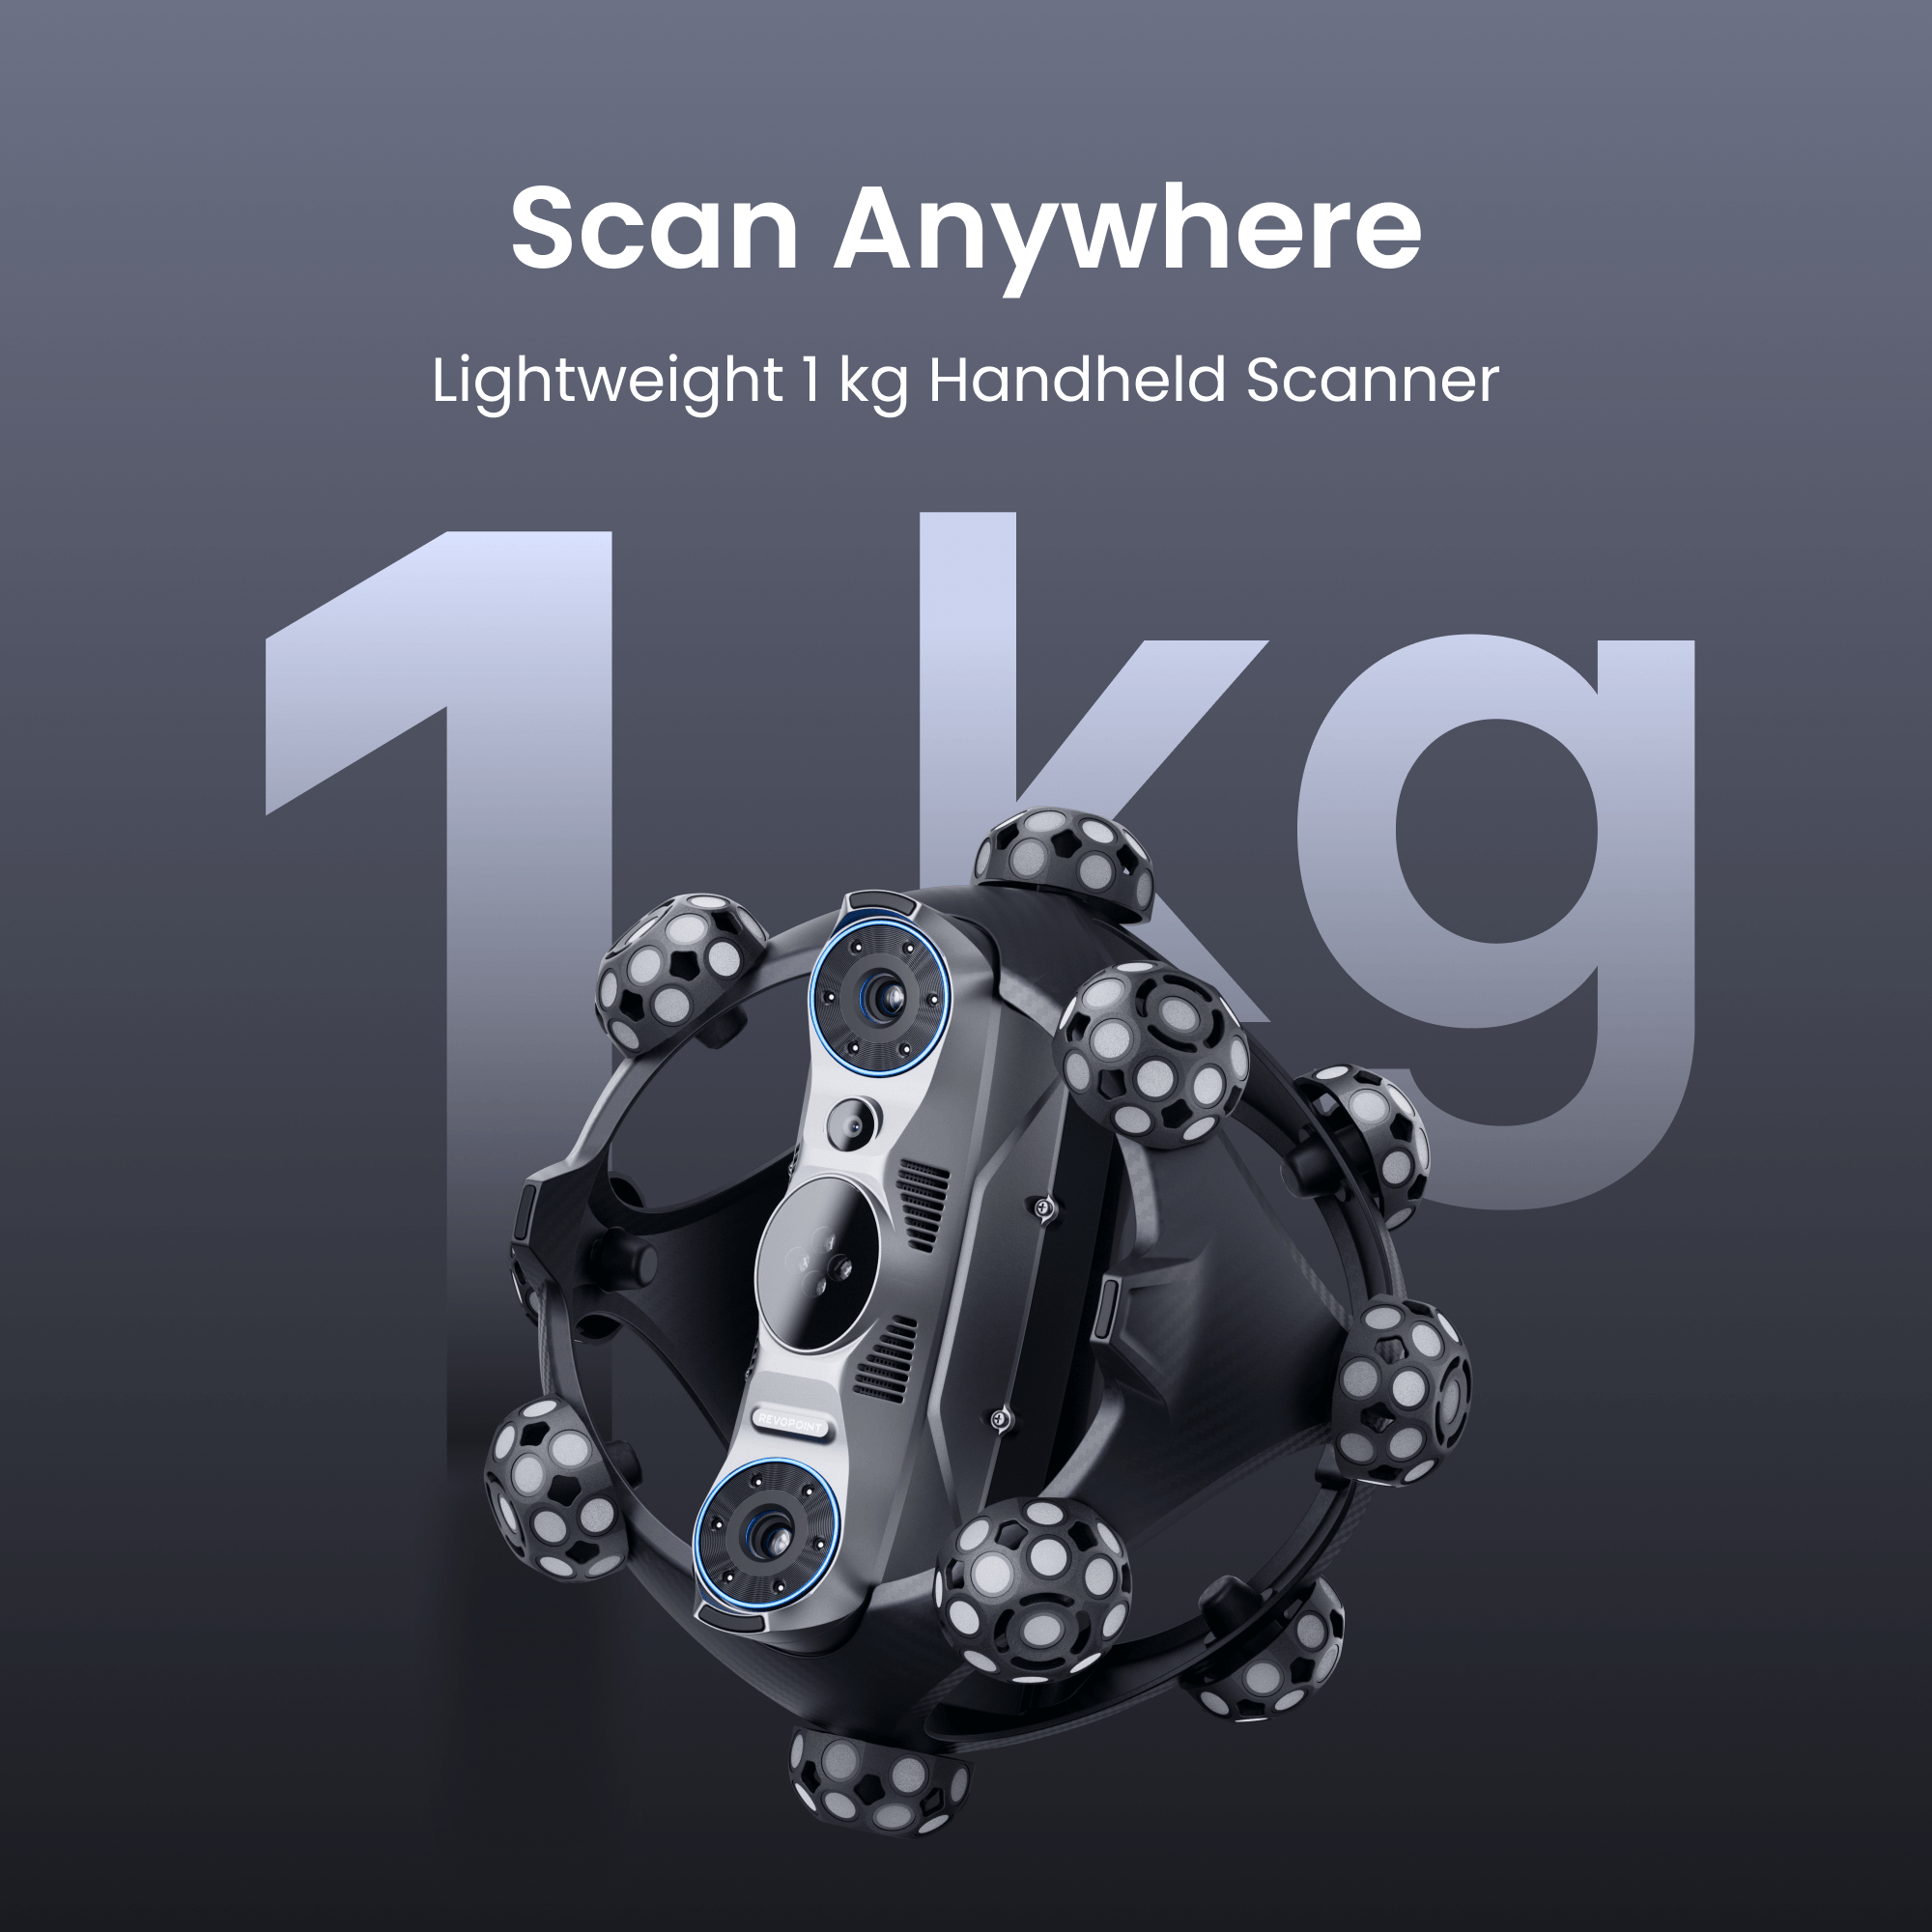
· Portable and Lightweight
· Outdoor Scans
· Smart Temperature Monitoring
· Texture Mapping - Vivid 3D Models


Estimated dispatch within 14 days of order. Software is non-refundable, fast digital delivery via email.


Take a Closer Look


Markers Out.
Wireless Freedom In.
Markers Out.
Wireless Freedom In.

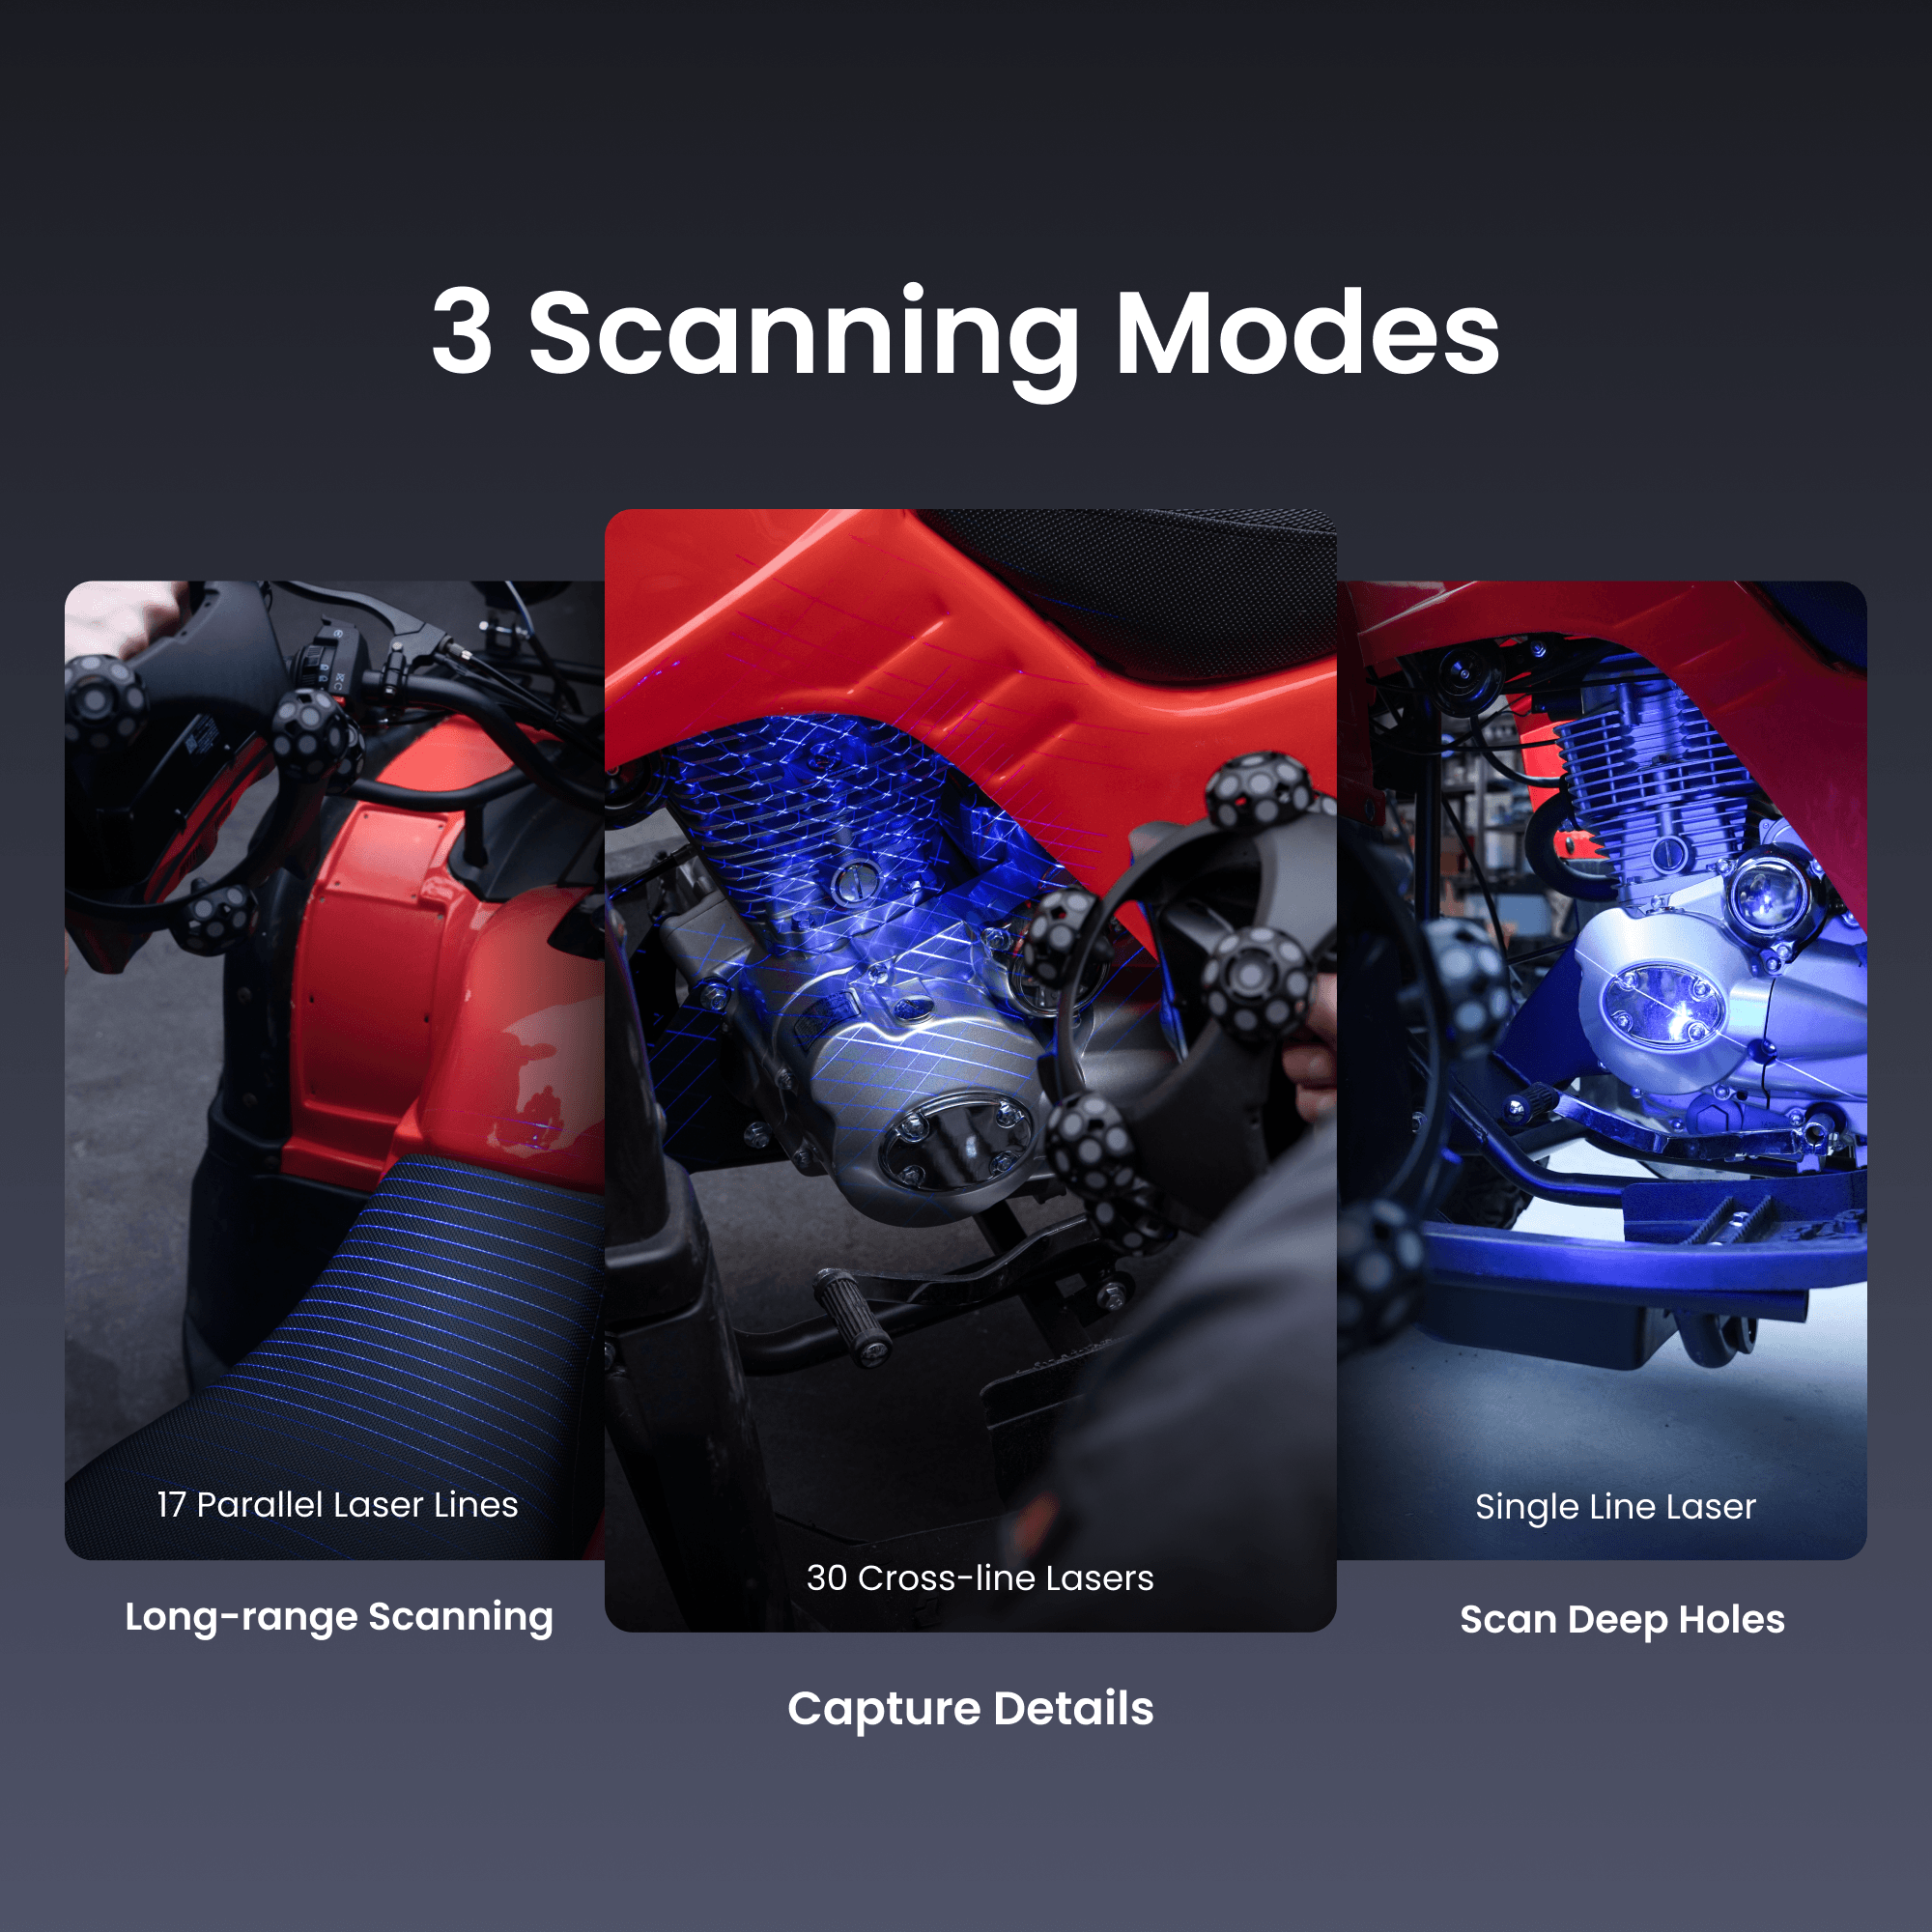
Triple Blue Laser Capture

Details Capture -
30 Cross-line Lasers

Fast Scans -
17 Parallel Lines

Scan Deep Holes -
Single Line Laser

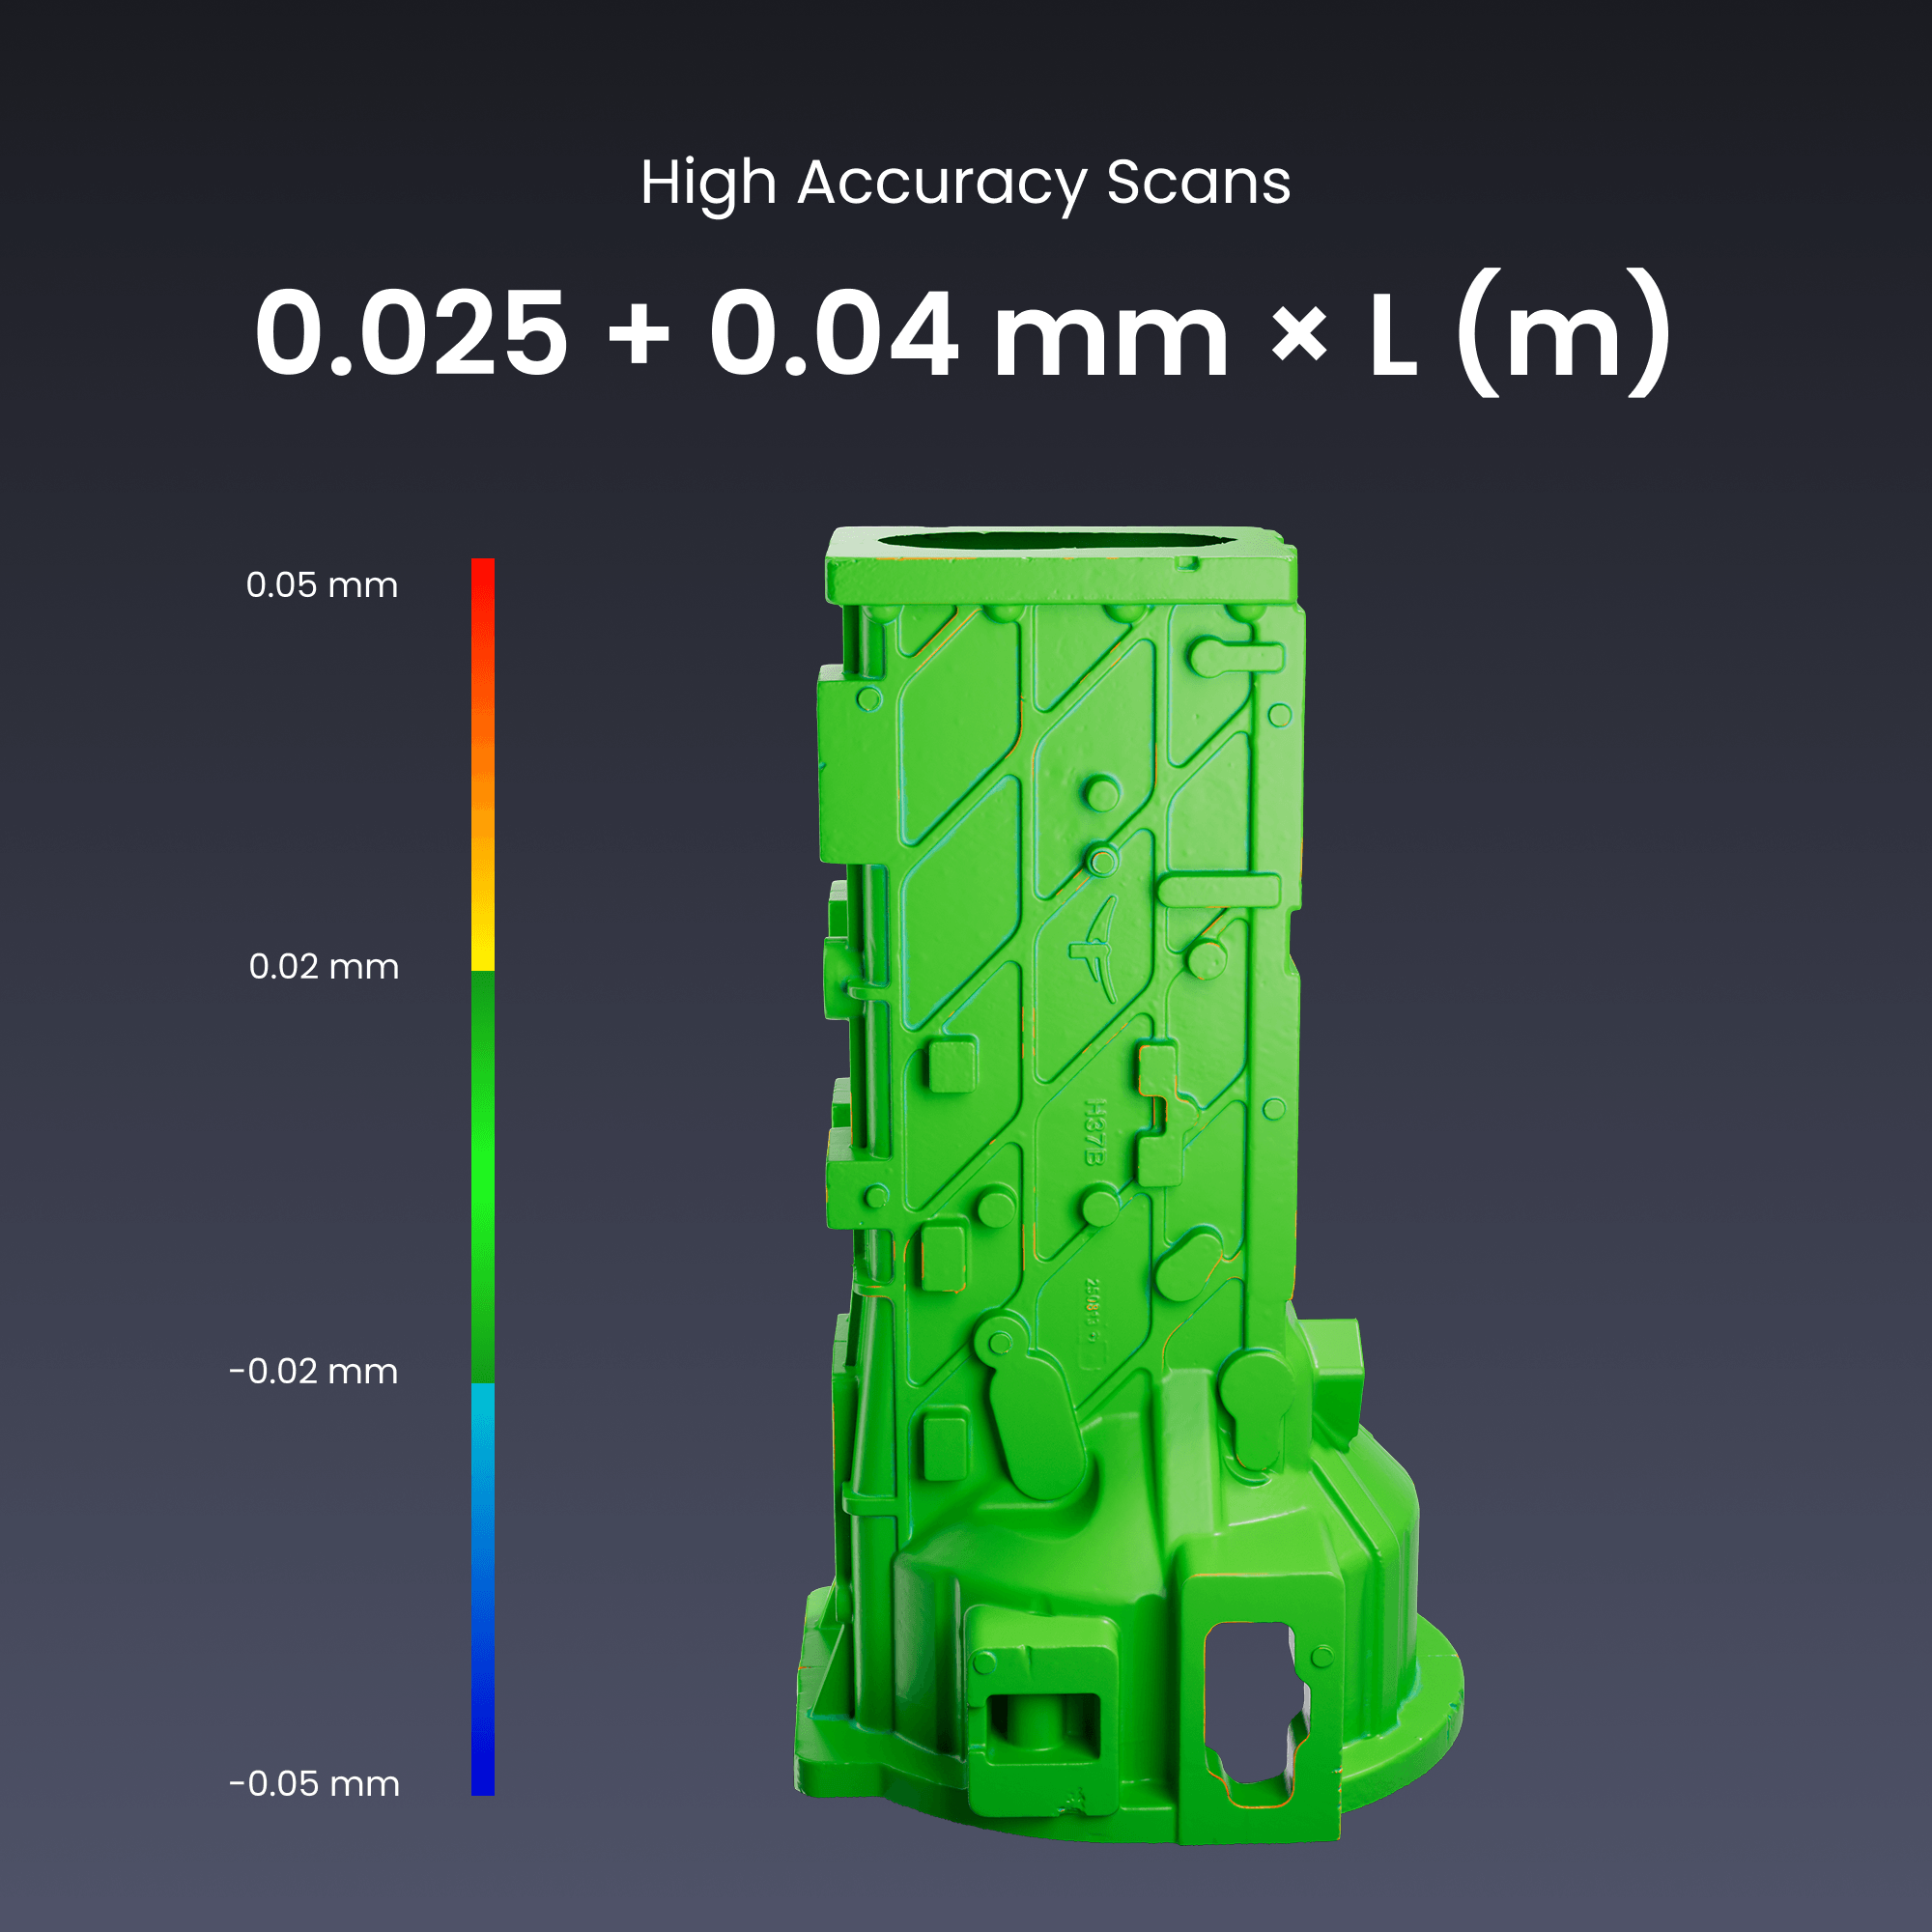
High Accuracy
0.025 mm + 0.04 mm × L (m)

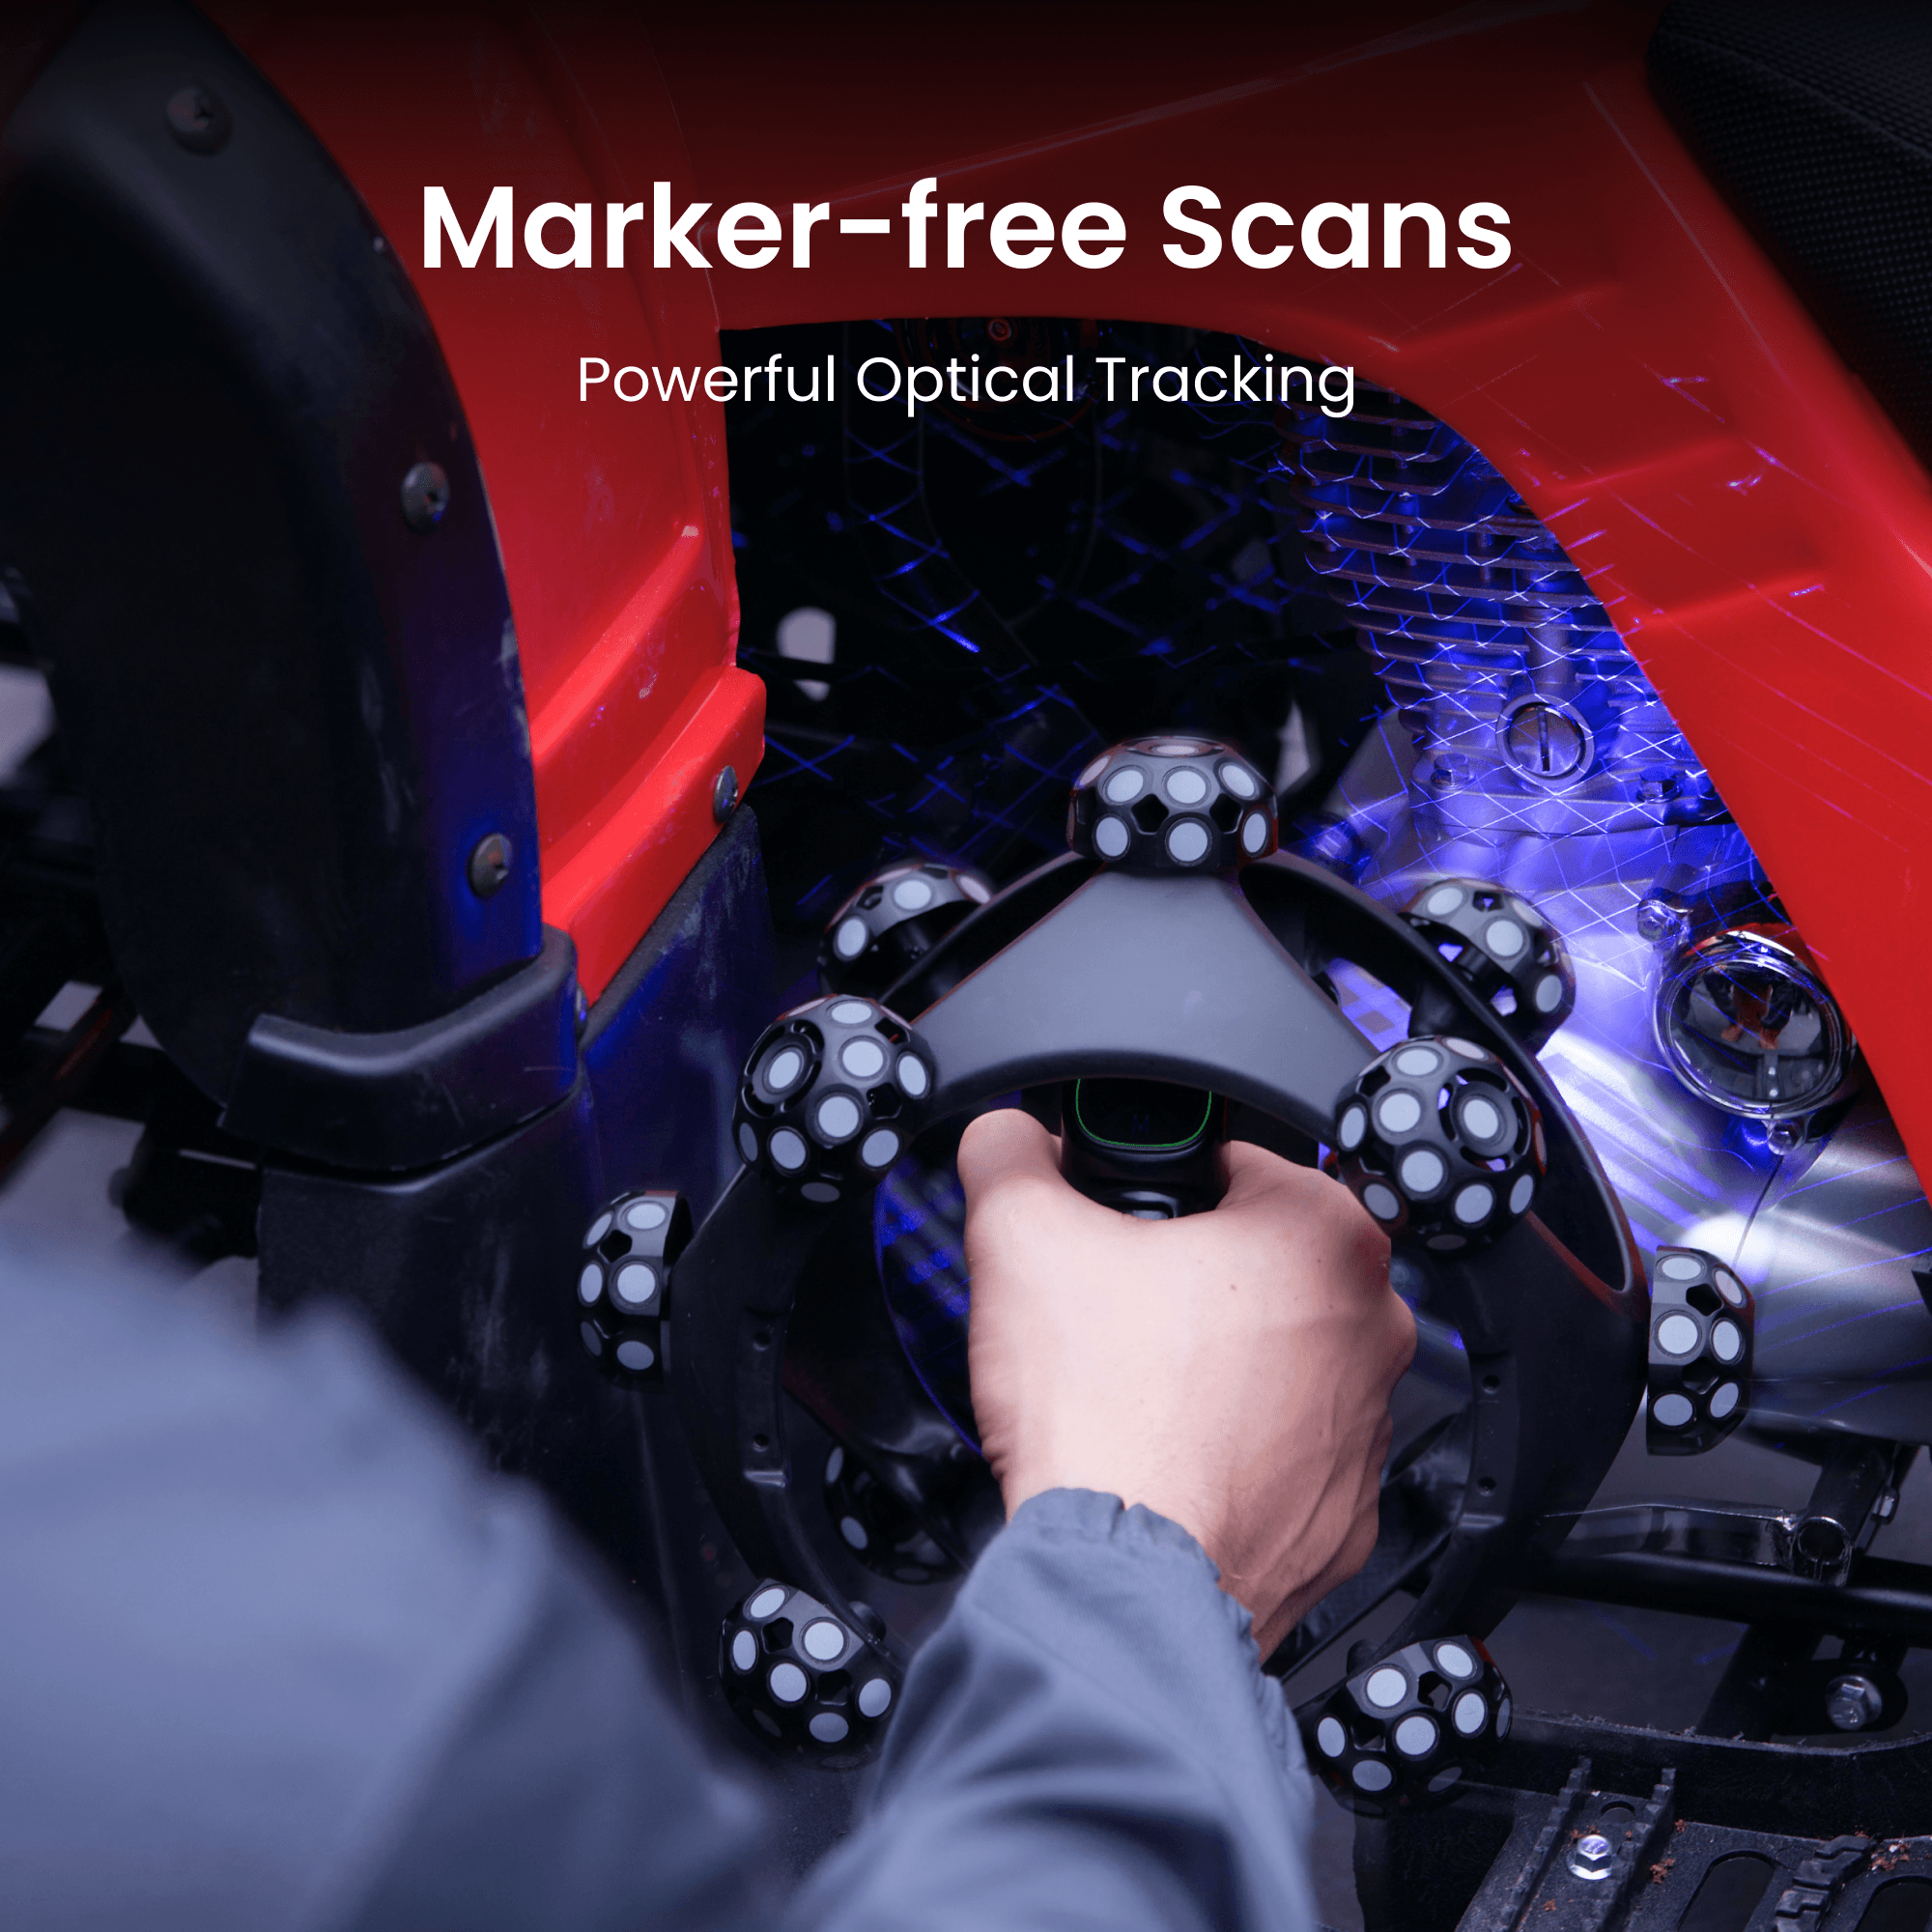
Time-saving Marker-Free Scans

Move Freely, Scan Wirelessly
*Battery Life: Up to 2.5 hours.

Lightweight and Portable

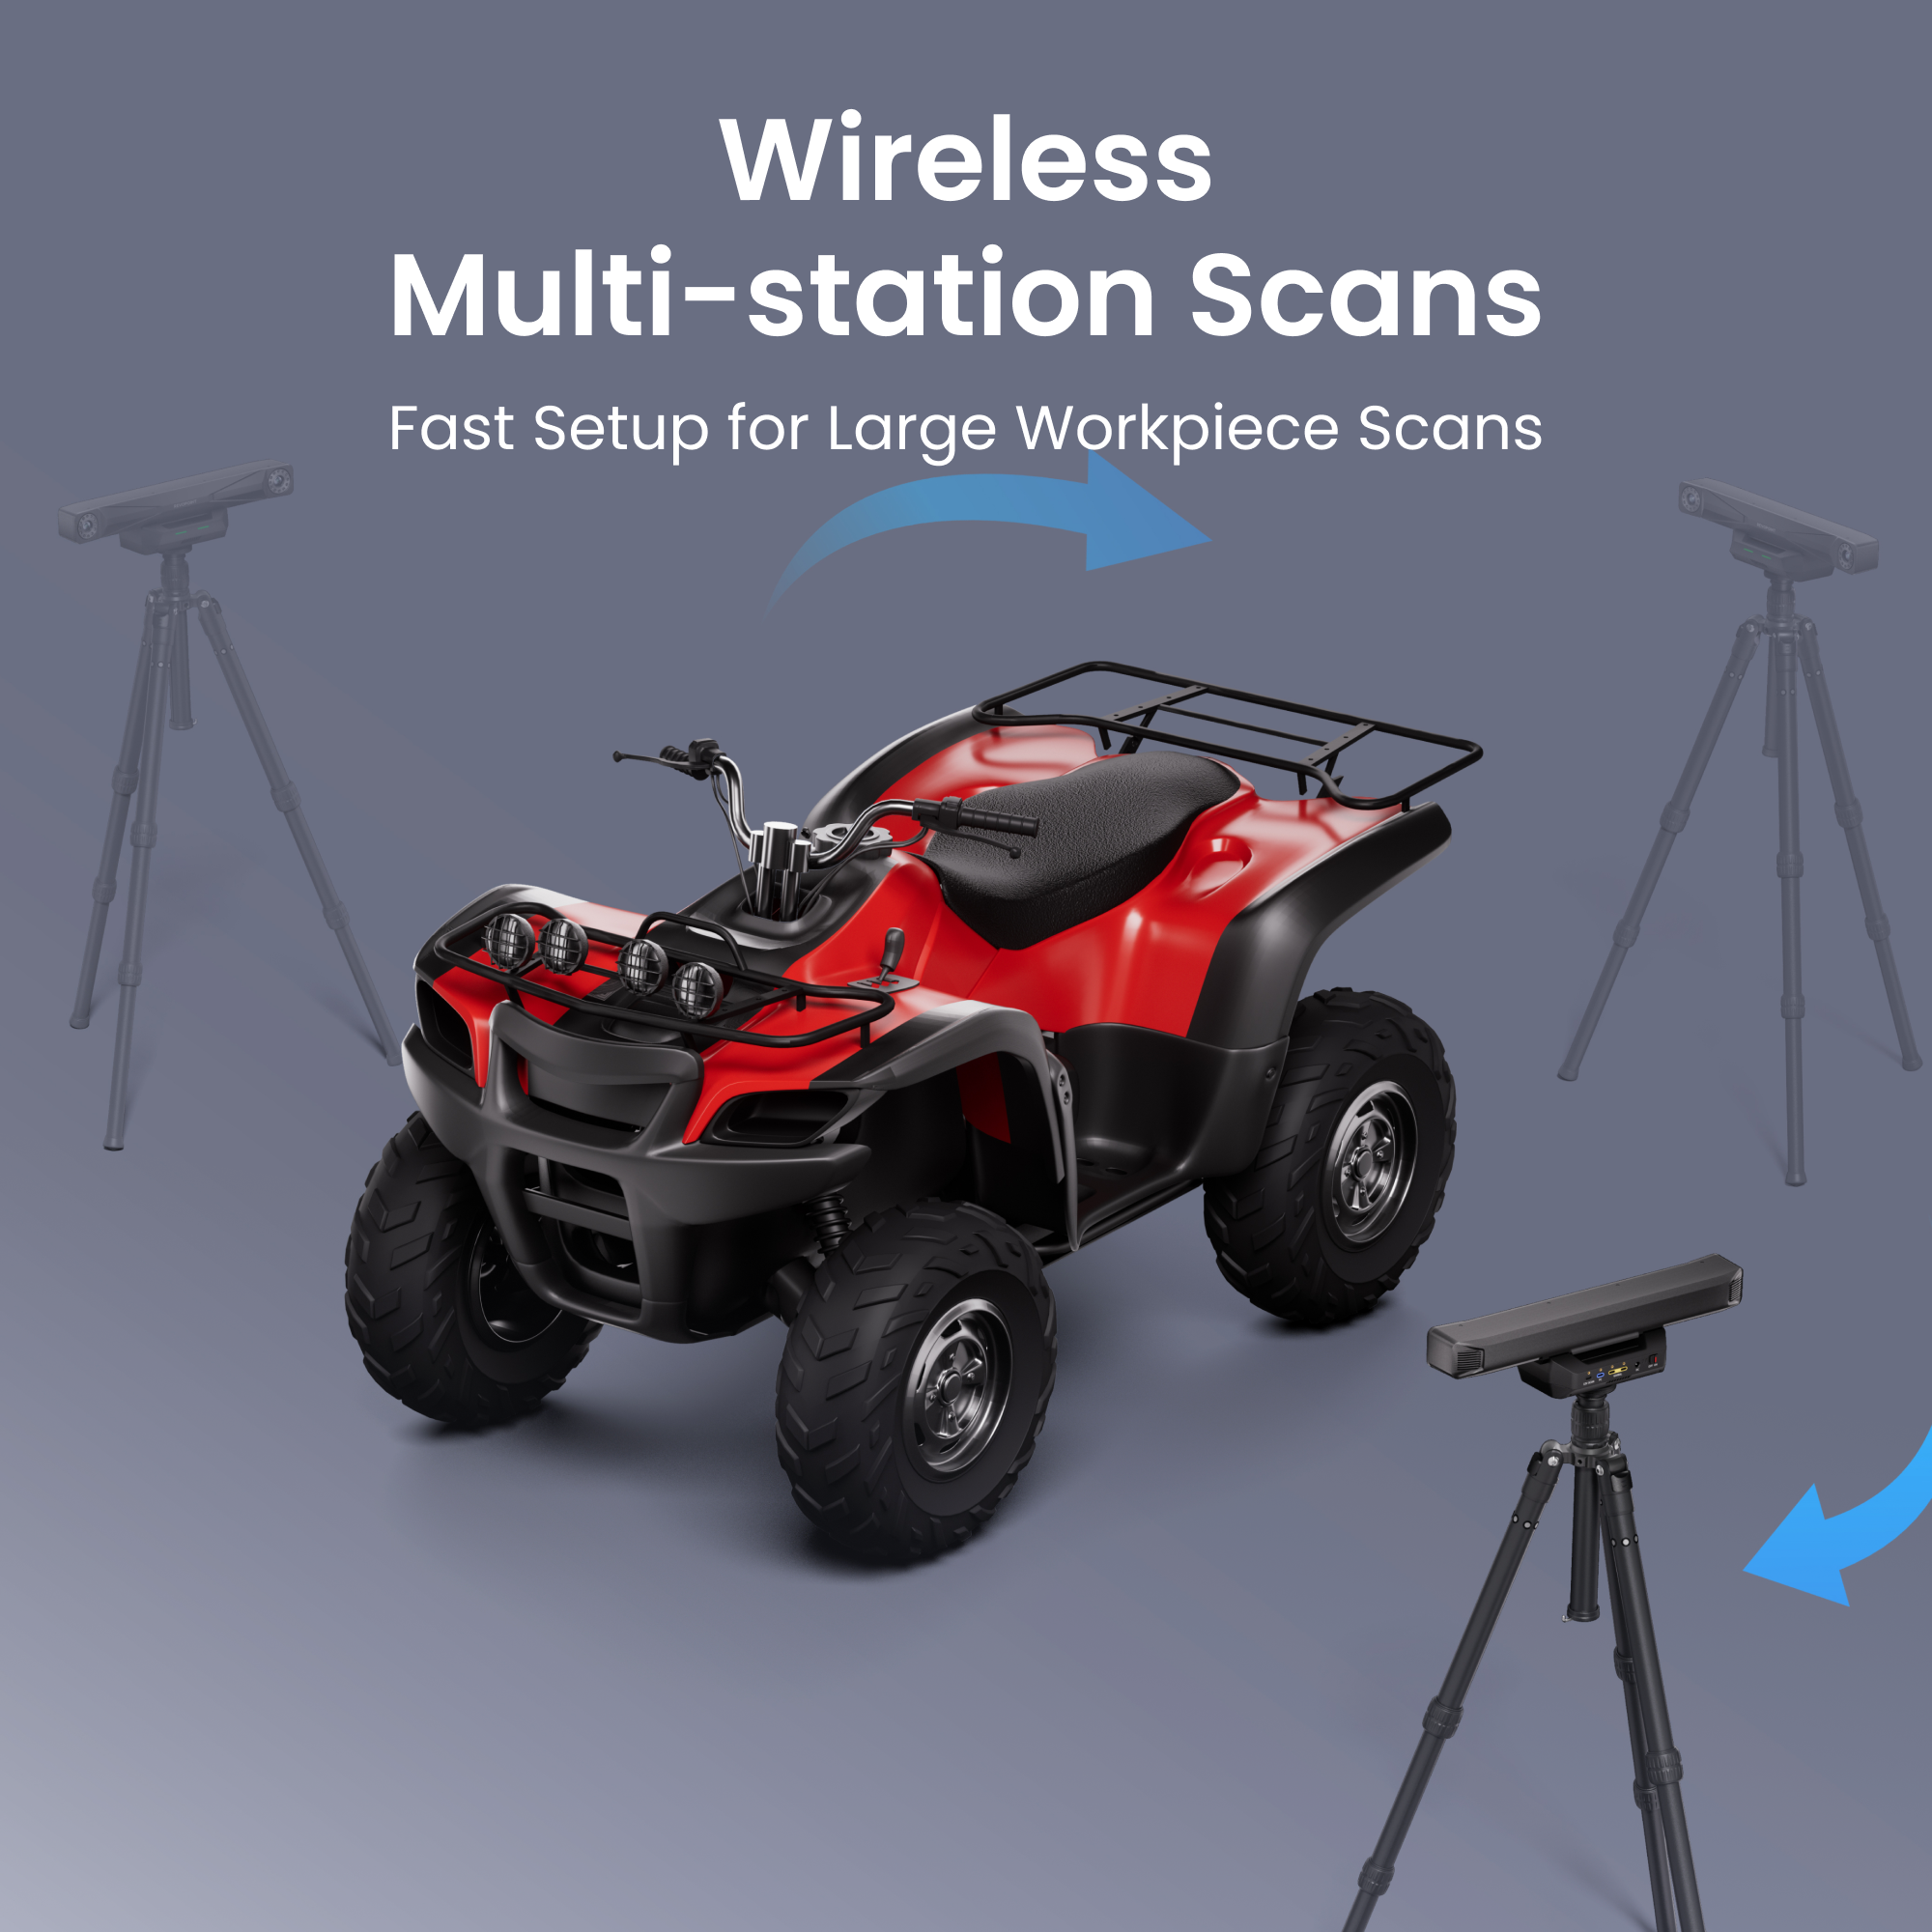
Wireless Multi-station
Scan Setup

Robust Carbon Fiber Frame

Detailed Texture Mapping

Always Accurate, Never Wait

TCP Remote Control

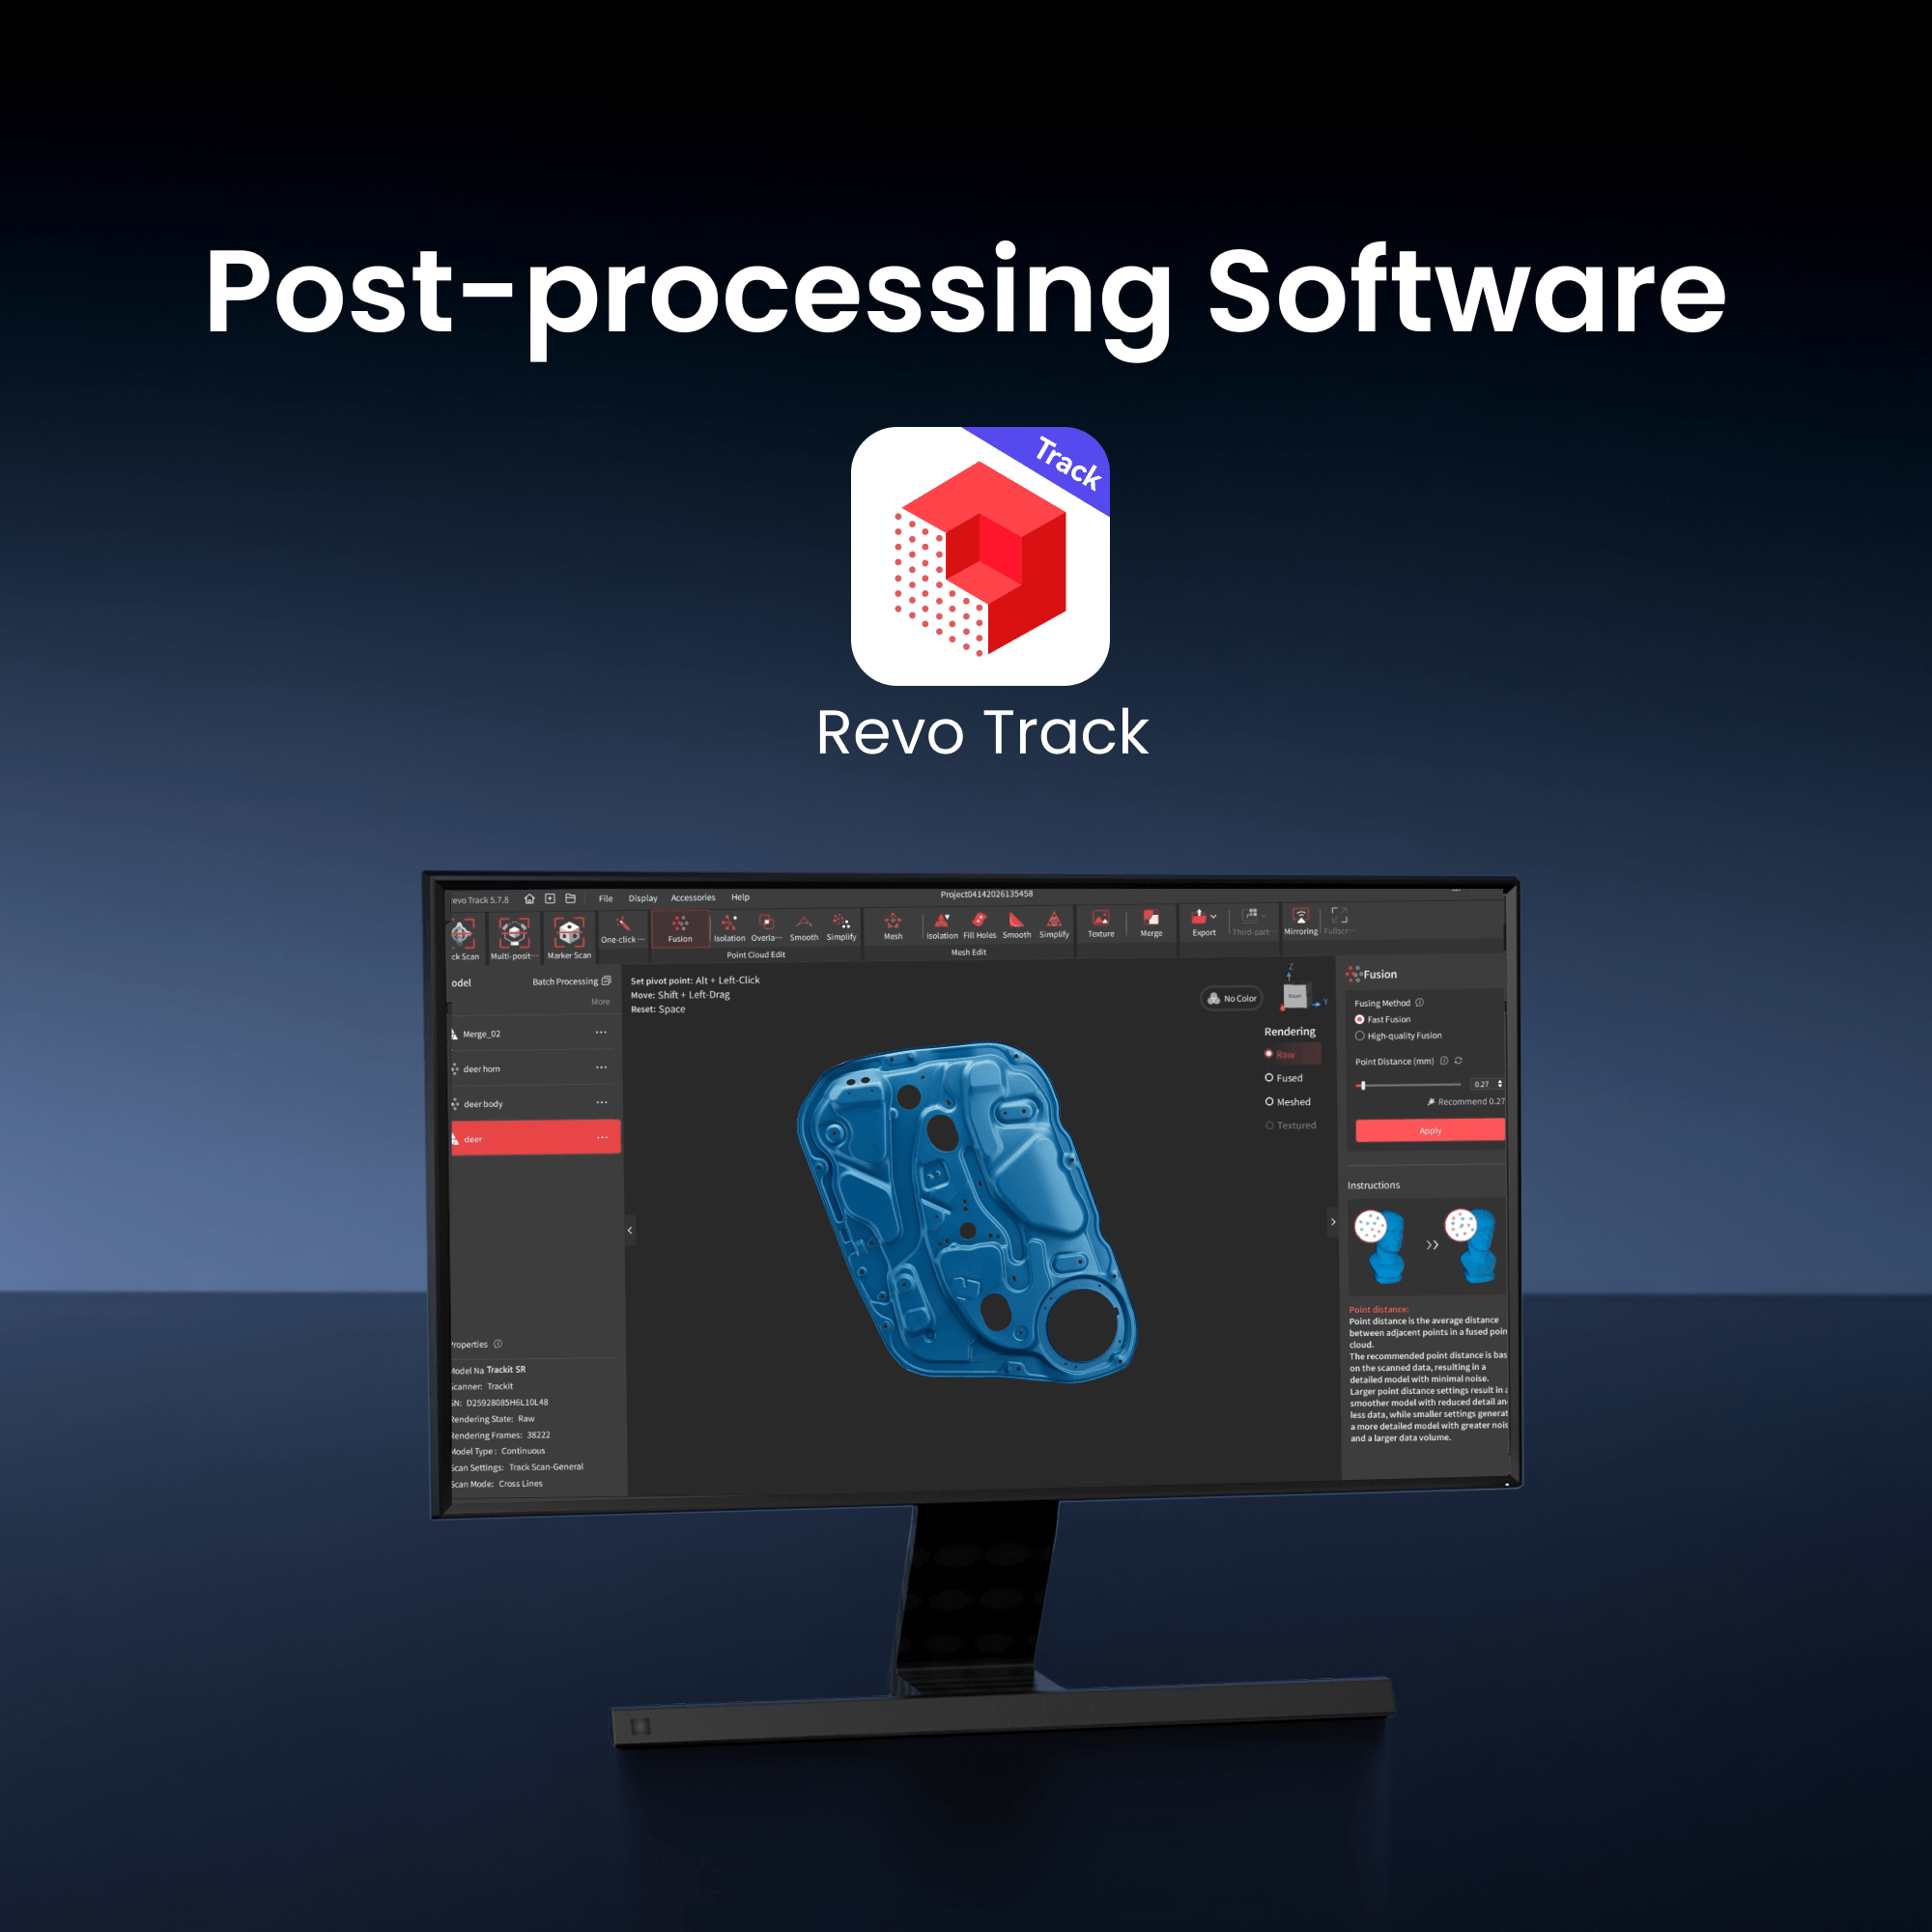
Revo Track Free Post-
processing Software
Output Formats: PLY, OBJ, STL, ASC, 3MF, GLTF, FBX

Revo Design -
Scans-to-CADs

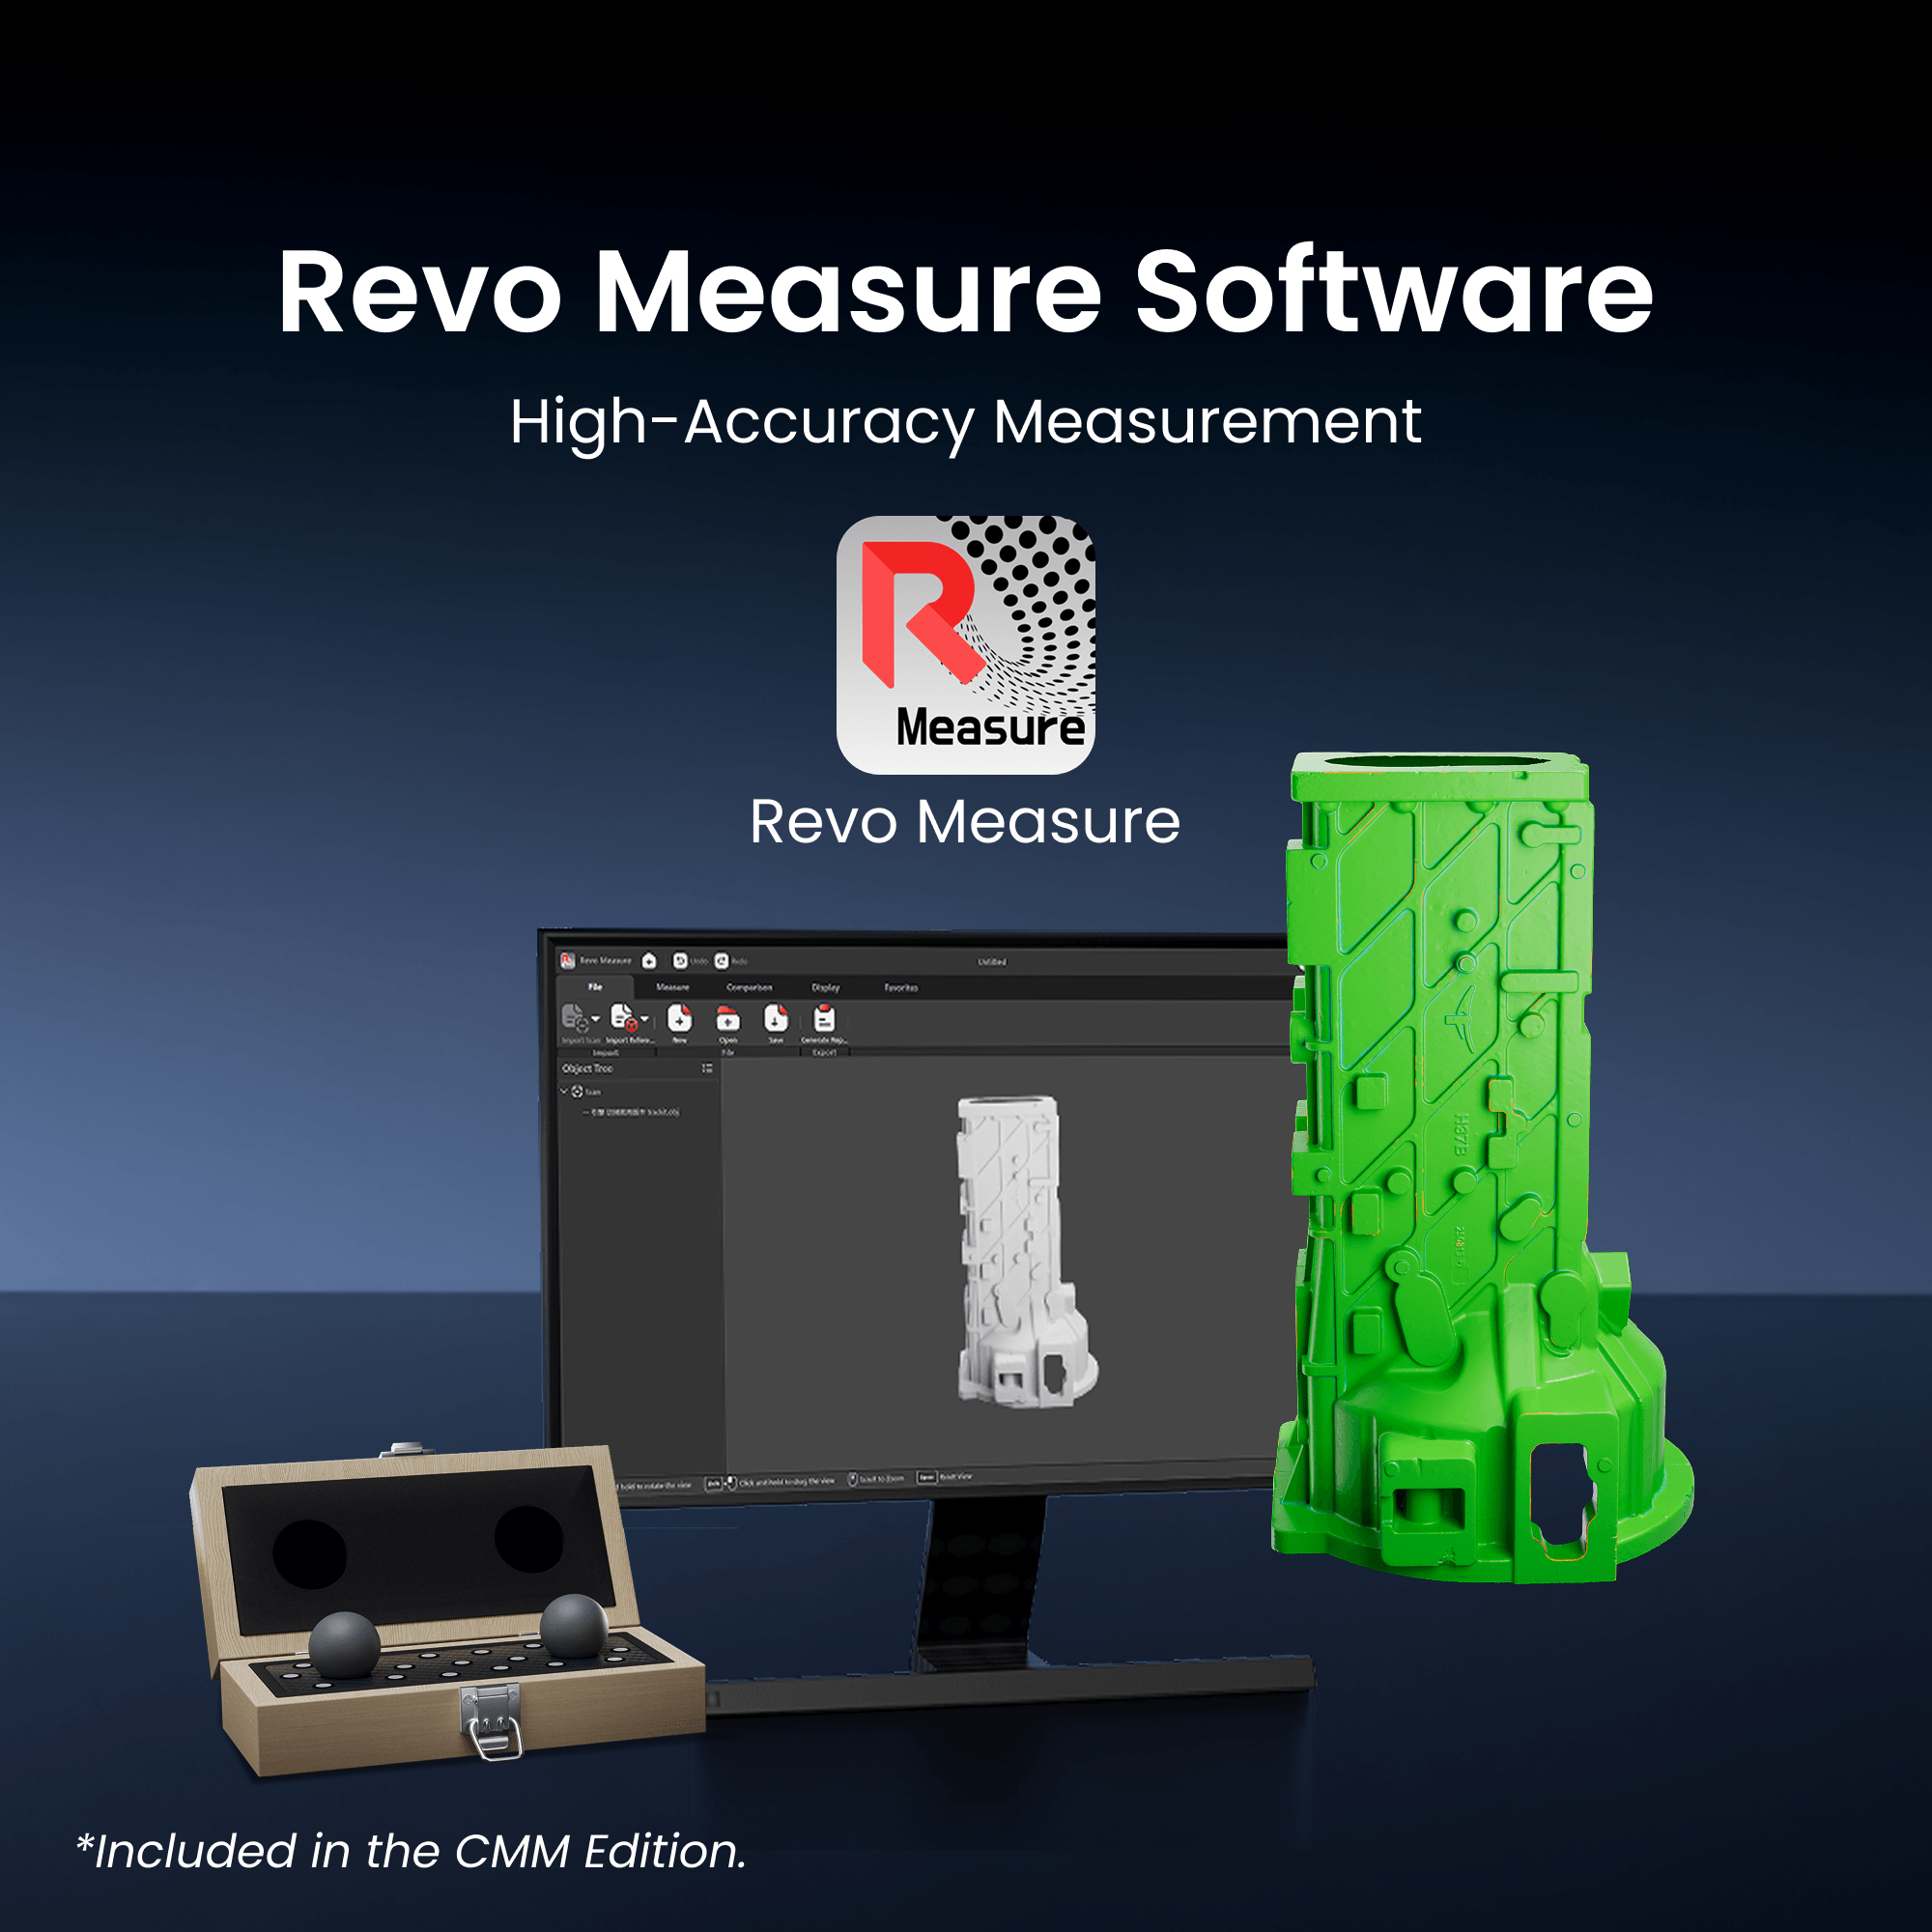
Revo Measure - Scans-
to-Measurements
*Included in the CMM Edition.


30 Cross-line Lasers

17 Parallel Lines

Single Line Laser
0.025 mm + 0.04 mm × L (m)


*Battery Life: Up to 2.5 hours.


Scan Setup


processing Software
Output Formats: PLY, OBJ, STL, ASC, 3MF, GLTF, FBX

Scans-to-CADs

to-Measurements
*Included in the CMM Edition.

Reviews on YouTube

Trackit SR 3D Model Gallery
Color Couch
Bike
ATV
Thin Workpiece
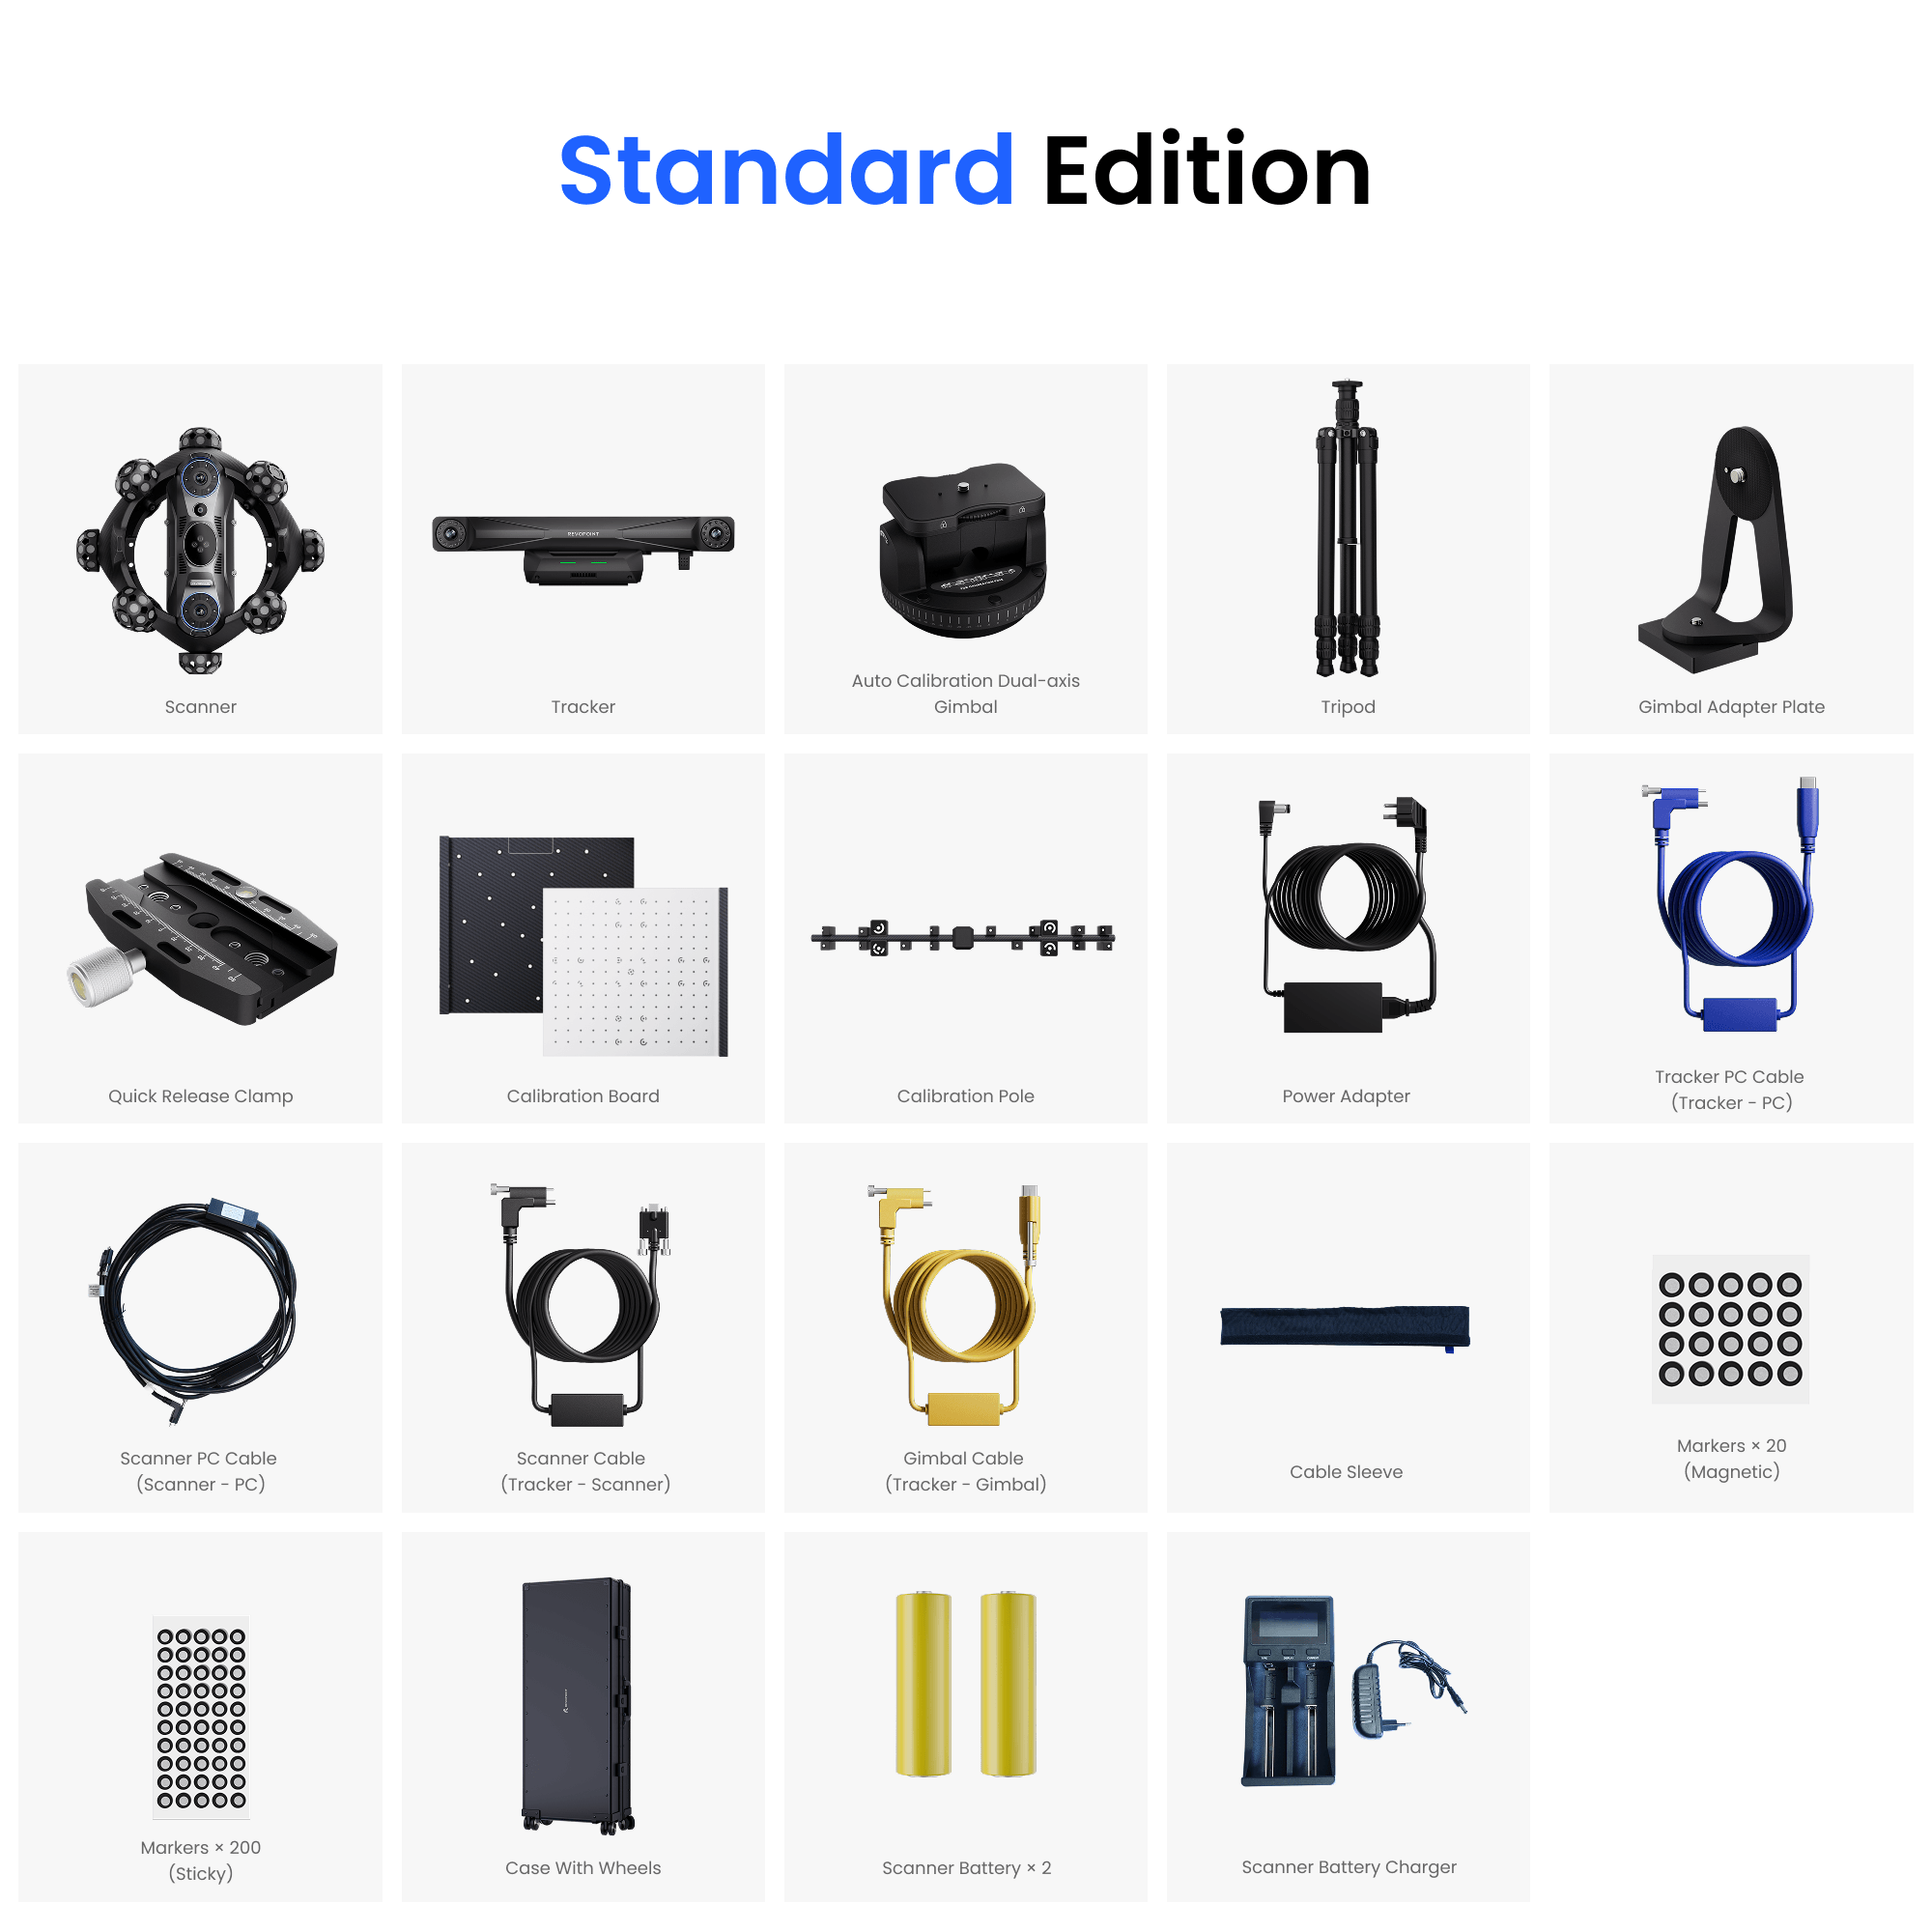
What’s in the Box
Standard Edition

Scanner

Tracker

Auto Calibration Dual-axis Gimbal

Tripod

Gimbal Adapter Plate

Quick Release Clamp

Calibration Board

Calibration Pole

Power Adapter

Tracker PC Cable (Tracker - PC)

Scanner PC Cable (Scanner - PC)

Scanner Cable (Tracker - Scanner)

Gimbal Cable (Tracker - Gimbal)

Cable Sleeve

Markers × 20 (Magnetic)

Markers × 200 (Sticky)

Case With Wheels

Scanner Battery × 2

Scanner Battery Charger
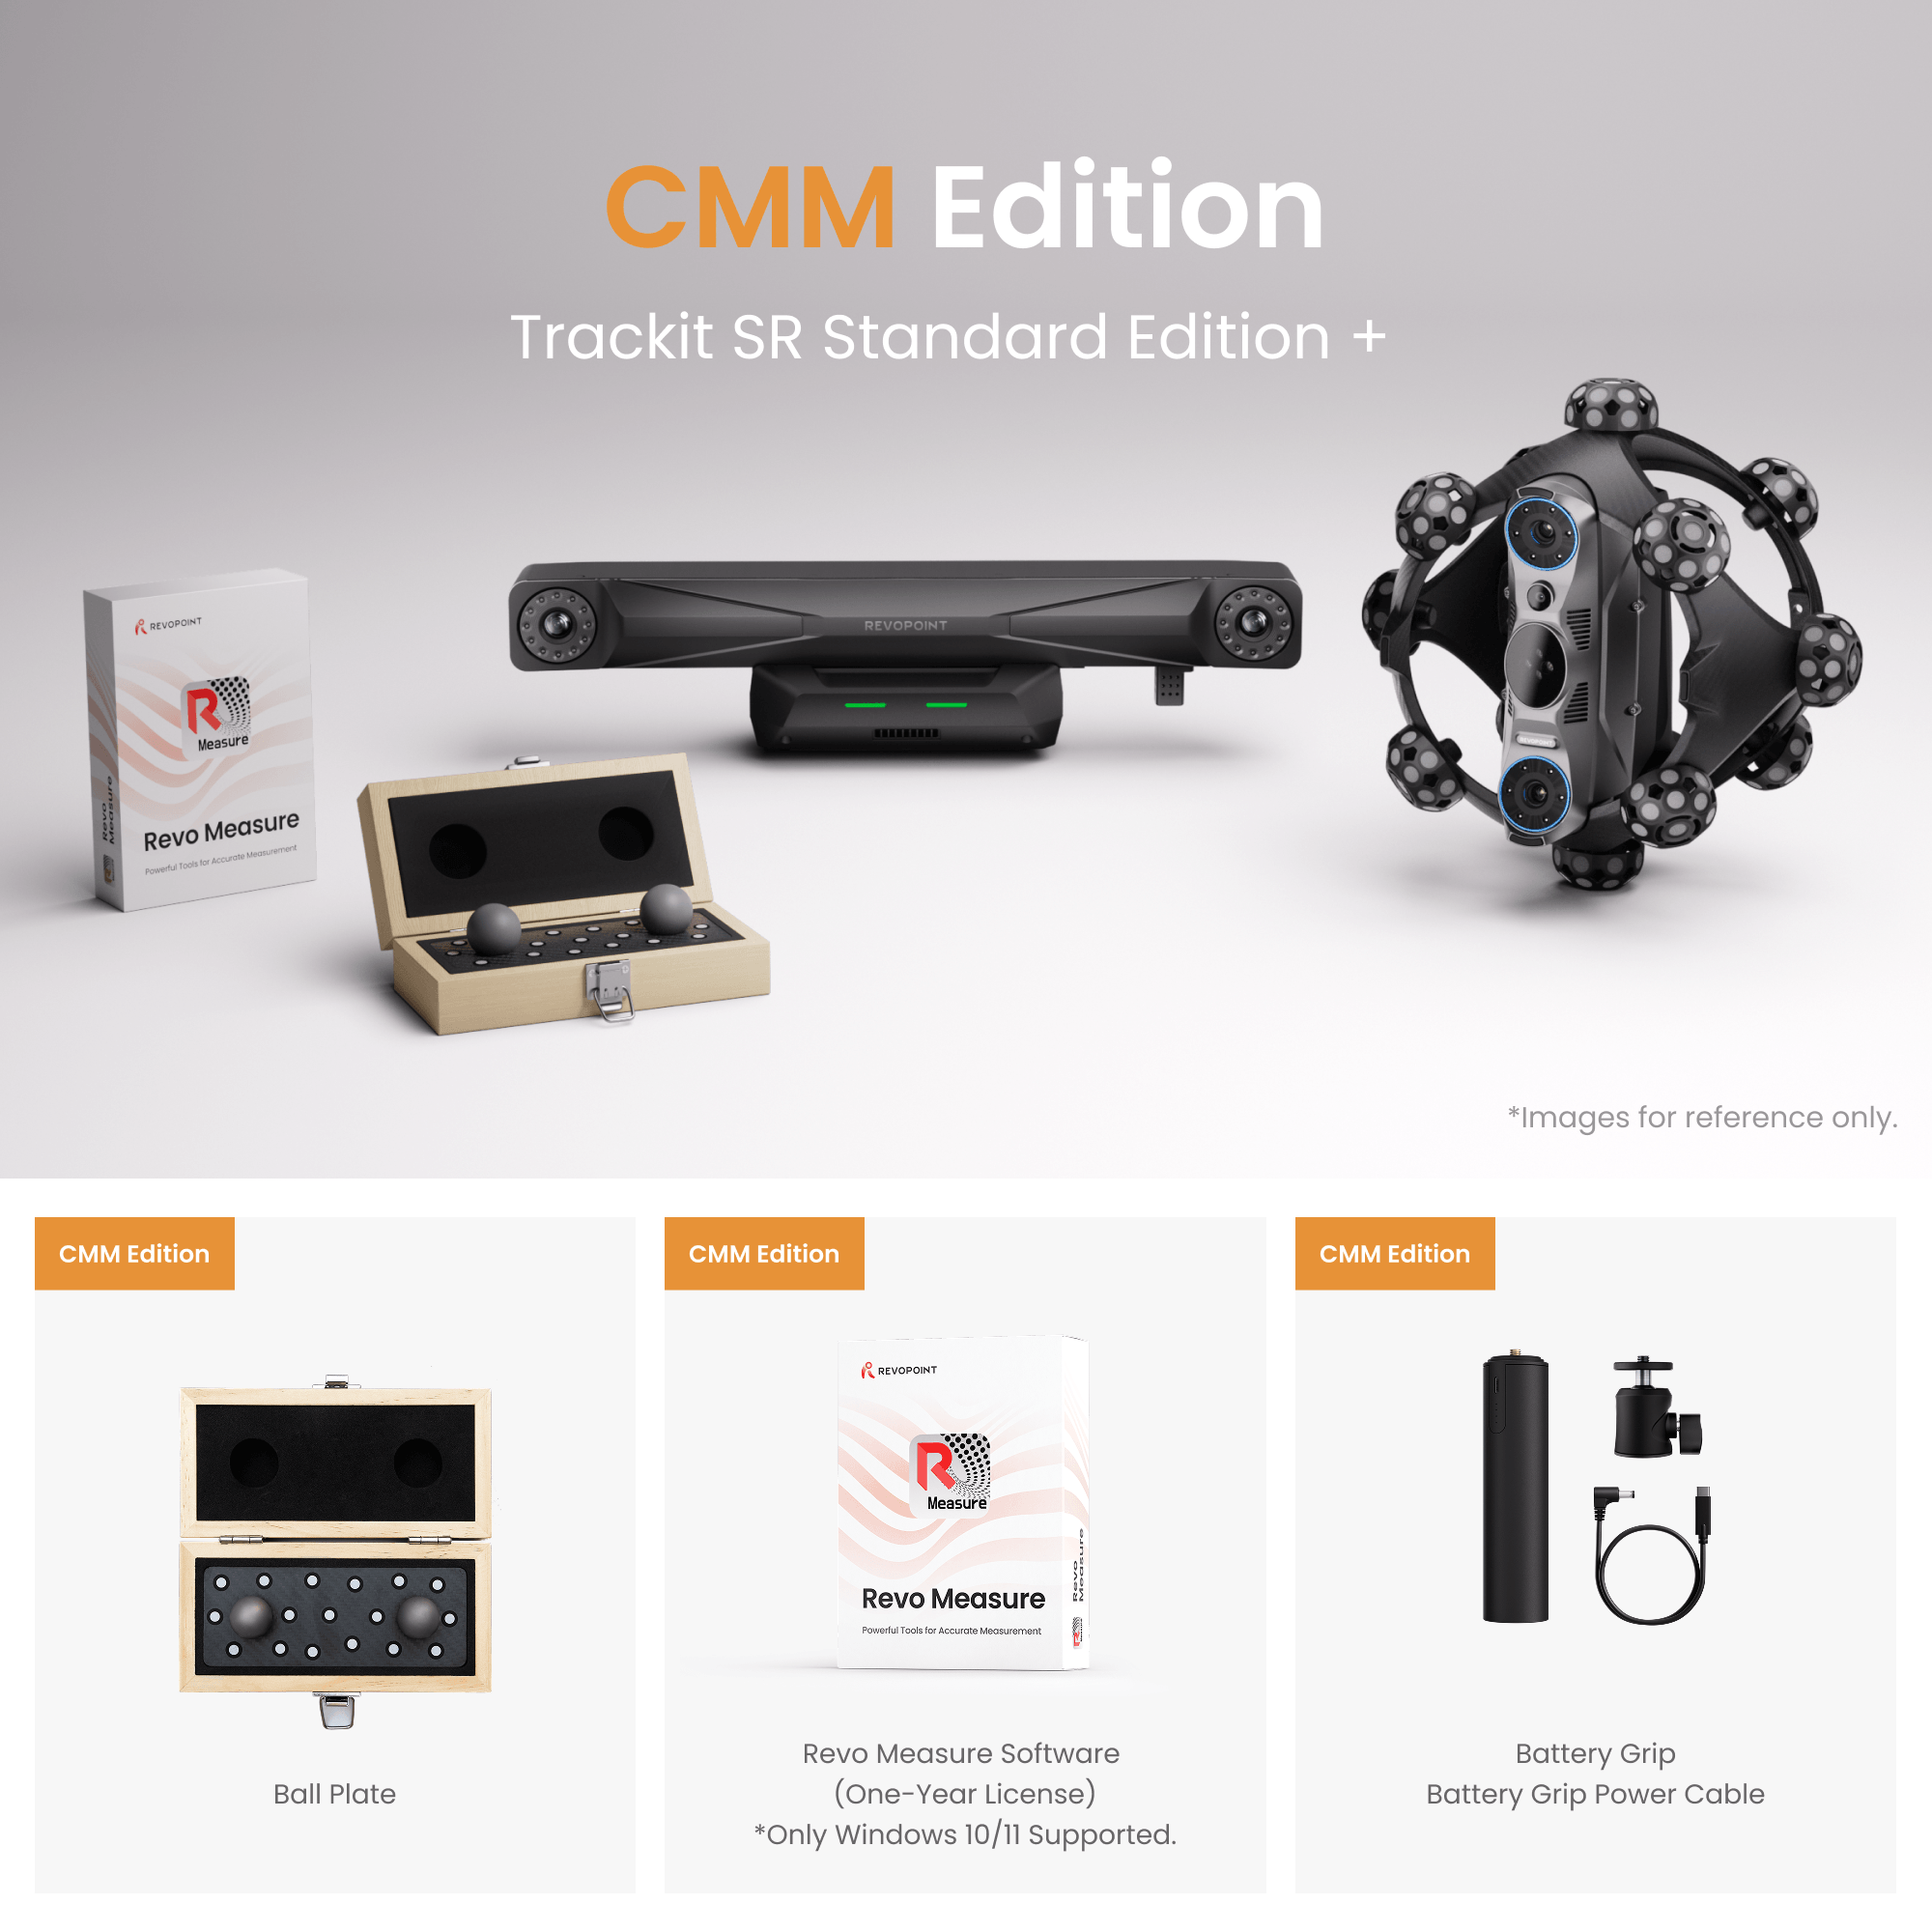
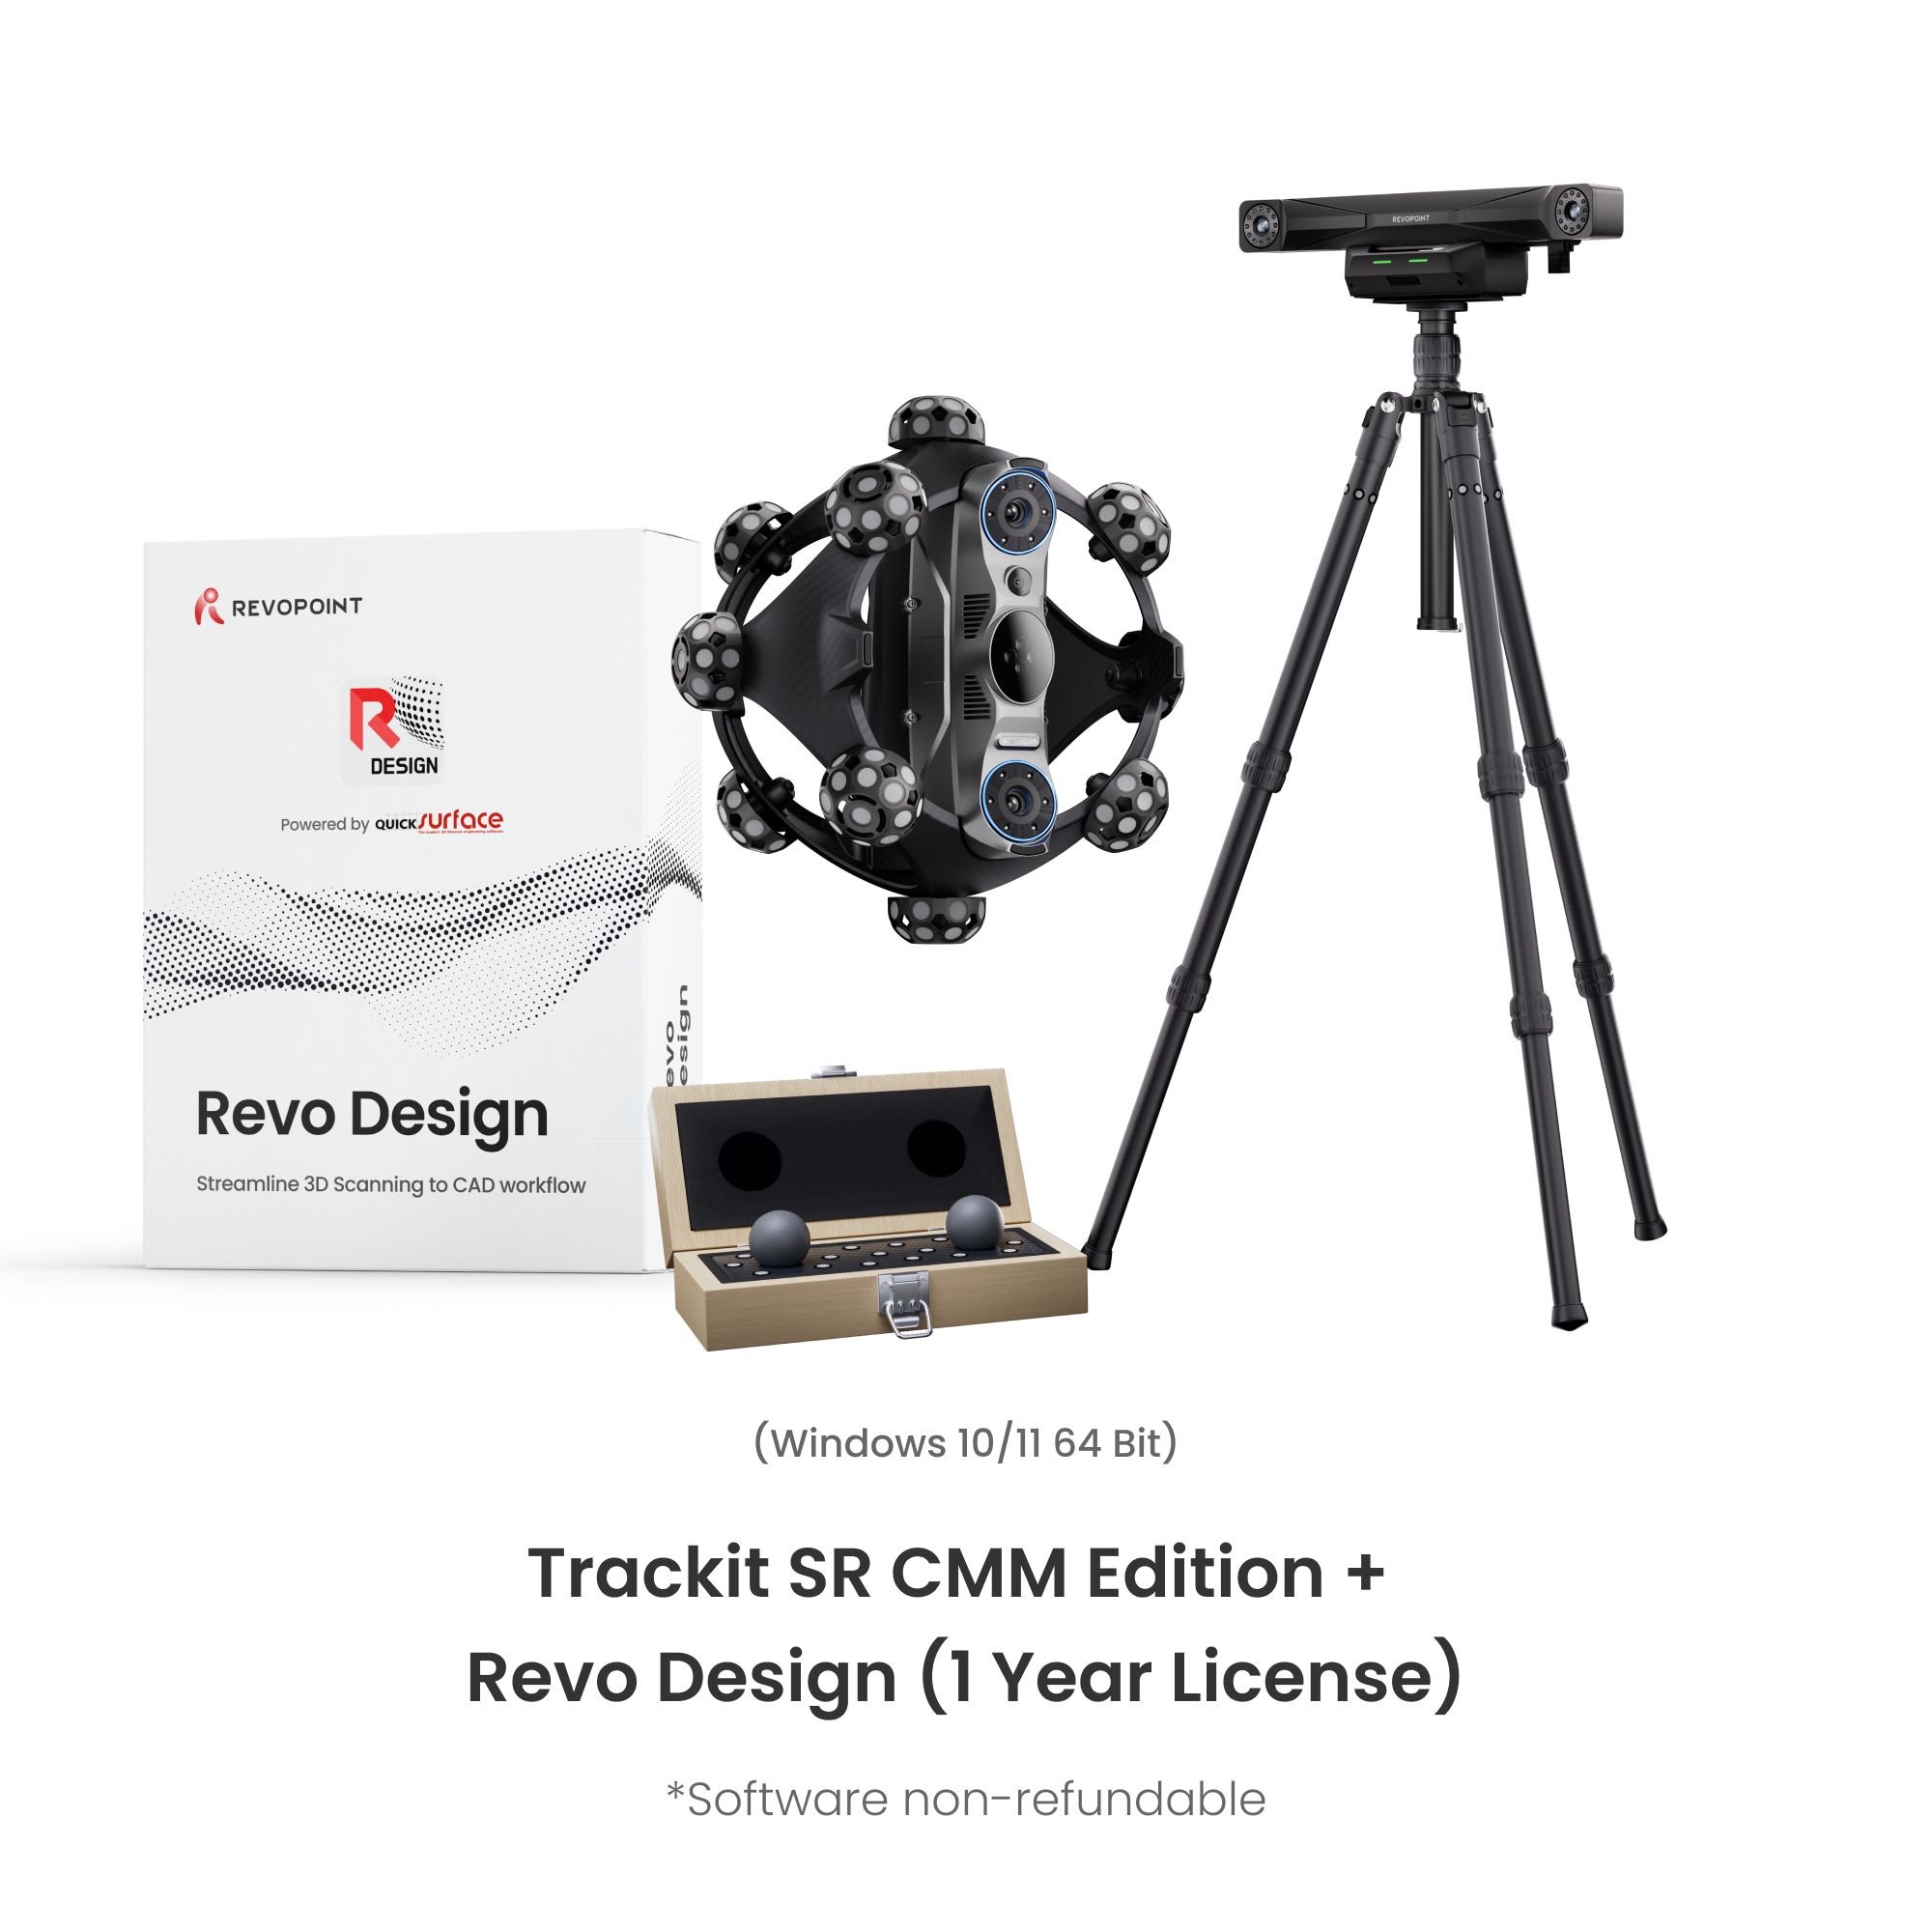
CMM Edition

Ball Plate

Revo Measure Software (One-Year License)
*Only Windows 10/11 Supported.

Battery Grip
Battery Grip Power Cable
More Service


Special Events
Special Discount
If you’re a teacher, veteran, doctor, or student with a valid ID, you can enjoy an extra 5% discount on all of our scanners.
Consult Experts
Speak to expert now! We’re here to help you with all your technical questions and concerns.

Power Up Your Trackit SR:
Compatible Software


Specifications
Trackit SR 3D Scanner

Tracker

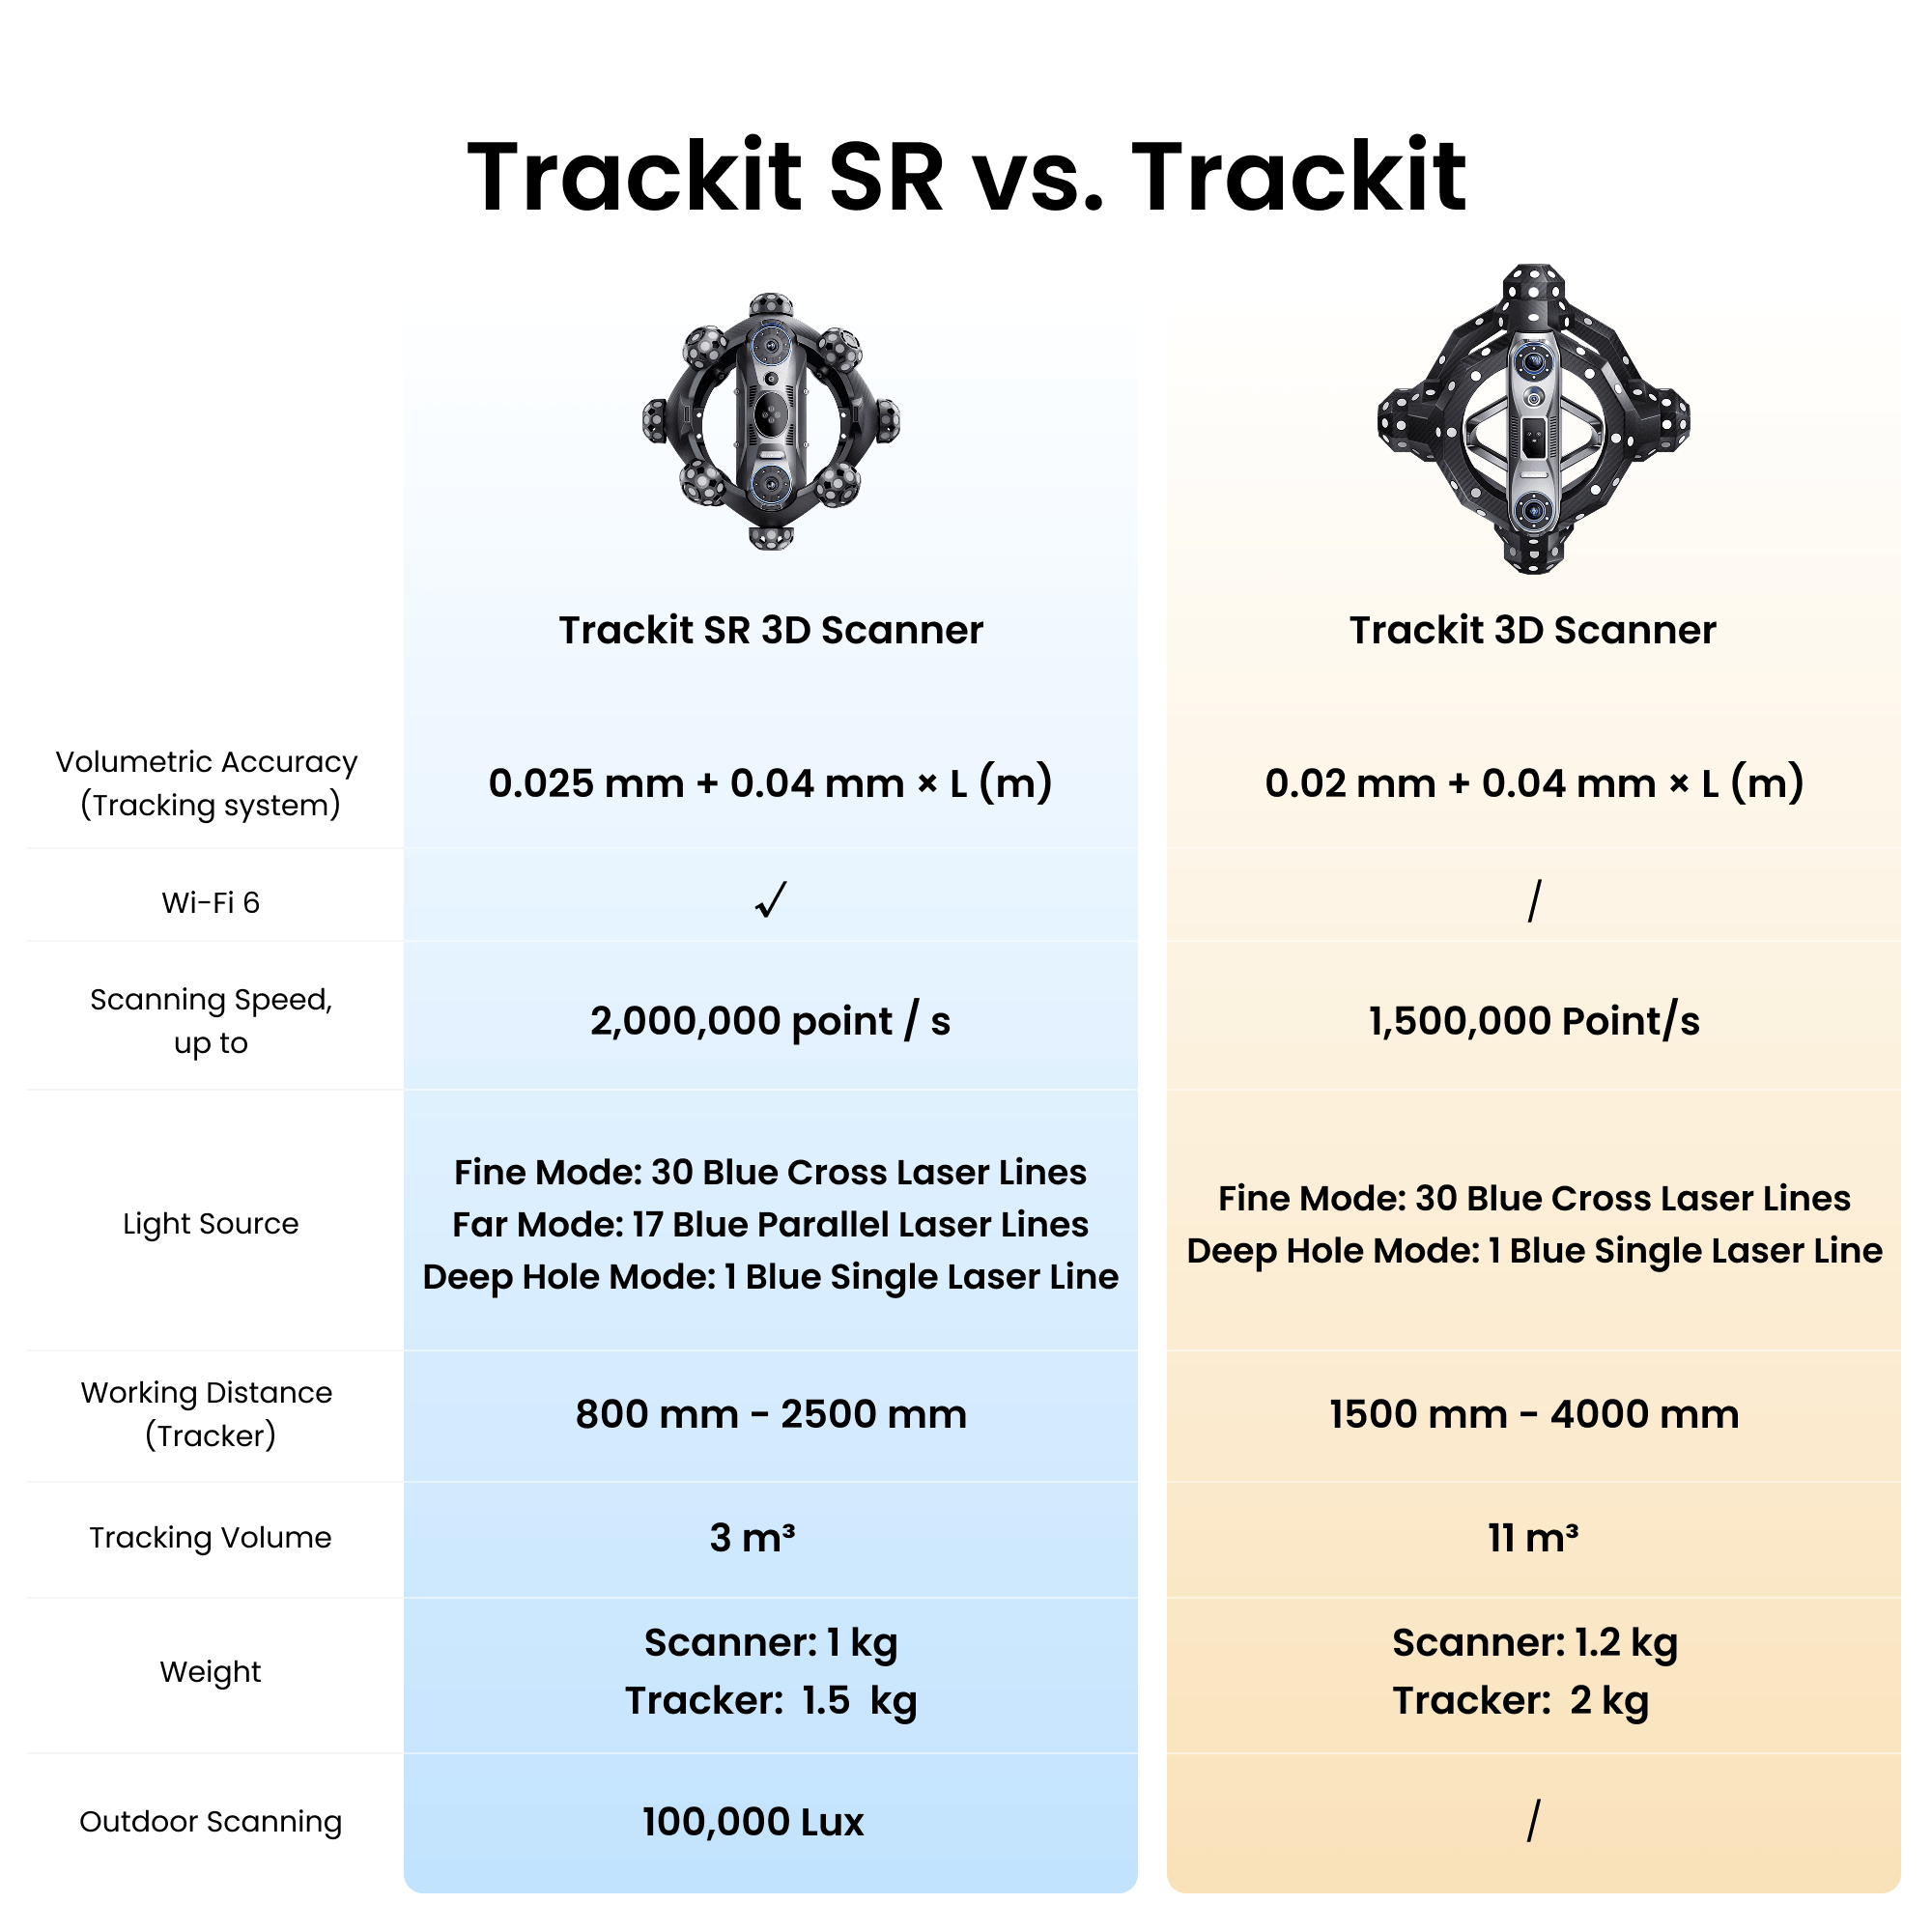
Trackit SR vs. Trackit
Trackit SR 3D Scanner

Trackit 3D Scanner
(Tracking system)
up to
Far Mode: 17 Blue Parallel Laser Lines
Deep Hole Mode: 1 Blue Single Laser Line
Deep Hole Mode: 1 Blue Single Laser Line
(Tracker)
FAQ
What are the differences between Trackit SR’s three scanning modes?
(2) 17 Parallel-line Laser Mode: With a larger working distance, it is suitable for quickly scanning larger objects.
(3) Single-line Laser Mode: Projects a high-quality blue laser line and is suitable for fine scanning of narrow areas, such as deep holes and grooves, ensuring complete capture of complex structures.
Can I 3D print the 3D models created by Trackit SR?
Can the 3D models be imported into design software?
Point Cloud models: PLY, OBJ, ASC
Mesh models: PLY, OBJ, STL, FBX, GLTF, 3MF
Texture models: PLY, OBJ, FBX, GLTF
Can I connect Trackit SR’s Scanner to a PC via Wi-Fi?
Can Trackit SR scan the object with electronic components? Will the laser cause damage?
Note: Do not position the components too close to the scanner's laser outlet, as the laser emission area has a high energy density.
What is Trackit SR’s operating temperature range?
Do I need to use markers during scans?
1) When using the Scanner as a standalone 3D scanner in Marker Scan mode, markers must be placed on the object's surface for frame alignment.
2) When using the Trackit SR in multi-position scan mode, markers serve as global marker coordinates for data alignment when repositioning the Tracker.
How do I calibrate Trackit SR?
Open Revo Track and click "Scanner Calibration" in the lower-left corner of the Home page to enter the calibration interface. Once the device has finished warming up, follow the on-screen instructions to import the SN information, perform an accuracy check, and complete the calibration process.