


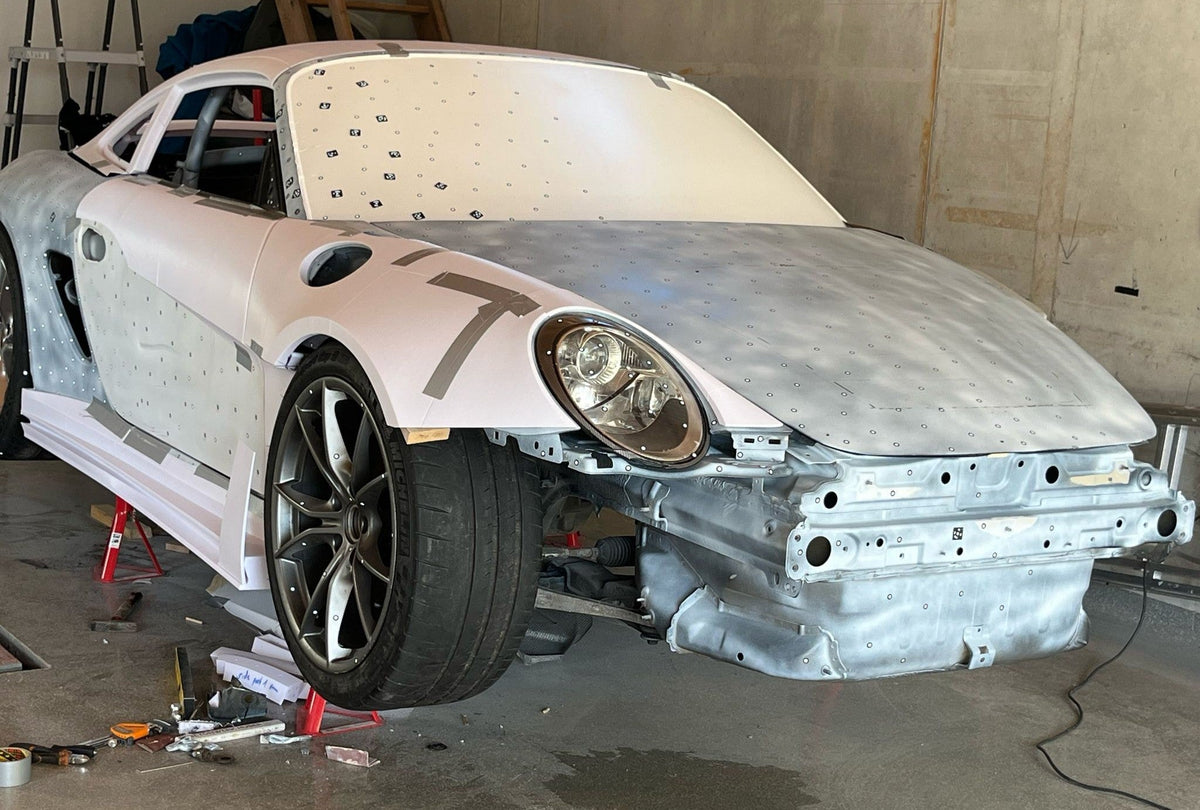
For many automotive designers, creating a custom body kit starts with a physical object and a lot of manual work: measuring the original body, building templates, shaping foam, checking proportions, and repeatedly adjusting the physical model. This is where automotive 3D scanning can provide a reliable digital starting point.
For Philipp Kreiser of PrintedForFun, that approach was not enough.
With a background in 3D printing and digital design, Philipp wanted to take a different route for a much more ambitious project: redesigning almost the entire exterior of a Porsche and ultimately producing the new body panels in carbon fiber.
The goal was to combine design elements from different decades of sports cars into a new body design, including a more aggressive rear end, sharper door lines, and a redesigned spoiler. Almost the entire exterior was changed; only the hood and door panels were largely retained, with even the hood receiving a new insert.
The challenge was to make this large-scale redesign accurate enough to fit the original chassis. That made one thing critical from the very beginning: a reliable 3D scan and digital representation of the car.
"Without 3D scanning the digital design workflow I chose wouldn't have been possible at all."
---- Philipp Kreiser
The Challenge: Designing Around a Real Car
The traditional approach would involve creating wooden templates or tracing contours from photographs, then applying spray foam to the chassis and shaping it manually with saws and rasps.
For a full-body project, Philipp saw several problems:
1. Maintaining symmetry between the left and right sides
2. Making design changes without rebuilding the physical model
3. Spending large amounts of time on manual shaping
4. Limited ability to integrate digital manufacturing methods such as 3D printing or milling
With his background in digital design and 3D printing, Philipp chose to build the project around a digital model instead.
The Porsche project became a test of whether this approach could scale from small components to an entire sports car.
Creating an Accurate Digital Foundation with 3D Scanning
Before designing a single body panel, Philipp needed an accurate digital model of the original vehicle.
For the initial full-car scan, he used MIRACO Plus with the Photogrammetry Metrology Kit. The photogrammetry workflow allowed him to establish a precise global reference across the large vehicle before capturing the detailed point cloud.
This was particularly important because a large object introduces a problem that does not appear as dramatically when scanning small parts: accuracy must remain reliable across the entire object.
Philipp wanted to avoid covering the car with hundreds or thousands of markers and still having accuracy drift over several meters. The initial MIRACO Plus scan therefore became the digital foundation for the project.

As the project progressed, Philipp added Trackit to the workflow. This was particularly useful when he needed to capture additional areas of the vehicle. Trackit's marker-free optical tracking made it easier to move around the car, scan individual sections, and revisit areas throughout the design process without markers.

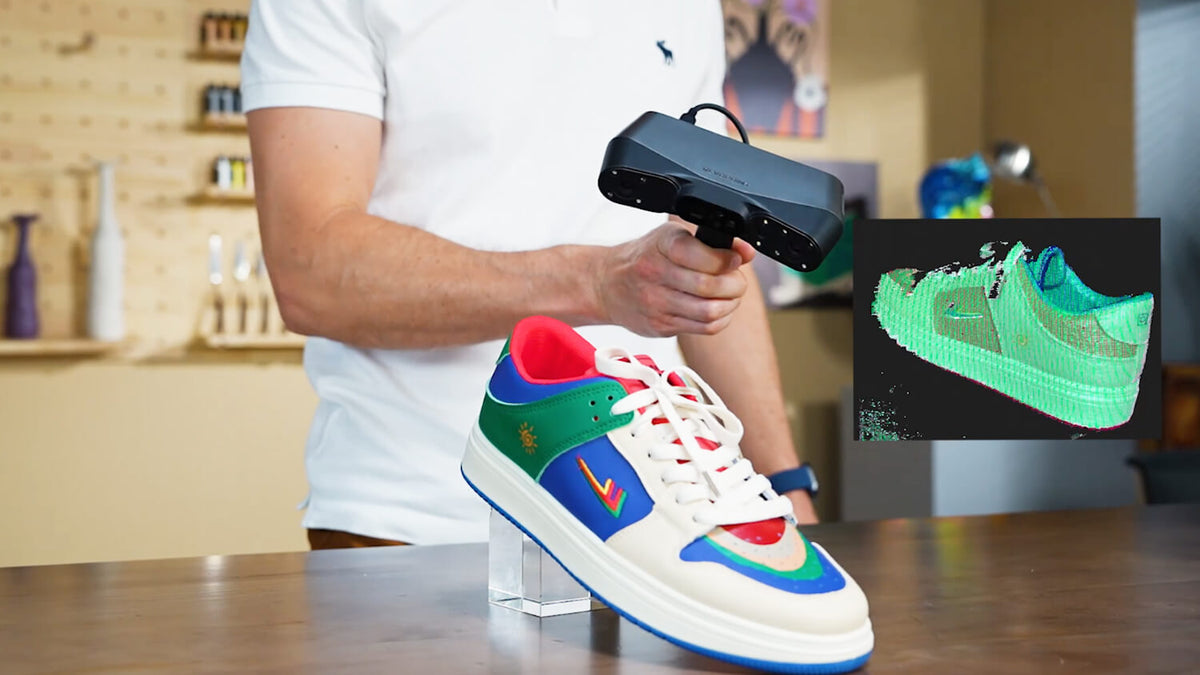
MetroX was also used to scan the reflectors, giving Philipp another option for capturing detailed automotive geometry. Its combination of multi-line blue lasers and full-field blue structured light is designed to handle different surface and geometry requirements, while its multiple scanning modes allow the scanner to switch between faster coverage and detailed feature capture.

The scanners effectively turned the physical car into a digital reference for the rest of the project.
From 3D Scan to Carbon Fiber
The complete workflow was:
1. Scan the original chassis
MIRACO Plus, MetroX, and Trackit were used to capture the vehicle geometry. Philipp also used a VR headset for an AR preview through remote desktop during the process.
2. Develop the design concept
The scan provided the foundation for creating the new body design and checking that it would work with the existing chassis.

3. Build the body panels in CAD
Using Quicksurface Pro, Philipp designed the body panels, mounting points, and geometry for 3D printing.
This digital stage also solved one of the biggest challenges of manual bodywork: symmetry.
If one fender was designed correctly, the geometry could simply be mirrored to create the opposite side. Even in a hybrid workflow where one side was manually crafted first, the scan could be used to capture and reproduce that geometry digitally.

4. 3D print the panels
The large body panels were printed in multiple sections.
5. Assemble and refine
The printed sections were assembled and smoothed.

6. Manufacture the carbon-fiber parts
The printed panels were used to create negative fiberglass molds, which were then used to manufacture the final carbon-fiber parts.
This Scan-to-CAD workflow allowed the same digital data to move from scanning to CAD, prototyping, molding, and final production.
Solving the Fitment Challenge
For a full-size vehicle, a small error can become a major fitment problem.
If the initial scan is inaccurate, that error can propagate through the entire design and manufacturing process. Philipp therefore verified the scan before beginning the design phase.
The final body panels achieved a fit of less than 1 mm across the length of the car.
Interestingly, the main source of fitment variation was not the 3D scan itself. According to Philipp, the scan was roughly in the 0.1 mm range, while 3D-printing deformation caused by thermal stress introduced more error, although it remained below approximately 0.5 mm.

Most of the final rework involved sanding printed parts, compensating for printing and assembly issues, or making small design changes for legal requirements and personal preference. All of the parts were ultimately designed from the scan and fitted directly to the car.
Saving Hundreds of Hours
Philipp estimates that the digital workflow saved several hundred hours of labor compared with a more manual process.
But the benefit went beyond time savings.
Once the car was digitally captured, design changes could be made in CAD instead of reshaping the physical model. Parts could be mirrored, mounting points could be incorporated directly into the design, and prototypes could be produced through 3D printing before moving to carbon-fiber manufacturing.

The workflow also made a project of this scale more accessible. Philipp noted that comparable laser-tracking scanners had historically cost around €50,000, making them difficult to justify for an independent creator.
From Digital Model to Real Car
The digital workflow took the project from the initial scan to a physical Porsche. Philipp's client was impressed by the transition from the original sketch to a physical vehicle, while the contractor responsible for manufacturing the carbon molds was also surprised by how quickly the digitally designed parts could be produced and fitted.
The final carbon-fiber parts are now in production, with the completed car planned for a future car-show reveal.
More importantly, the project proved that 3D scanning could connect the entire process:
Scan -> CAD -> 3D Print -> Mold -> Carbon Fiber
For Philipp, the biggest result was not just the accuracy or time saved, but proving that a full-scale digital automotive workflow was possible:
“For myself the biggest benefit is: I know I can do it.”---- Philipp Kreiser
For PrintedForFun, 3D scanning became more than a measurement tool - it became the foundation connecting the real vehicle, digital design, prototyping, and final manufacturing.
FAQ: 3D Scanning for Automotive Modification
Can 3D scanning be used to design a full car body kit?
Yes. This Porsche project shows how a full vehicle can be scanned and turned into the digital foundation for a new body kit—from CAD design and 3D printing to carbon-fiber manufacturing.
Both MIRACO Plus and Trackit can scan entire vehicles. MIRACO Plus with the Photogrammetry Metrology Kit helps establish an accurate global reference, while Trackit supports scanning from 10 mm to 6 meters with its dual-camera base station.
Do I need to cover the car with markers before scanning?
No. Users can scan large workpieces without markers by using Trackit to leapfrog its base station around the object.
Philipp used markers with MIRACO Plus to establish the initial global reference. Alternatively, Trackit supports a marker-free workflow that makes it easier to move around large objects and capture areas that are difficult to reach in a single setup.
Can 3D scanning help make a body kit symmetrical?
Yes. Once one side is designed, the geometry can be mirrored digitally to create the opposite side.
Philipp used this approach to solve one of the biggest challenges of manual bodywork: keeping left and right body panels consistent.
How accurate does a scan need to be for automotive modification?
It depends on the part and fitment requirements, but large-scale projects require reliable accuracy across the entire vehicle.
In this project, the final body panels achieved a sub-1 mm fit across the length of the car, while Philipp estimated the scan itself was around 0.1 mm. MIRACO Plus helped establish the accurate large-scale reference, while MetroX provided additional flexibility for capturing detailed geometry.
Which Revopoint scanner is best for automotive projects?
Different scanners can serve different stages of the workflow:
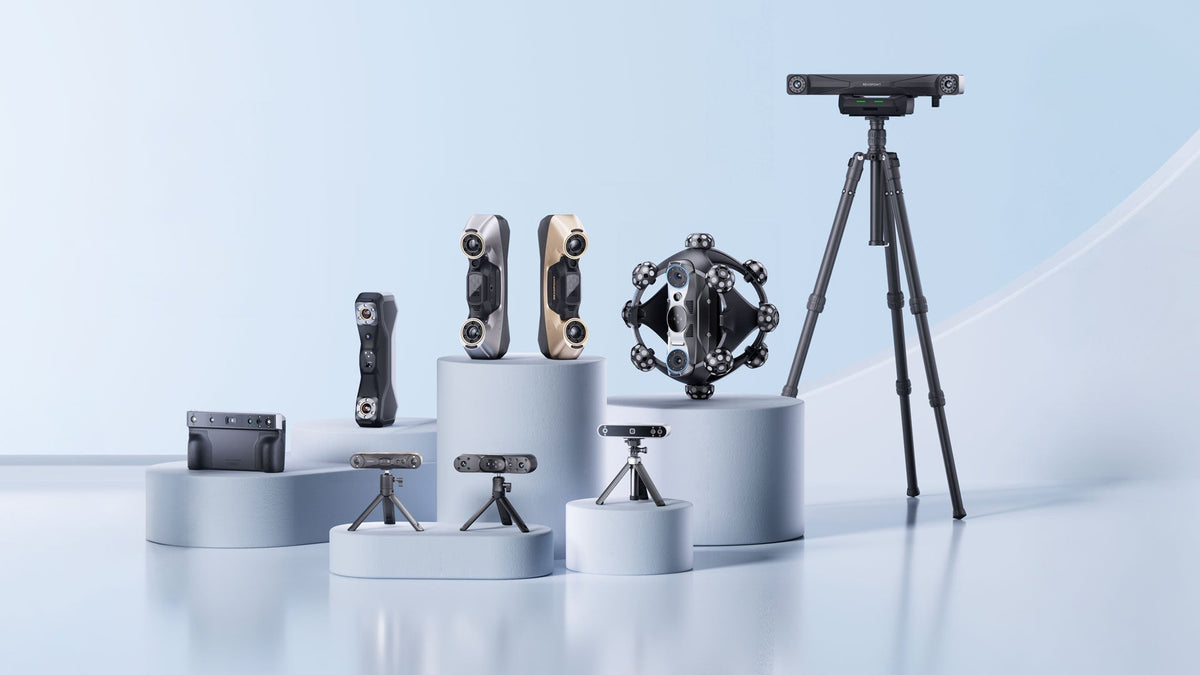
MIRACO Plus - for scanning the entire vehicle with high-accuracy photogrammetry and establishing a reliable large-scale reference, without needing a computer during scanning.
Trackit - for marker-free optical tracking, making it easier to scan large vehicles and capture additional areas without covering the car with markers.
MetroX - for capturing detailed automotive geometry with blue-light structured scanning and multiple laser modes, including modes suited to dark, reflective, and fine surfaces.
For complex projects like this Porsche, they can work together rather than being used as alternatives. Use the discount code REVONEWS26 when purchasing a scanner to enjoy an additional 2–5% OFF.
Can 3D scanning replace traditional automotive fabrication?
Not completely. Instead, it reduces manual measurement and design work while connecting scanning with CAD, 3D printing, and traditional manufacturing.
In Philipp's workflow, the process became:
Scan -> CAD -> 3D Print -> Fit & Refine -> Mold -> Carbon Fiber
The scan provided the digital foundation, while physical prototyping and fabrication remained essential to the final result.
Case Source: PrintedForFun
For inquiries, please contact: printedforfunofficial@gmail.com
You can also find more of their work here:
YouTube: https://m.youtube.com/@PrintedForFun
Reddit: https://www.reddit.com/user/PrintedForFun/submitted/

Leave a comment
This site is protected by hCaptcha and the hCaptcha Privacy Policy and Terms of Service apply.