3D scanning has become an essential tool across industries, from engineering and product design to digital preservation and creative arts. Yet, even with today’s advanced scanners and intuitive software, both beginners and seasoned professionals can encounter common 3D scanning errors that disrupt workflow and impact results. Understanding these pitfalls—and how to troubleshoot them—can help you achieve accurate, reliable, and high-quality 3D models for any application.
Understanding the Most Frequent 3D Scanning Issues
Many users assume that creating a flawless 3D scan is as simple as pointing a scanner at an object and pressing start. In reality, there are several 3D scanner problems that can arise if best practices aren’t followed. Typical issues include incomplete data capture, surface noise, misalignment, and tracking loss. These can lead to models with missing geometry, rough textures, or errors that complicate downstream uses like 3D printing or CAD modeling.
Surface Preparation and Material Challenges
One of the most common sources of 3D scanning mistakes is neglecting the object’s surface condition. Dust, fingerprints, or reflective and dark surfaces can confuse even the most sophisticated structured light or laser scanners. Before scanning, it’s important to clean your object and, if necessary, use a matte scanning spray to minimize glare or enhance contrast. This simple step can dramatically improve scan quality, particularly when working with challenging materials like shiny metals, glass, or deep black plastics.

Lighting and Environmental Factors
Consistent, diffuse lighting is crucial for optimal results, especially for photogrammetry and structured light scanners. Harsh shadows, direct sunlight, or fluctuating ambient light can introduce unwanted artifacts and reduce model accuracy. Scanning in a controlled environment, using softboxes or ring lights, helps ensure even illumination and reliable data capture.
Choosing the Right 3D Scanner for the Job
Not all scanners are created equal—selecting the correct device for your object size and required detail is vital. Attempting to scan tiny components with a general-purpose handheld scanner may result in blurry or noisy models. Conversely, using a high-precision tabletop scanner for large objects can be inefficient. Revopoint’s diverse lineup, including the MetroY for industrial-grade accuracy and the INSPIRE 2 for portable ease, makes it easy to match the right tool to your workflow, whether you’re scanning jewelry, automotive parts, or historical artifacts.
Movement, Tracking, and Alignment Errors
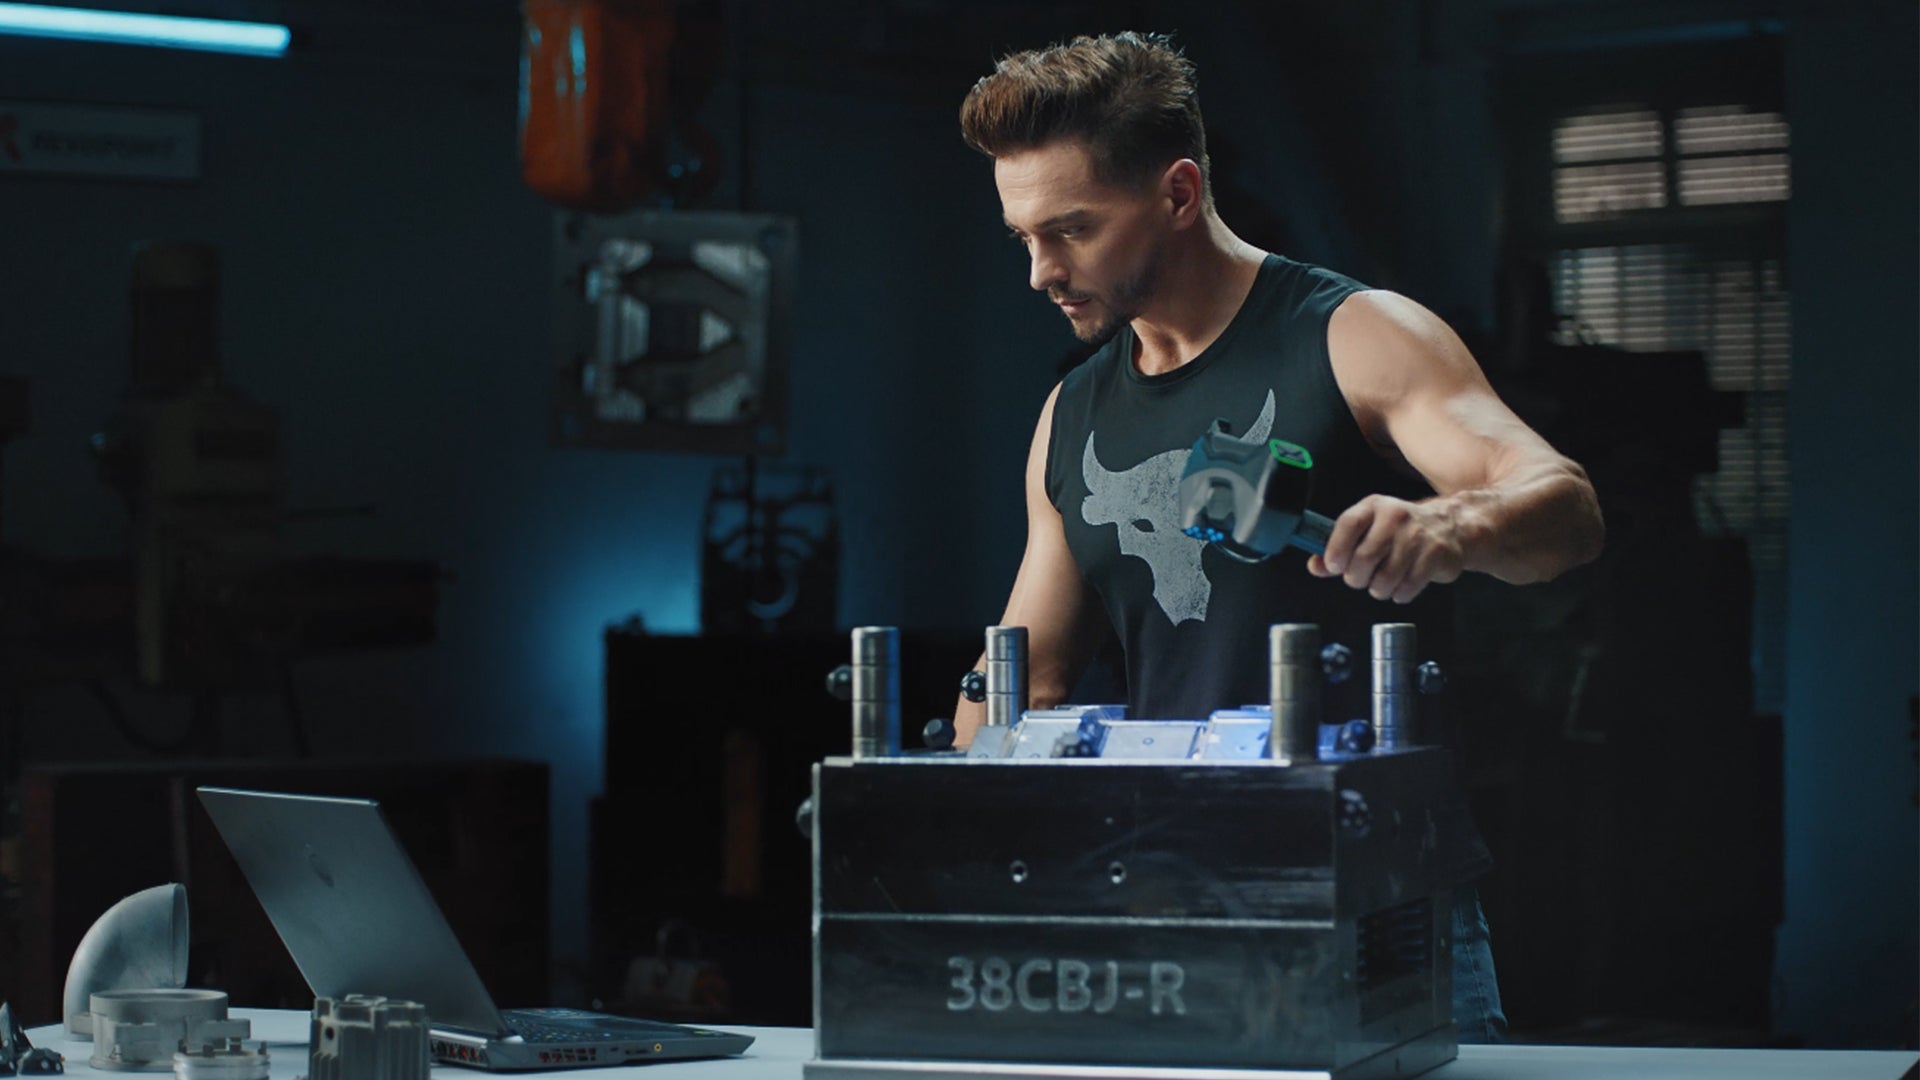
Another common issue during handheld 3D scanning is moving too quickly or inconsistently, which can lead to tracking loss and result in incomplete data or misaligned scan passes. To prevent these problems, it’s important to maintain a steady pace and ensure each scan sweep overlaps, allowing your scanner’s software—such as Revopoint’s Revo Scan—to accurately track coverage and alignment in real time. For objects that are symmetrical or lack distinct surface features (such as smooth, monochromatic, or patternless surfaces), using markers or opting for a scanner with optical tracking capability (like the Trackit 3D Scanner) can further enhance scanning reliability.

Calibration and Regular Maintenance: Why It Matters
Regular calibration and maintenance are essential to ensure your 3D scanner delivers accurate results over time. Even high-quality scanners can experience calibration drift, causing “measurement bias”—your scans may appear precise but still be off-target. Skipping manufacturer-recommended calibration leads to measurement errors, distorted scales, inaccurate dimensions, and misaligned data. These issues are especially critical in engineering, quality inspection, or reverse engineering, where small inaccuracies can result in costly mistakes or rework. Neglecting calibration also reduces repeatability and reliability, making consistent results across scans difficult. By maintaining regular calibration, your data remains trustworthy for all critical applications.
Post-Processing and File Export
Proper post-processing is just as important as the initial scan. Learn your scanner’s software for tasks like noise removal, mesh alignment, and hole filling. Revopoint’s suite, including Revo Scan and Revo Design, streamlines these steps with user-friendly tools and supports export to all standard 3D file formats (STL, OBJ, PLY, etc.), ensuring compatibility with CAD, 3D printing, and visualization workflows.

Troubleshooting and Continuous Improvement
When facing 3D scanning troubleshooting, don’t panic. Most common errors have straightforward fixes: clean your object, check your lighting, ensure stable movement, and recalibrate your system as needed. Practice and experience are key—each scan is an opportunity to refine your technique and achieve better results. Revopoint’s online resources, expert support, and active community are also valuable assets for ongoing learning.
Ignoring Environmental Influences
Many users underestimate environmental impacts on scan quality. Vibration from machinery, temperature swings, or air movement can cause tracking errors or noisy data, particularly with high-accuracy scans. Scanning in uncontrolled spaces—like near windows or in busy areas—can degrade results. Set up a stable, quiet, and temperature-controlled workspace to minimize these external issues.
Mismanaging Multi-Scan Alignment
Combining scans for large or intricate objects often leads to errors if there’s not enough overlap or unique features between passes. This can create seams or distortions in the finished mesh. To avoid misalignment, ensure each scan overlaps the previous one and capture identifiable reference points. Use your scanner’s alignment features but be ready for manual tweaks when needed.
Incorrectly Handling Post-Scan Noise and Artifact Removal
Relying too much on automatic noise removal can erase important details, while careless manual cleanup might delete key geometry. Always double-check changes visually and compare with the original object if possible. Use selection tools carefully and utilize undo options to prevent accidental loss. Consistent, cautious cleanup preserves the model’s accuracy and detail.
Integrating a Complete 3D Scanning Ecosystem
A seamless workflow—from scan capture to model output—relies on the synergy between hardware and software. Brands like Revopoint design their solutions for intuitive operation, robust performance, and compatibility with industry-standard software, empowering users at every level. Whether you’re reverse engineering parts, preparing models for 3D printing, or digitizing artwork, having a reliable ecosystem in place ensures you can focus on creativity and precision, not troubleshooting.

Conclusion: Turning Common Mistakes into Mastery
Avoiding common 3D scanning mistakes is less about perfection and more about preparation, awareness, and the right tools. By understanding the typical pitfalls and leveraging best practices, you’ll unlock the full potential of your Revopoint 3D scanner—achieving professional, accurate, and repeatable results for every project. For tailored advice, detailed guides, and innovative scanning technology, explore the possibilities with Revopoint and elevate your next scanning workflow.


Leave a comment
This site is protected by hCaptcha and the hCaptcha Privacy Policy and Terms of Service apply.