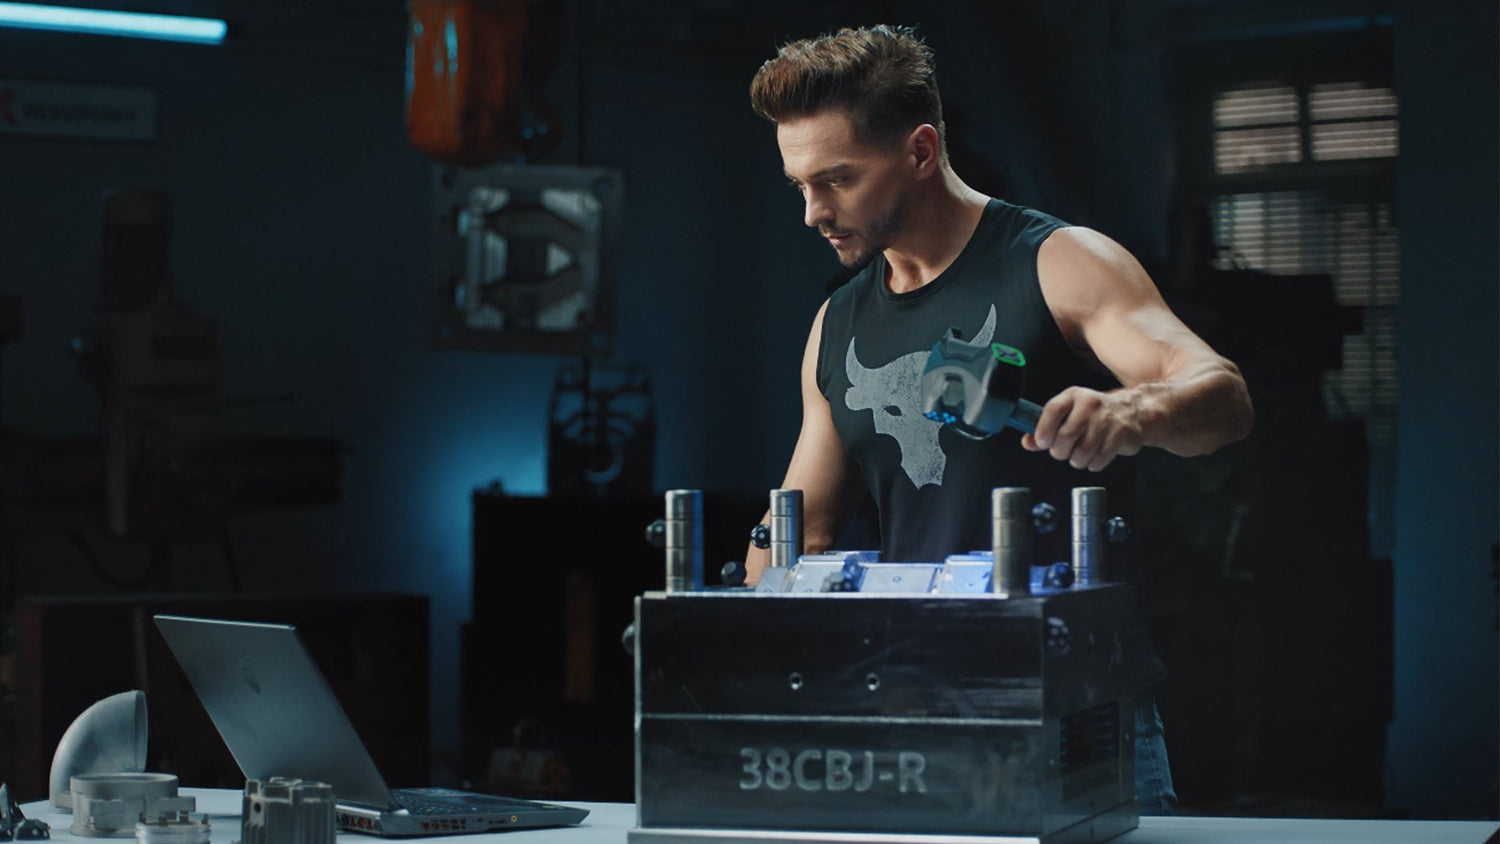
In high-precision manufacturing, the condition of tooling, molds, and fixtures has a direct impact on part quality, process repeatability, and production efficiency. As these components degrade or shift over time, even subtle deviations can cause parts to fall out of tolerance or require rework.
Conventional inspection methods, such as visual checks, contact-based metrology, or scheduled maintenance, often fail to catch early signs of change or require significant downtime. This is where 3D scanning proves its value.
Benefits of 3D Scanning
3D scanning offers a fast, non-contact, and highly accurate method for inspecting complex geometries. When used strategically, it can detect tool wear patterns, verify mold stability, and confirm fixture alignment while minimizing interruptions to the production process. Rather than relying on assumptions or interval-based maintenance, manufacturers gain access to real surface data that reflects the current state of critical components.

Detecting Tool Wear
High-resolution scans captured at different intervals allow direct comparisons over time. Instead of measuring isolated points, engineers can assess the entire surface, identifying localized wear, erosion, or chipping.
This approach is particularly useful for cutting tools, stamping dies, or forming tools where edge geometry and surface finish directly affect outcomes. Deviation maps generated by inspection software like Revo Measure visualize the difference between the current tool and a reference model, making it easier to define wear thresholds based on geometry rather than time.
Monitoring Mold Shift
Molds are subject to thermal cycling, mechanical fatigue, and pressure, all of which can cause gradual deformation. These shifts may go unnoticed in visual checks but can result in measurable part variation.
By periodically scanning mold cavities, manufacturers can track dimensional changes, detect misalignment between mold halves, and assess the accuracy of high-precision features. This enables predictive maintenance and helps prevent quality drift across production batches.
Validating Jigs and Fixtures
When it comes to jigs and fixtures, alignment is critical. A worn locating pin or distorted fixture surface can compromise assembly accuracy, hole positioning, or weld quality.
3D scanning allows engineers to quickly validate fixture geometry without removing tools from the production line. In some cases, scanning the parts that interface with the fixture enables digital fit analysis, revealing contact issues or misalignment before a single unit is built.
Enabling Inspection
Inspection software is critical in all of these workflows. Tools like Revo Measure, Control X, or GOM Inspect allow for precise alignment of scan data, CAD comparison, deviation mapping, and automated reporting.

Alignment can be performed using best-fit algorithms or based on datum structures to reflect actual functional intent. Once the data is aligned, color maps and cross-section analysis give immediate insight into deviations, and reports can be exported for traceability, quality audits, or regulatory compliance.
Whether scanning is done offline for routine checks or integrated near-line or in-line, it reduces guesswork and speeds up root-cause analysis. In fast-paced environments, quickly diagnosing tooling issues or fixture misalignment leads to lower scrap rates and less downtime.
By capturing and comparing scan data over time, manufacturers can transition from reactive maintenance to a predictive model. This helps identify tooling or mold degradation trends early, reducing unexpected downtime and extending tool life. In high-mix or regulated environments, scan data and reports can also be archived to support traceability, customer audits, and compliance with standards like ISO 9001 or IATF 16949.
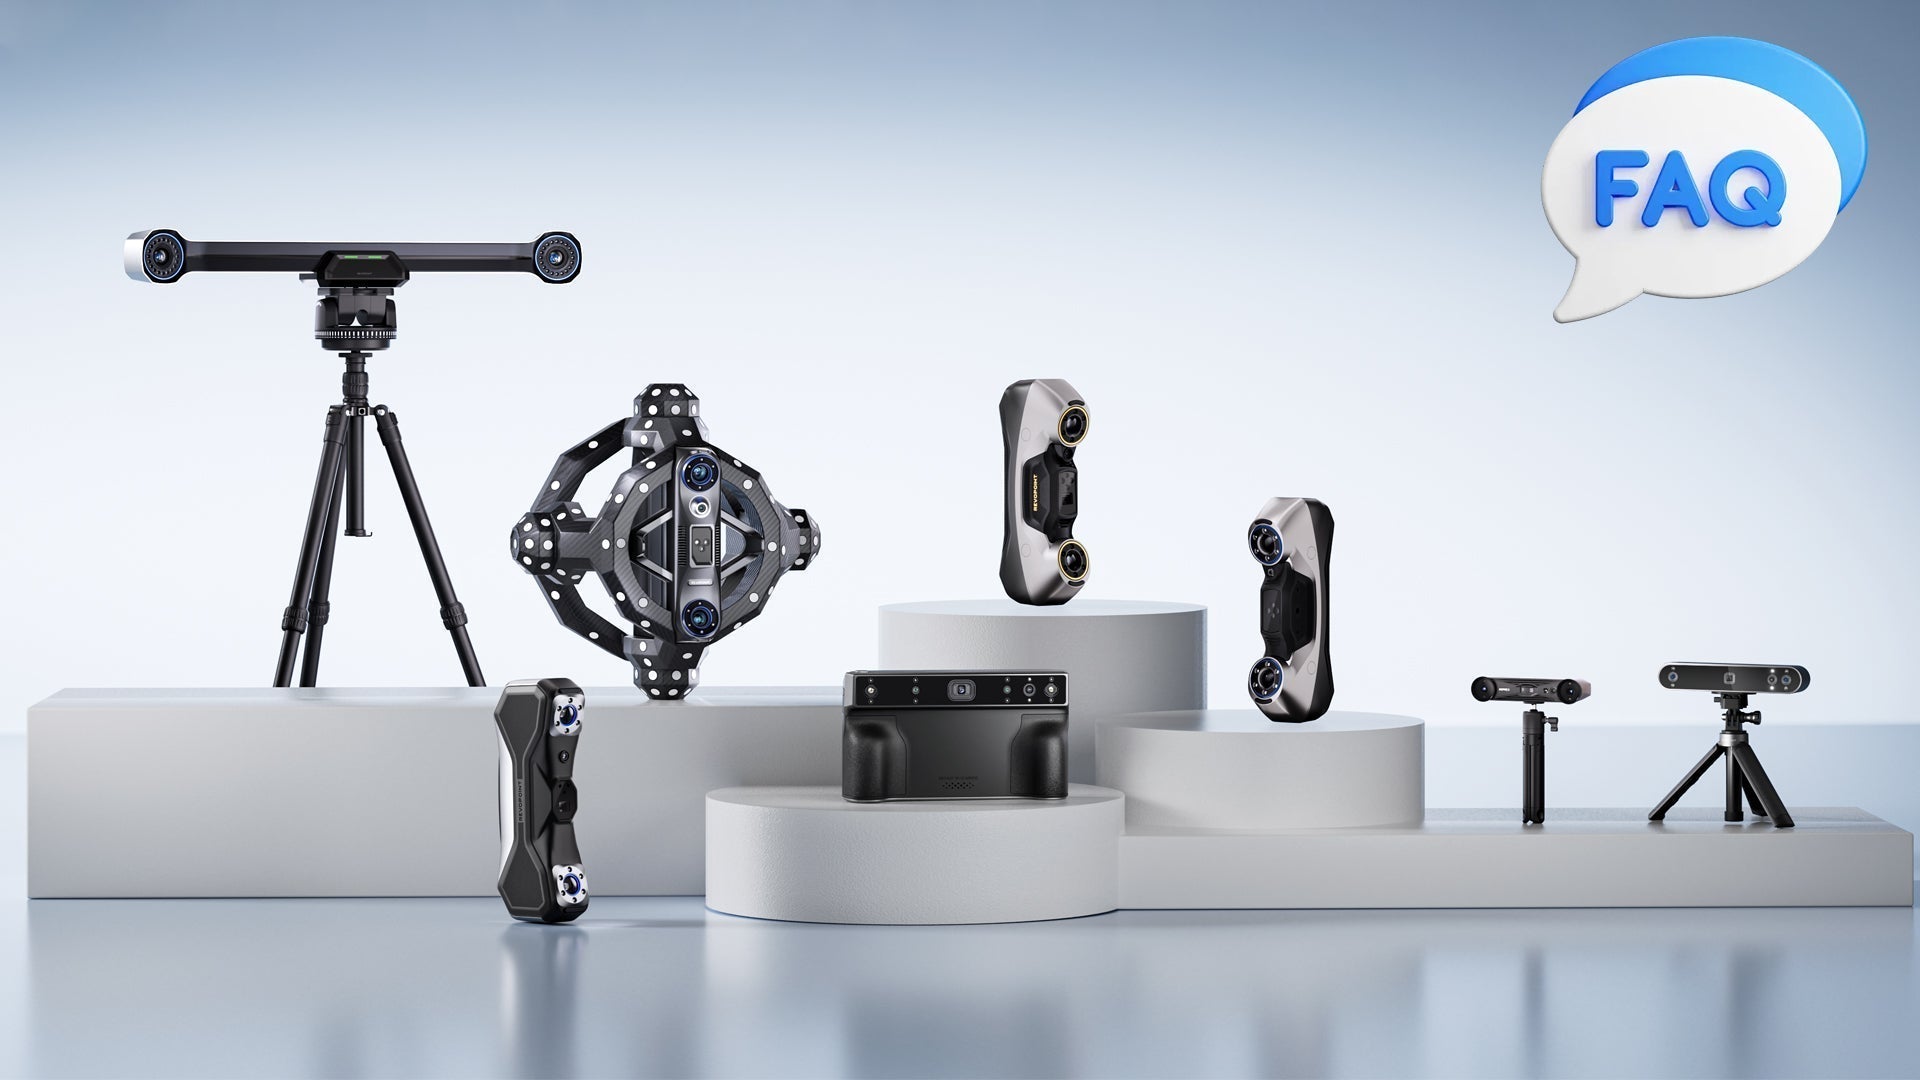
For high-mix or high-volume operations, 3D scanning is a scalable alternative to labor-intensive inspection. Integrating scanners like the MetroY series or Trackit into maintenance and QC routines gives manufacturers greater visibility into tool conditions and reduces the risk of undetected defects.
This supports not only better part quality but also more predictable production and longer tool life.


Leave a comment
This site is protected by hCaptcha and the hCaptcha Privacy Policy and Terms of Service apply.