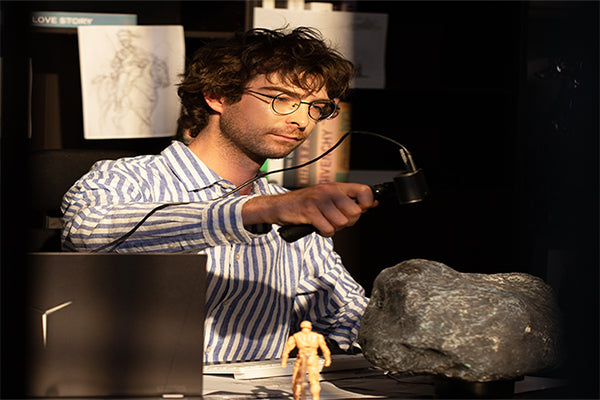
I love rocks ‘n’ scanning, so put another rock on the turntable, baby. Alright, let’s put those shoddily reappropriated Joan Jet lyrics aside and get down to the bedrock with this one. 3D scanning rocks, boulders, or minerals can be straightforward or a little complicated, depending on the shape and size of the rock. And as always, cracking that scan and getting the perfect 3D model is all preparation.
School of Rock
Before starting our 3D rock scan , let’s first study your rock. Is it all rocky with many angles and faces or smooth with some curved surfaces? Shiny or dark? Big or small? The answers to these questions will guide how you prepare the rock for a successful scan.
- If your rock is featureless, then you’ll need Markers, either placed on the rock or around the rock on the turntable so that the scanner can keep track of it. Place the Marker stickers irregularly and ensure that at least five will always be in the frame as you scan the rock. If the rock is feature-rich, you should be able to scan it in Feature mode without needing any Markers.
- If the rock is very dark or shiny, like obsidian, treat the surfaces with scanning spray, dry shampoo, baby powder, or makeup foundation. You only need to lightly apply it to the shiny or dark patches to ensure the scanner can detect it correctly.
- Depending on the size and weight of the rock, you might want to use a Turntable for the scan, as it will make capturing all the rock’s surfaces easier without having to move the scanner from a fixed position.
- Ensuring that the rock is well-lit (note direct sunlight is too strong) with soft light is essential, as dark shadows can impact the scan. Also, if you want to do a color scan of a good-looking rock like lapis lazuli, lighting can help the scanner to capture the colors more accurately. To do this, you can use the Mini LED Light or any good quality selfie ring light to illuminate the rock.
- To prevent your desk or wall from also being captured in the scan covering them with a black plastic sheet will help to ensure that the scanner ignores them.
After you’ve finished preparing the rock and setting up your scanning area, it’s time to get this scan rolling before it starts gathering moss.
It’s Time to Rock
In our example, we’re not entirely sure if our rock isn’t, in fact, a boulder, but that doesn’t matter as the principle is still the same when doing any 3D rock scan. Ensure your scanning area is correctly lit. If sunshine is streaming in, close the curtains.
- Open up Revo Scan, and select High-accuracy, then either Feature (if the rock has many distinct surfaces) or Marker mode (If using Markers), and finally, color or no color.
- Adjust the distance of the scanner till Revo Scan tells you it is excellent.
- Adjust the depth camera gain till there are as few red (overexposed) and blue (underexposed) spots as possible and the rock is clearly defined in the preview window.
- Start the scan, and capture one full turntable rotation. Depending on the size of the rock, you may need to raise your scanner to capture the top of the rock after the full rotation has finished.
- Now adjust the rock’s position so you can capture the part resting on the turntable. Once you’ve repositioned the rock, finish the scan.
- If the rock is particularly complex, check your scan carefully before finishing to ensure you haven’t missed any spots.
- Once satisfied with the scan, it’s time to fuse the point cloud. If you have a complex rock, you’ll want to select the smallest point distance to preserve all the details, and if you have a rock with uniform smooth surfaces, select one somewhere in the middle to reduce processing time and file size.
And with that, you should have a model that rocks your world. If you liked this article and want to know how to 3D scan other sorts of objects, then check these out:


Leave a comment
This site is protected by hCaptcha and the hCaptcha Privacy Policy and Terms of Service apply.