Complex shapes rarely fail at the software stage. They fail earlier, during capture, when tracking drifts inside deep cavities, edges soften because the scanner angle was wrong, or reflective surfaces quietly corrupt the point cloud. These failures usually appear only after the scan is imported into CAD, when rebuilding geometry becomes slower than expected. This is where disciplined handheld 3D scanning techniques make the difference between usable data and wasted time.
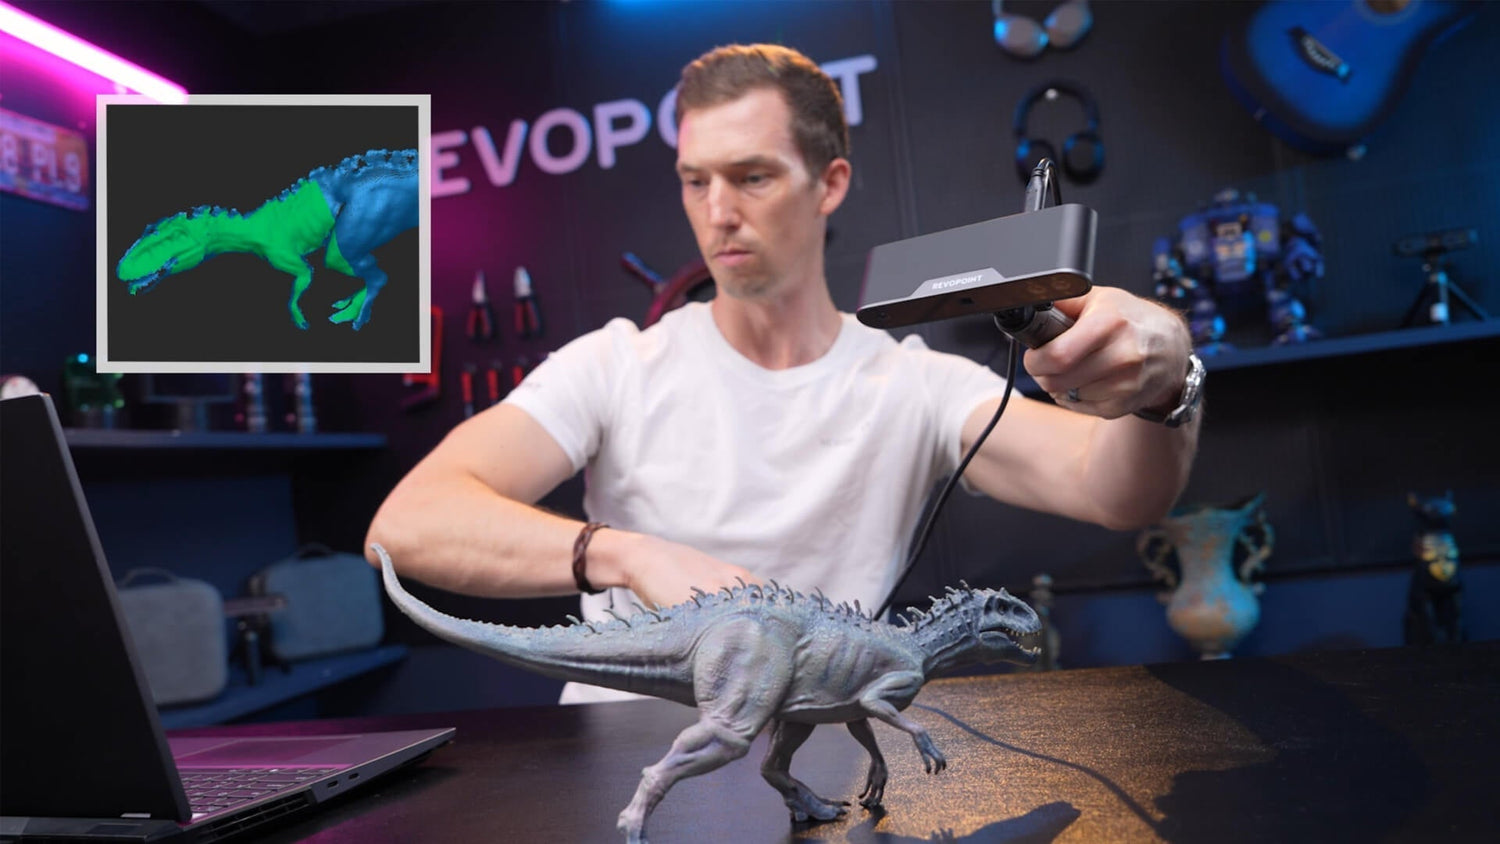
What follows is a practical, field-tested guide to capturing complex geometry 3D scanning data using handheld devices, with concrete examples based on Revopoint INSPIRE 2 and POP 3 Plus to illustrate how experienced users actually work through these challenges.
Why Complex Geometry Requires a Different Scanning Mindset
Complex objects behave differently from simple parts. Deep recesses block projected light, thin edges reduce point density, and symmetrical surfaces confuse tracking algorithms. A handheld 3D scanner must constantly solve two problems at once: where it is in space, and what surface it is seeing.

This is why 3D scanning complex shapes cannot rely on speed or automation alone. It requires intentional coverage, controlled movement, and constant validation during capture. Treating the scanner like a measuring instrument rather than a camera fundamentally improves results.
Choosing Between INSPIRE 2 and POP 3 Plus for Complex Objects
Both INSPIRE 2 and POP 3 Plus are commonly used for complex shape capture, but they excel in slightly different scenarios.
INSPIRE 2 is particularly effective when dealing with mixed surfaces and difficult materials. Its dual-mode system allows switching between full-field infrared structured light and 11 parallel infrared laser lines. The laser mode is especially useful for dark, shiny, or low-texture surfaces that would otherwise require scanning spray.
POP 3 Plus is well suited for feature-rich objects, organic forms, and projects where portability and speed matter. Its optical projector zoom and global marker tracking mode improve stability when scanning medium-sized objects with layered geometry.
Understanding which scanner mode matches the object is the first technical decision in achieving high accuracy 3D scanning.
Pre-Scan Setup Using INSPIRE 2 and POP 3 Plus
Before scanning, connect the scanner and confirm calibration status.
For INSPIRE 2:
· Connect the scanner via USB-C to a PC or power bank
· Launch Revo Metro on PC or Revo Scan on mobile
· Place the calibration board on a flat surface
· In the software, select Scanner Calibration and follow on-screen prompts
· Ensure the calibration completes without warnings before proceeding
For POP 3 Plus:
· Connect via USB-C or Wi-Fi 6 depending on workflow
· Open Revo Scan 5
· Tap the settings icon next to the scanner name
· Run IMU calibration if the scanner has been transported recently
· Confirm stable preview before starting the scan
Calibration consistency is especially important when scanning complex geometry, as small positional errors compound across large or detailed scans.
Planning the Scan Path for Complex Geometry
Complex shapes should be scanned in stages.
Start by positioning the object so the most feature-rich surfaces face the scanner. If using a turntable, center the object and ensure it does not wobble. For handheld-only workflows, place the object at chest height to avoid steep wrist angles.
Define a scan sequence:
1. Capture the outer geometry to establish tracking
2. Lock alignment by completing a full loop around the object
3. Move inward toward recesses, cavities, and undercuts
This layered approach reduces the risk of tracking loss later in the scan.
Setting the Correct Scan Mode and Parameters
On INSPIRE 2:
· Use full-field structured light for faces, bodies, statues, and textured parts
· Switch to infrared laser mode when scanning metal, dark plastics, or smooth industrial components
· Select Marker or Global Marker tracking when scanning symmetrical or featureless surfaces

On POP 3 Plus:
· Use Feature Tracking for objects with visible texture or geometry variation
· Enable Global Marker Tracking for smooth or repetitive shapes
· Use the optical zoom feature when capturing fine details embedded within larger surfaces
Both scanners provide real-time preview. Watch the point cloud density and alignment indicators continuously rather than scanning blindly.
Executing Handheld 3D Scanning Techniques During Capture
Grip and movement control are critical.
With INSPIRE 2:
· Use the single physical button to start and pause scanning
· Pause frequently when changing angles to allow the software to stabilize tracking
· Maintain a working distance within the recommended range shown in the software
With POP 3 Plus:
· Use the three-button interface to adjust exposure and start or pause scans
· Reduce exposure when scanning bright or reflective areas
· Increase exposure slightly when scanning darker recesses
Move slowly, keeping overlap between passes. Each new scan path should overlap previous data by at least one third. When scanning undercuts, approach from multiple shallow angles rather than forcing a direct view.
Managing Tracking Loss in Real Time
If tracking is lost, do not restart the scan immediately.

Move the scanner back to a previously scanned, well-defined area. Hold position until tracking resumes. Both INSPIRE 2 and POP 3 Plus will visually indicate when alignment is restored.
For persistent tracking issues:
· Add markers around the object rather than on sensitive surfaces
· Place reference objects with clear geometry near featureless areas
· Avoid scanning too fast or too close during recovery
These techniques prevent misalignment without introducing unnecessary noise.
Post-Processing Complex Scan Data
Once scanning is complete, process the data with intent.
In Revo Scan or Revo Metro:
· Align and merge scans carefully, checking feature consistency
· Remove floating noise but preserve sharp edges and planar faces
· Fill holes only where geometry is non-functional
For reverse engineering workflows, export to formats such as PLY or OBJ for further CAD reconstruction. For 3D printing, STL or 3MF formats are typically sufficient.
Complex geometry benefits from restraint in mesh smoothing. Over-processing may visually improve the model but reduce dimensional reliability.
Where These Techniques Deliver the Most Value
These methods are widely used across portable 3D scanner applications, including reverse engineering, quality inspection, product redesign, digital archiving, and medical or artistic modeling. In each case, the ability to capture complex geometry accurately reduces downstream correction work and shortens project timelines.
Conclusion
Capturing complex shapes with a handheld 3D scanner is a controlled technical process, not a casual scan-and-go task. When scan planning, movement discipline, and real-time feedback are combined with adaptable hardware, complex geometry becomes predictable rather than problematic.
Devices such as Revopoint INSPIRE 2 and POP 3 Plus demonstrate how modern handheld 3D scanners can support high accuracy 3D scanning across a wide range of complex objects. By using the correct modes, understanding when to pause or adjust, and processing data with purpose, professionals can reliably transform challenging physical forms into precise digital models ready for real-world use.


Leave a comment
This site is protected by hCaptcha and the hCaptcha Privacy Policy and Terms of Service apply.